How To Decorate An Entertainment Center
By using the right combination of accessories, your entertainment center can become an eye-catching focal point that complements the overall decor of your living room or family room.
This post and photos may contain Amazon or other affiliate links. As an Amazon Associate I earn from qualifying purchases. If you purchase something through any link, I may receive a small commission, at no extra charge to you. All opinions are my own. See my full disclosure HERE.
You may think of an entertainment center as an outdated piece of furniture that holds your tv, but I disagree! Who wants to give up all the extra storage space anyway???
Use these interior designer tips to bring yours into the 21st century.
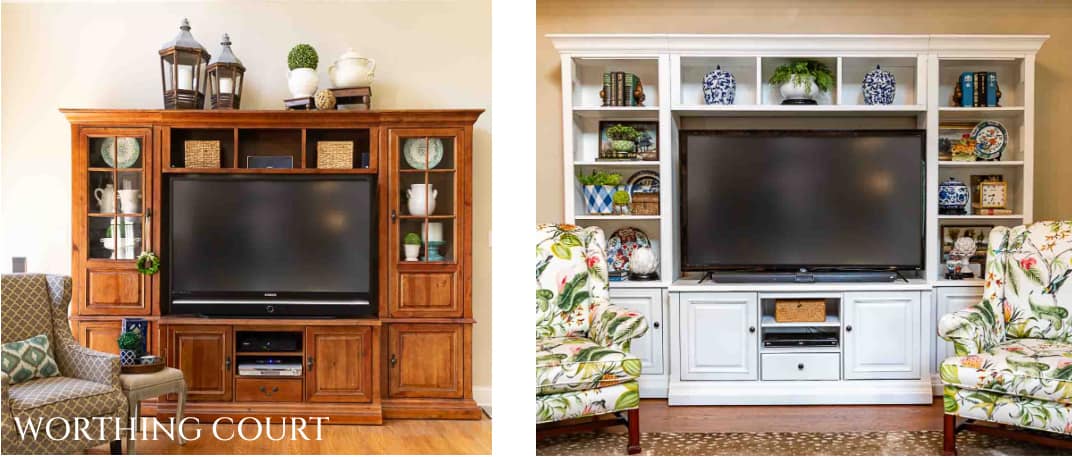
Let me show I’ve decorated my own entertainment center over the past few years. It’s gone from brown wood with farmhouse decor to an updated painted white beauty that fits in perfectly with my updated traditional style.
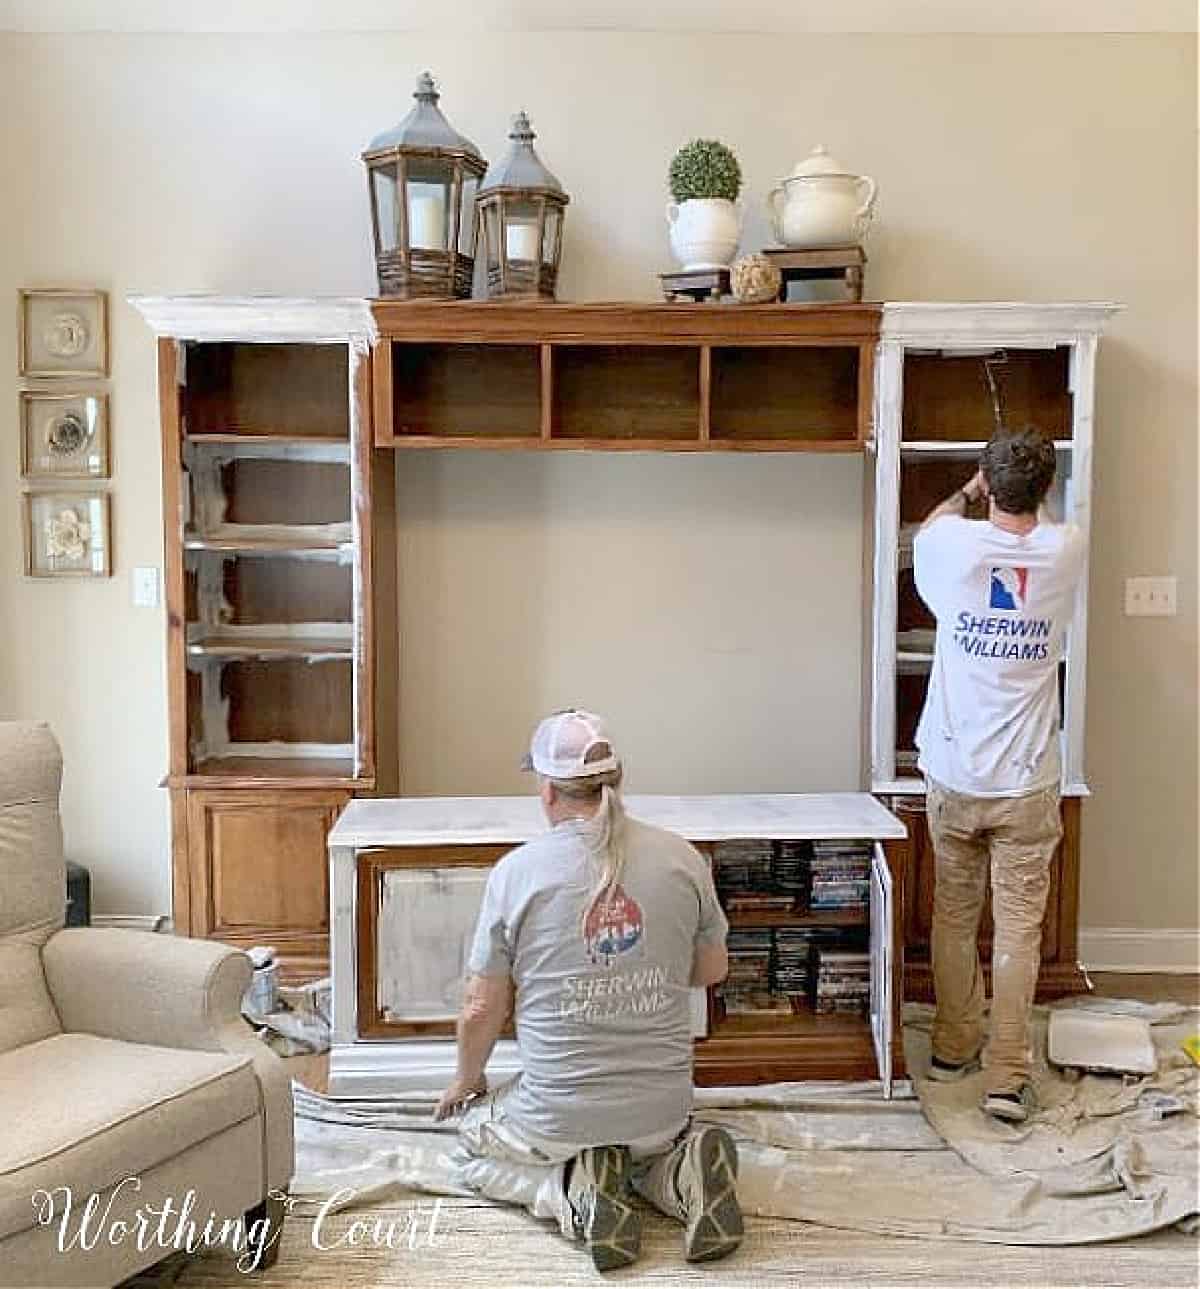
If you’re trying to give an older wood wall unit an updated look, you might consider painting it, which is what I did to mine a few years ago.
What a difference! THIS POST has all of the details about what products the painters used.
Declutter and Organize
When redecorating any part of my home, no matter how large or small, I find it most helpful to start with a blank slate. Don’t you?
With that in mind, the first step to decorating your entertainment center is to completely empty it of all the decor and items you’ve been storing. Then give it a thorough dusting.
Of course, if you decide to paint your entertainment center, this would be the perfect time to do it.
TIP: Allow new paint to cure for at least 1 -2 days before decorating a newly painted piece of furniture.
Organize the items into piles of what you want to reuse vs items you want to save or get rid of.
Go ahead and get rid of any outdated tech gear and gadgets.
Dealing With Cords and Cables
Cables and cords can quickly be such an eyesore, which will be a distraction from the overall aesthetics of your entertainment center.
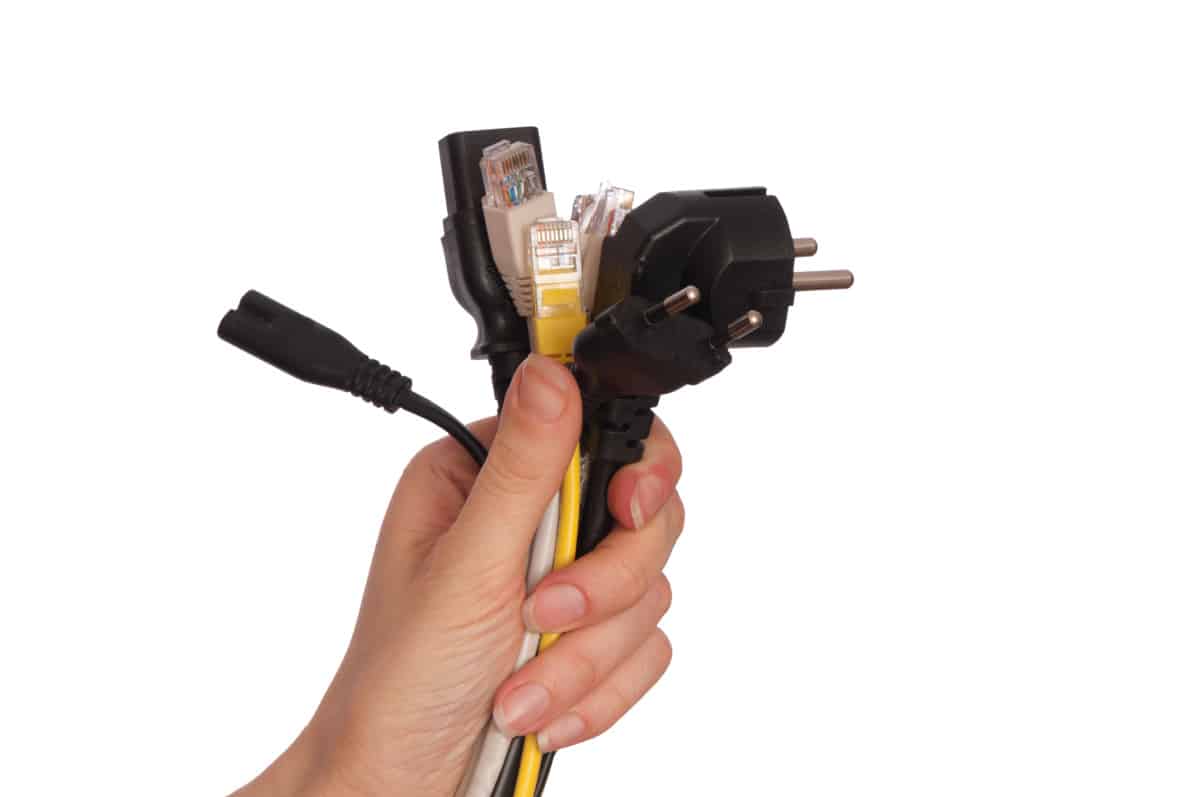
Use cable management solutions to route them behind the unit or to hide them behind objects on the shelves.
There is a huge variety of types of cord organizers and cable clips available that will keep things neatly tucked away and out of sight. Scroll through my favorites below:
Plan for a Cohesive Design
Now that you’ve organized and cleaned, you’ve set the stage for a curated and visually appealing entertainment center that will be a reflection of your personal style.
The key to winding up with a well-put-together center, is to start off by picking a color scheme and design style that works in harmony with the overall vibe of the rest of the room.
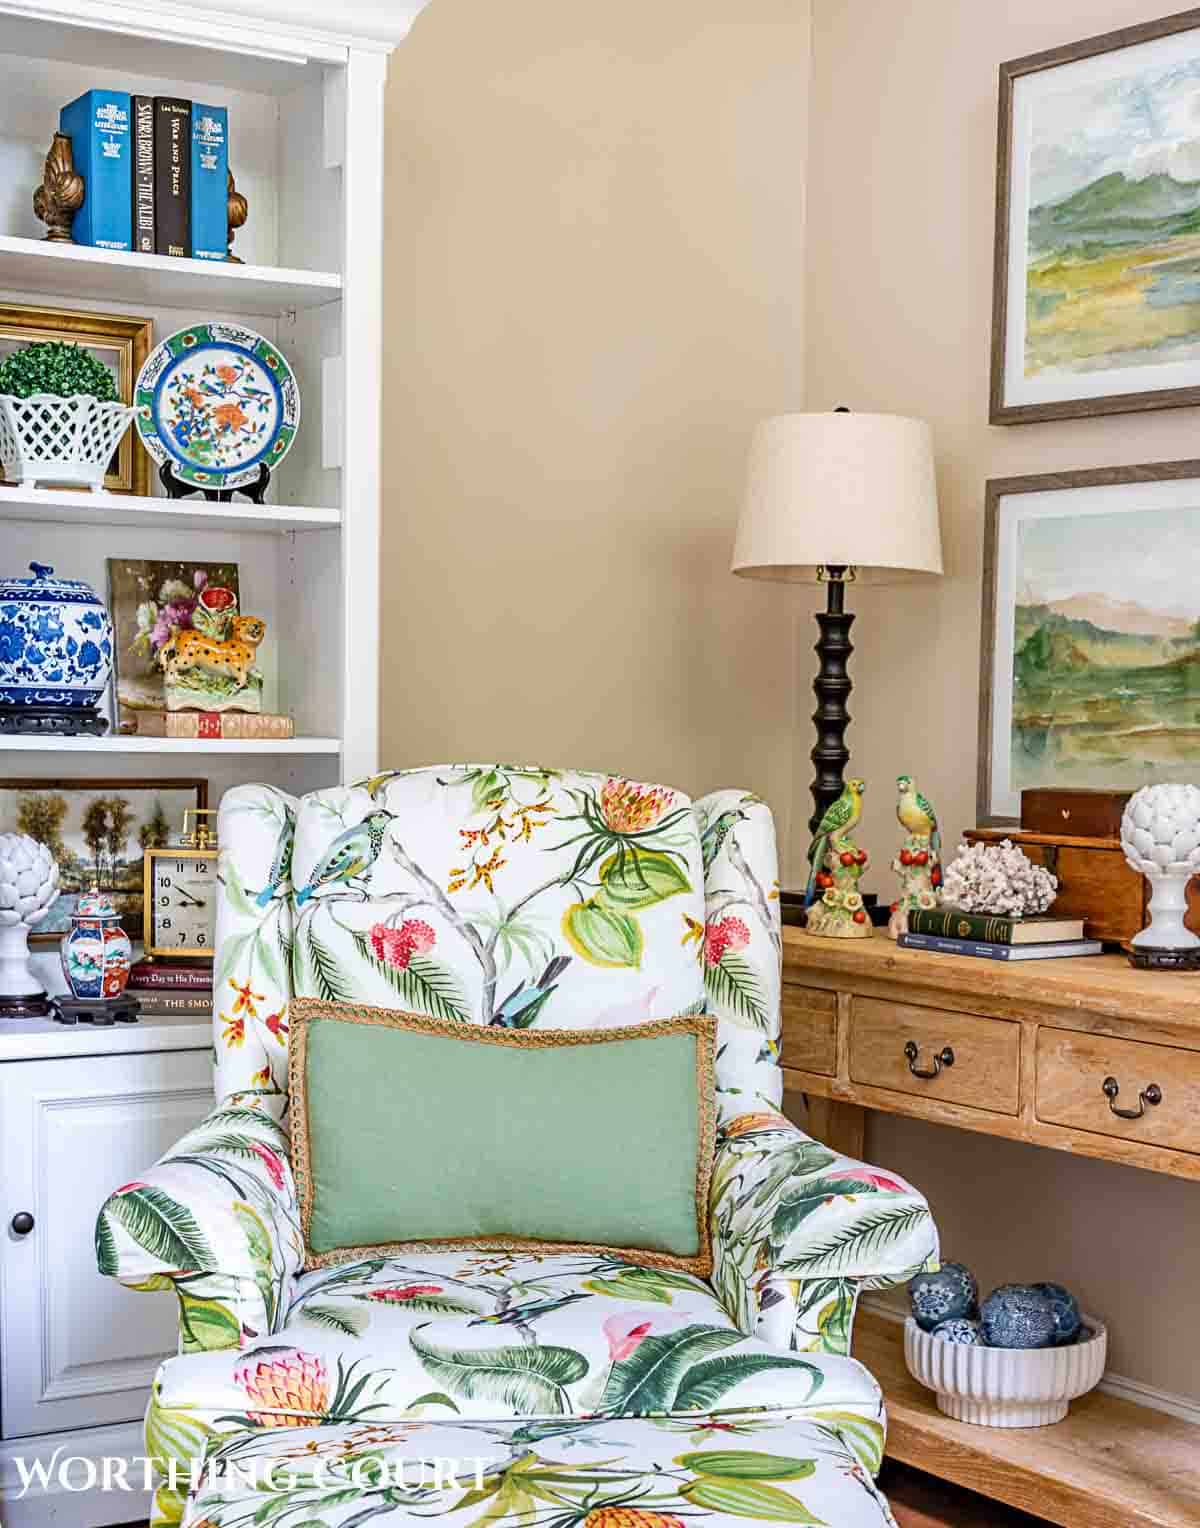
You don’t want to wind up with a mishmash of random stuff placed willy-nilly on the shelves.
The accessories that you choose don’t have to match, but should complement the room’s color palette and overall design style.
A well-thought-out design, where the colors and style of your decorative objects, picture frames and storage baskets harmonize with the rest of the space will have a huge impact on how happy you are with the end result!
Decorating the Shelves
If you are a fan of symmetry, the open shelves of an entertainment center is the perfect place to incorporate that into your look.
For a symmetrical look, arrange the exact same or similar decorative items on each side of the center.
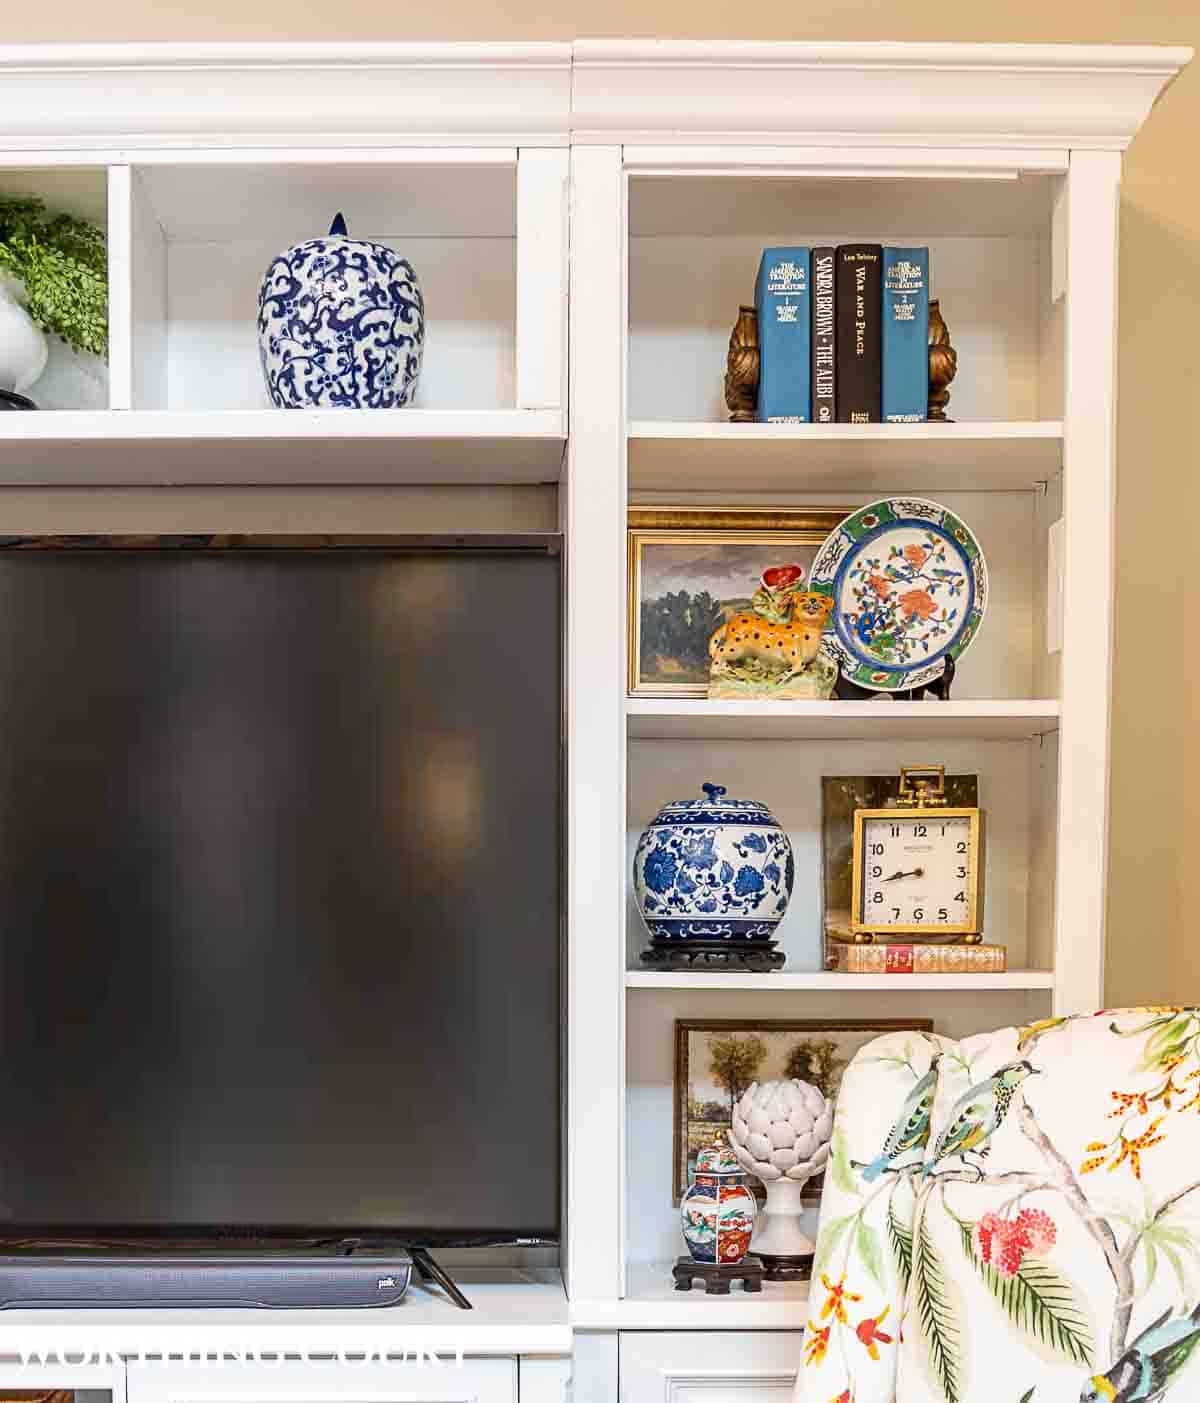
It doesn’t have to all be symmetrical. For inspiration, you can see that I have a mix of both symmetrical and non-symmetrical decor on mine.
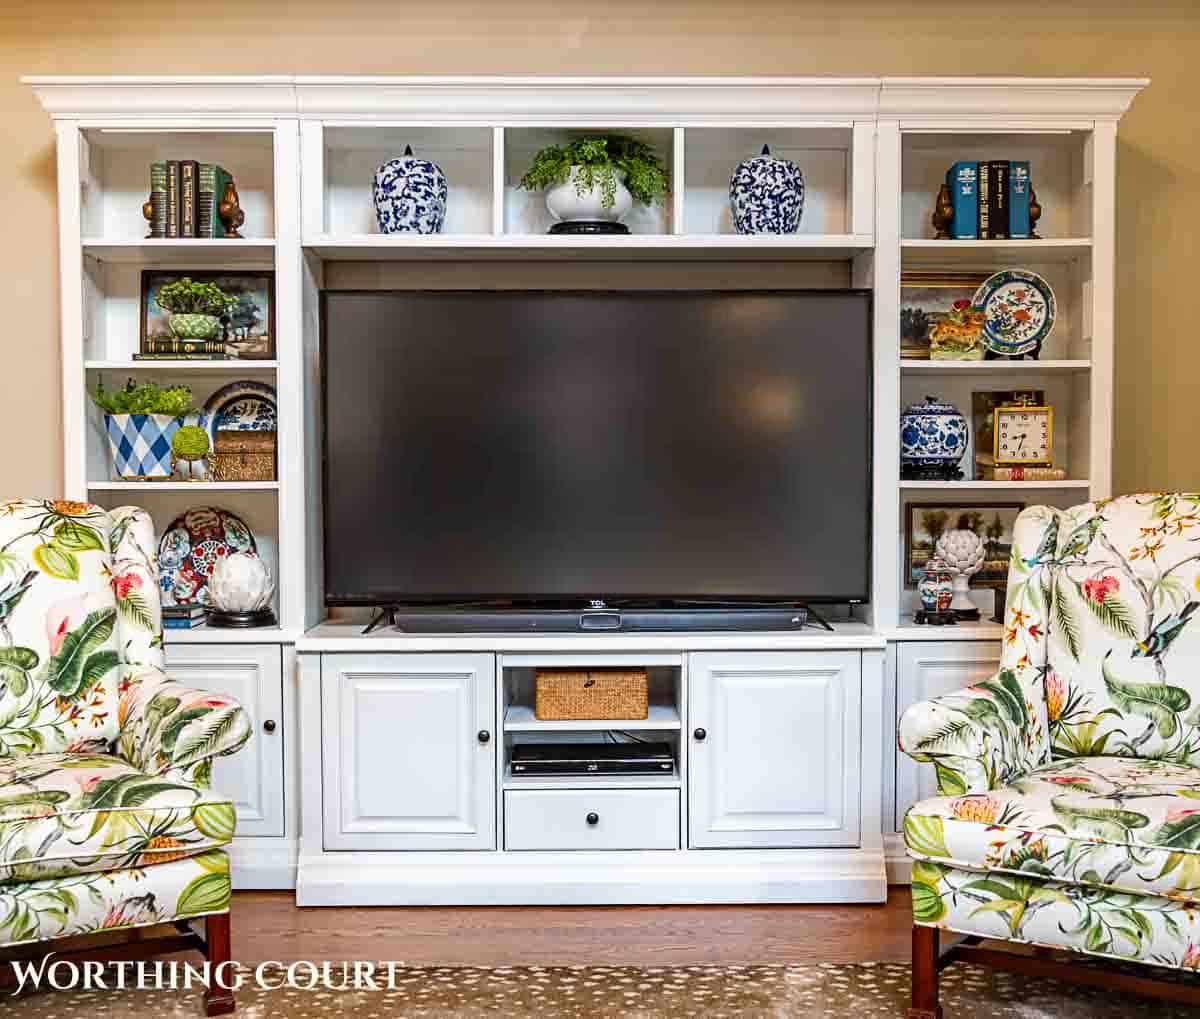
My favorite home decor items to decorate shelves with are:
- Vases and Faux Plants or Florals: Add a touch of nature with decorative vases of fresh flowers or faux plants, bringing life and vibrancy to the area.
- Picture Frames: Display favorite family photos or artistic prints in small frames that match your living room decor.
TIP: A pretty notecard looks beautiful in a special frame and is less expensive than a piece of art.
- Battery Operated Candles: Create a warm and inviting ambiance and can add a spot of brighness to dark corners.
- Figurines and Knick-Knacks: Showcase small decorative objects that reflect your interests and hobbies, adding a personal touch to the space.
- Books: Of course, books are natural when it comes to decorating shelves. They also work great to elevate or add importance to smaller objects.
- Baskets: Baskets can do double-duty. They can act as an item to fill an empty spot, but they can also be used to store any random items (such as remotes) that you want to keep handy.
- Decorative trays: These work well to corrall a grouping of smaller items together.
- Cherished Keepsakes: Incorporating items that hold sentimental value or are treasured collectables will infuse your space with a personal touch.
Create Depth With Accessories
One of the tricks to add depth and visual interest to the shelves is to play around with accessories of varying heights. Mix tall and short decorative pieces, ensuring none of them obstruct the view of your media equipment.
Go for a combo of books, plants, and decorative objects to keep it lively. Small art pieces will break up the monotony and draw the eye in.

Add visual depth by layering accessories so that some are placed closer to the front of a shelf and others are closer to the back.
TIP: Don’t forget the “golden rule” of 3 when it comes to accessorizing!
Favorite or bold pieces can be placed toward the front, to draw the eye and act as a focal point.
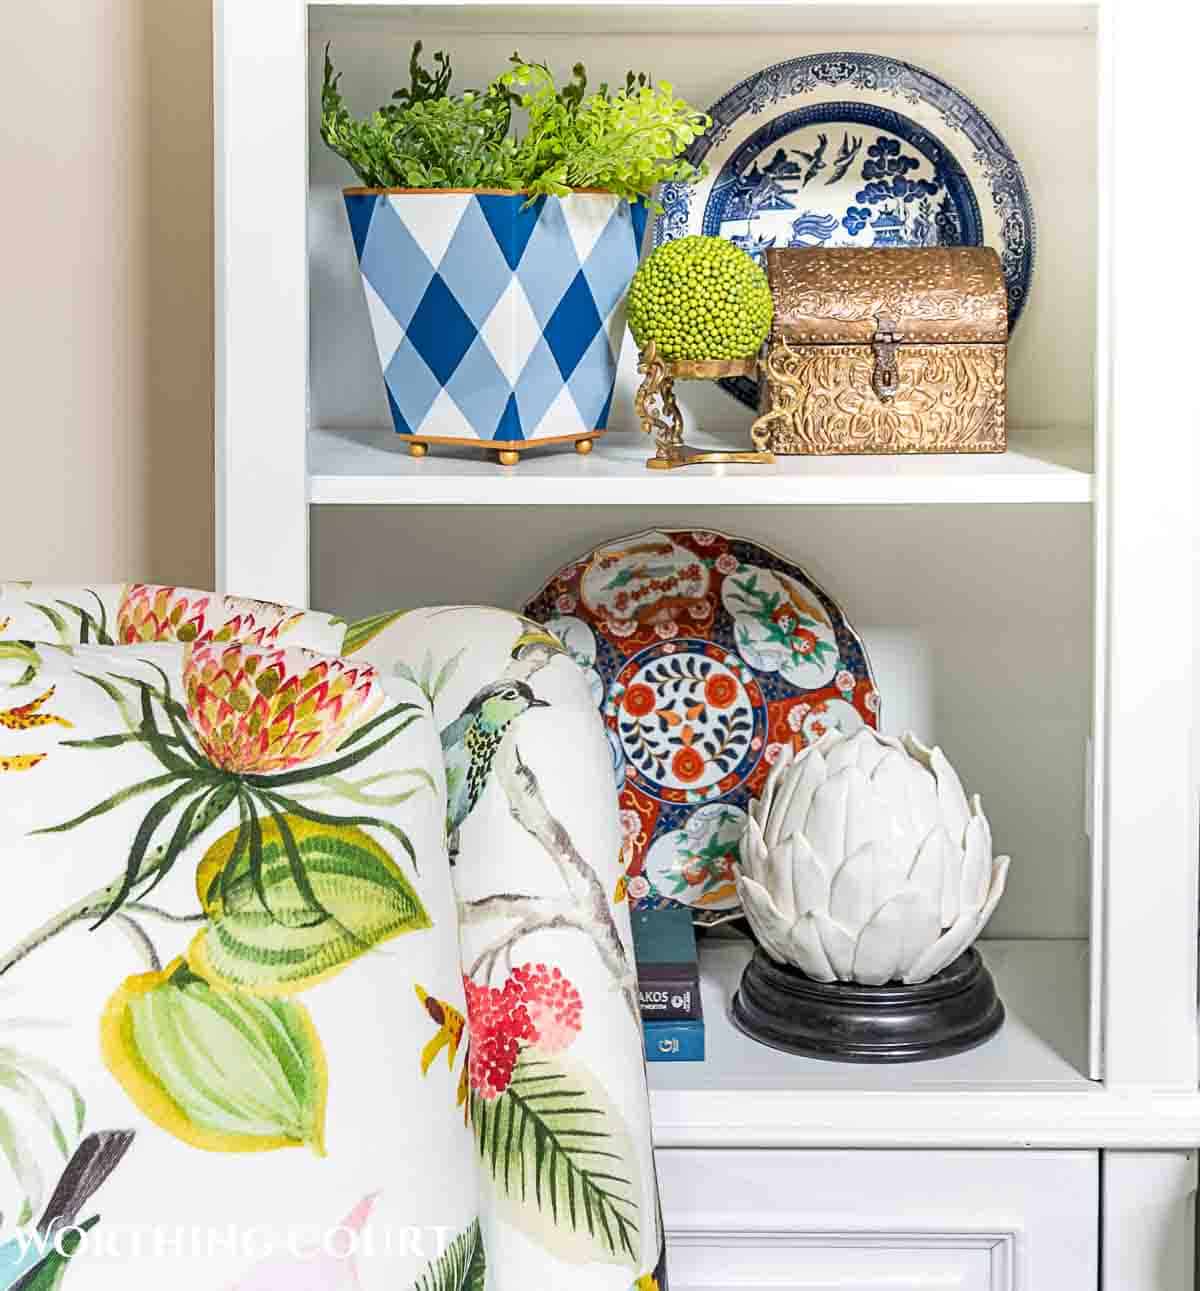
Adding a pretty wallpaper to the back of the unit creates another layer and is another great way to add depth and interest. That’s on my to-do list!
Utilize the Top
The top of your entertainment center presents an wonderful opportunity to showcase some of your favorite accessories.
Be sure to keep whatever you use on the large side. Small accessories on the top are difficult to see and can wind up looking like just a lot of clutter.
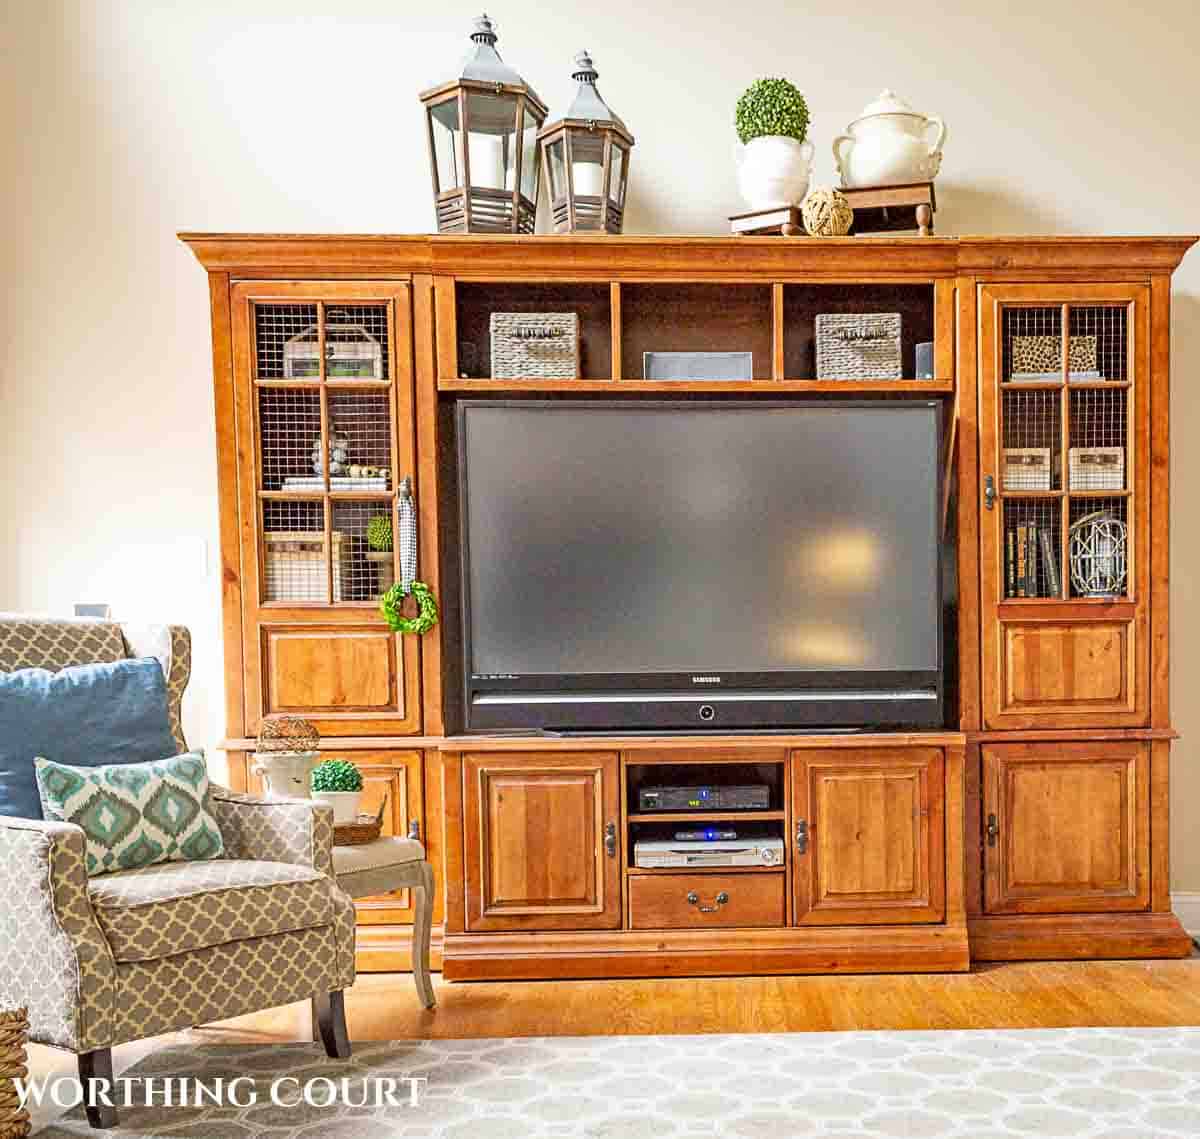
On the top of mine, I love to display things such as:
- large urns
- a large, prettily shaped basket
- tall ginger jars
- oversized artwork on an easel
- a large clock
- large pottery
- a decorative birdcage
- lanterns
- tall candle holders
Maximize Storage
Entertainment centers can not only be attractive, but also work well as a place for additional storage.
Hidden behind our cabinet doors are tons of dvd’s, cords, cables, extra remotes, camera equipment, dog toys and books.
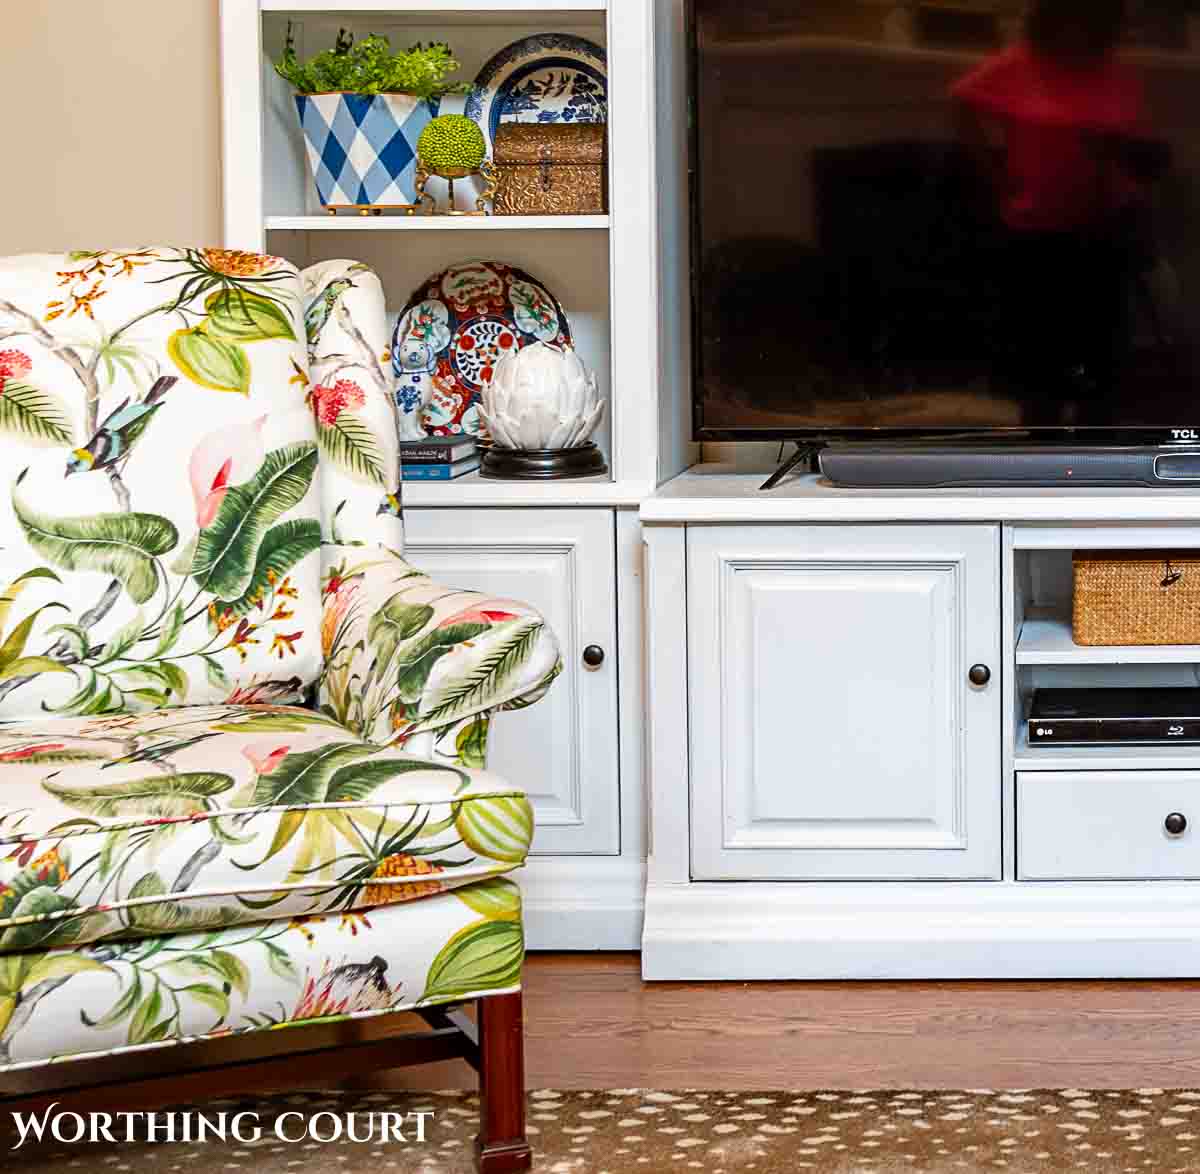
It can quickly become a real mess though, so consider using baskets that will fit inside of your cabinets that organize and corrall the things that you want kept out of sight.
Transforming your entertainment unit is a fun way reflect your personal style and to add style and functionality to your living space. Organize, use accessories, add clever storage, and play with colors and personal touches to create a chic and personalized masterpiece that elevates your space. Happy decorating!

FAQs


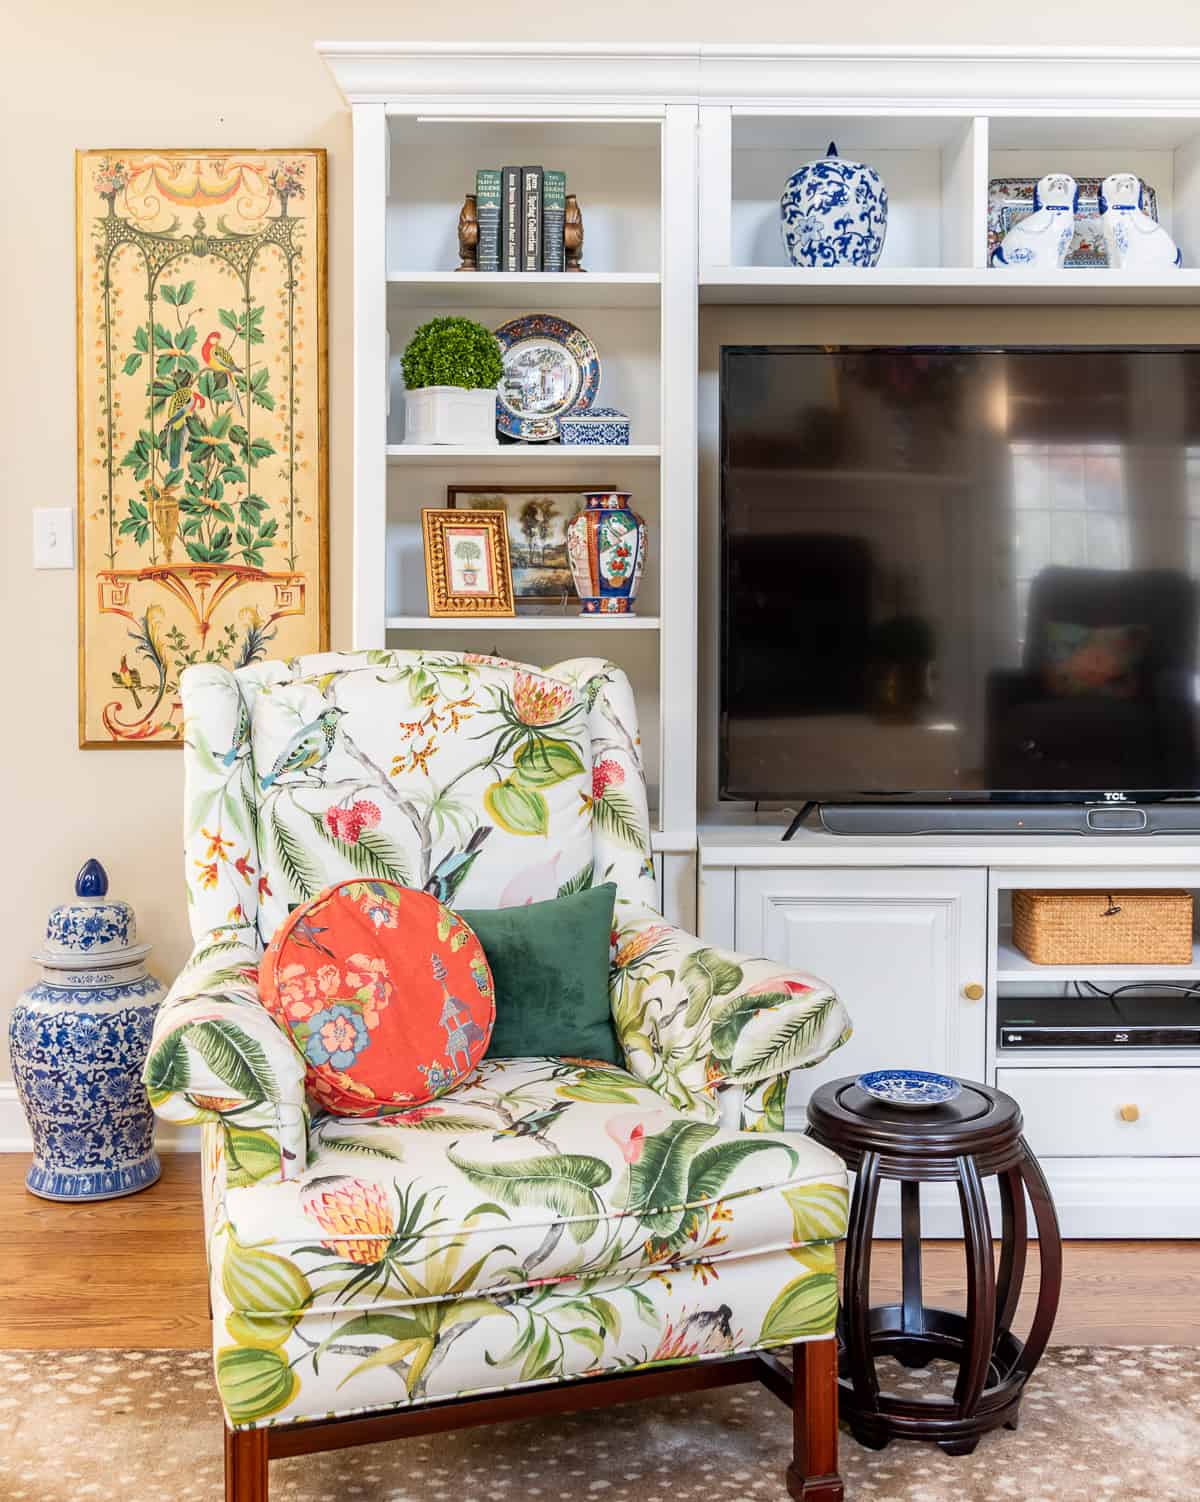
Love the bright clean look of the “new” entertainment center. Somewhere I missed your post about those gorgeous chairs with the birds on them. Did you share the source? They are incredible. Really like how bright and fresh your family room looks.
Thank you so much! I actually haven’t posted about all that changes that I’ve been making in the family room yet, so you didn’t miss anything. 🙂 Believe it or not, the chairs were an antique mall find. I adore the fabric too. The fabric is still available (I’ve purchased more), so let me know if you’d like the link to it.
Yes please! I would love the link. The fabric is spectacular.
Isn’t is awesone??? This link is to a fabric store near me, but I know that they ship. The picture that they have online is darker than the background of the fabric really is. It’s almost white, but a tiny bit off-white. https://1502fabrics.com/?s=paradise+leaf
Beautiful. Cheerful. Colorful. Balanced. ❤️
Thank you!
I have the exact wall unit, that I painted white!
You created a beautiful update to your family room. It’s such a positive difference from the original entertainment center to your updated vision.
Thank you so much – I’m glad you like it and I hope you found some inspiration for your own home!
Absolutely gorgeous is your living room. OH, how I wish I could paint my entertainment center and two bookcases that sit beside it! I would love to have a bridge over TV as you have. Now I need to convince my husband to paint all. Thank you for showing the difference it made to your LR. I have tried for years now. Any ideas? JT from SC
This was a wonderful post! So many good ideas for the entertainment center, which so many of we “older” folks own! Your blog is always so informative for decorating ideas.
Hi Judy. Thank you. I’m glad you found some ideas!
Wow, the changing of the colour makes a huge difference. First I didn’t even realise that it is the same furniture! And it really looks great.
Thanks you for your inspiration. I never thought about placing the TV inside a wardrobe.Very good idea!
The old televisions needed fresh air because otherwise they would have gotten too hot. The new ones don’t need this.