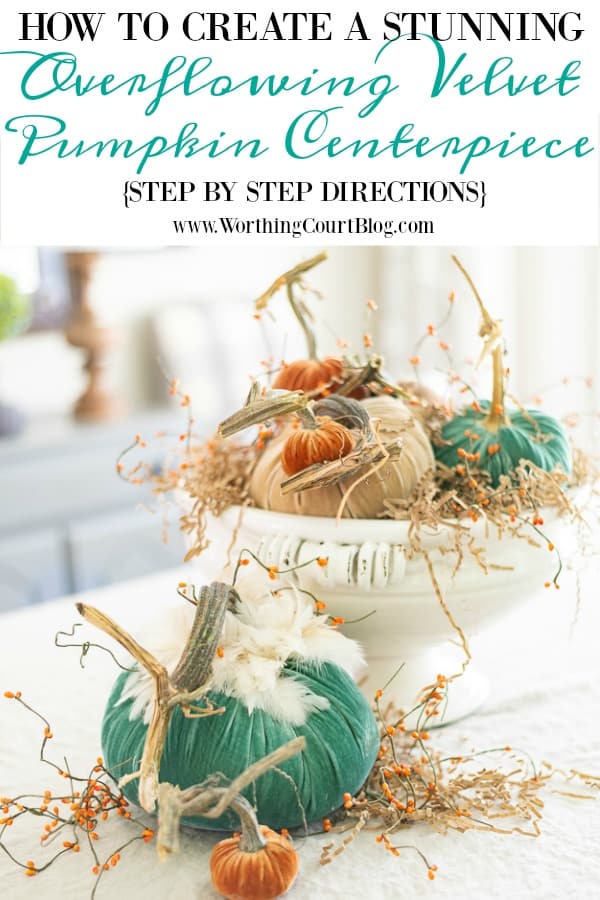
Decorating With Pumpkins – How To Create An Luxurious Fall Centerpiece On A Budget
Take your table to a whole new level this fall season with step by step directions for creating a luxurious fall centerpiece that fools the eye into thinking it’s overflowing with pumpkins.
Here’s the trick to creating a pumpkin centerpiece that appears to be filled to the brim and overflowing with pumpkins. Appearances are deceiving though!
I was compensated for this post by LoveFeast. The original project, photos and opinions are 100% my own. See my full disclosure HERE.
Since I was going for a stylish and luxurious centerpiece for my dining room, I chose to use velvet pumpkins, but you can apply these directions to whatever type of pumpkin you’d like to use.
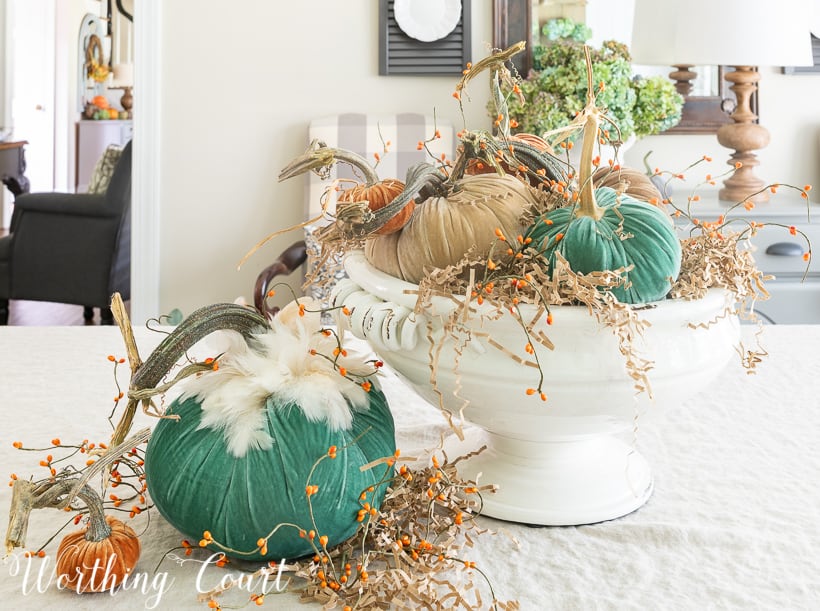
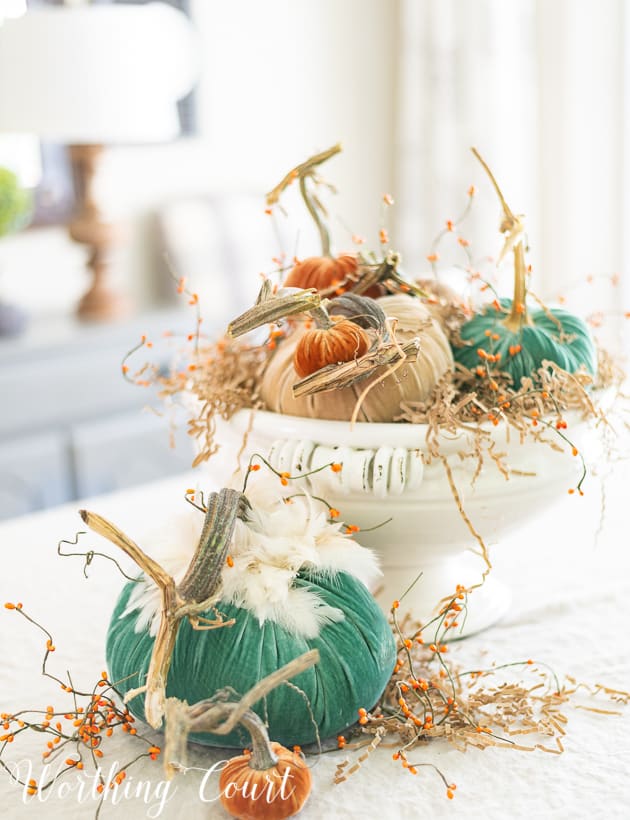
I love the mix of neutral, blue/turquoise and traditional fall russet mixed together, so to really set the colors off, I grouped them in a large, white footed bowl. Then for maximum impact I placed the centerpiece on top of a washed natural linen tablecloth. The colors just POP against the neutral background and are gorgeous!
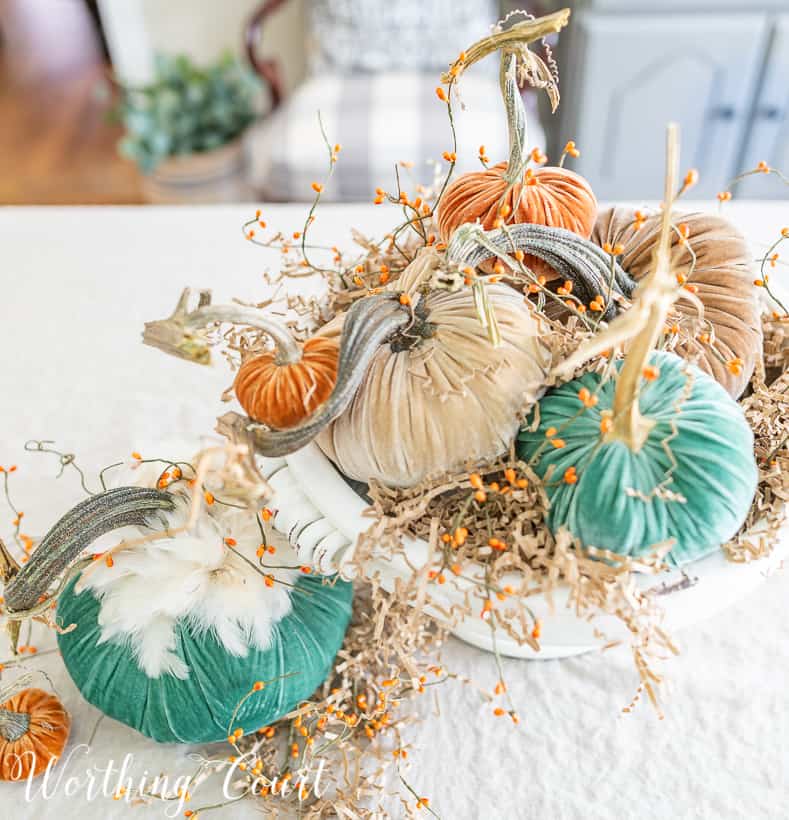
I’ve said many times that I always think of a bountiful harvest when I think of what fall means to me, and this centerpiece captures that timeless look feeling perfectly.
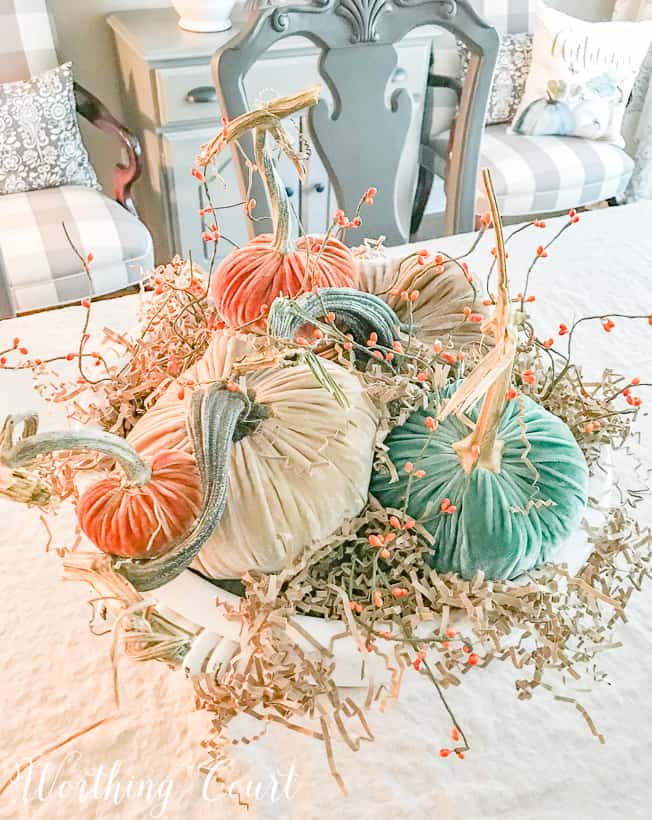
But – this isn’t what it seems! If you’ve been reading Worthing Court for long at all, then you know I’m all about decorating on a budget. So, I came up with a super simple way for you to create a bountiful fall centerpiece without blowing your budget.
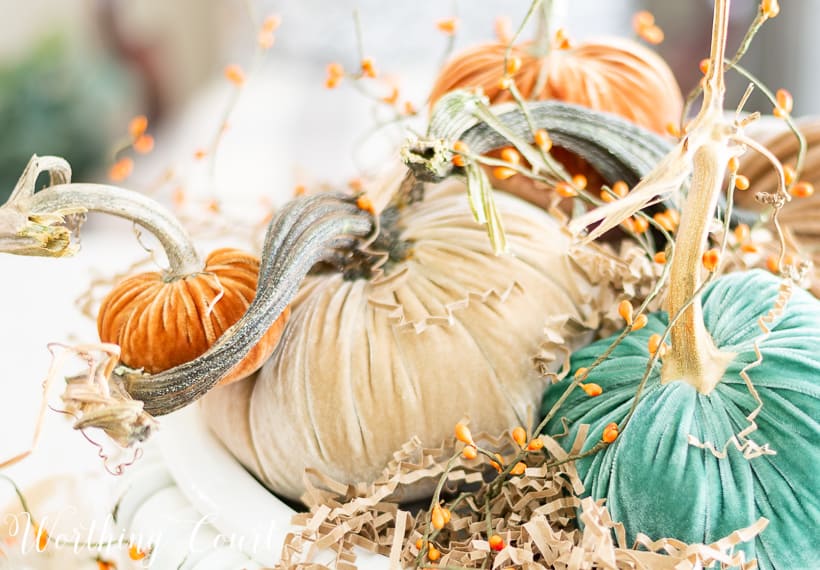
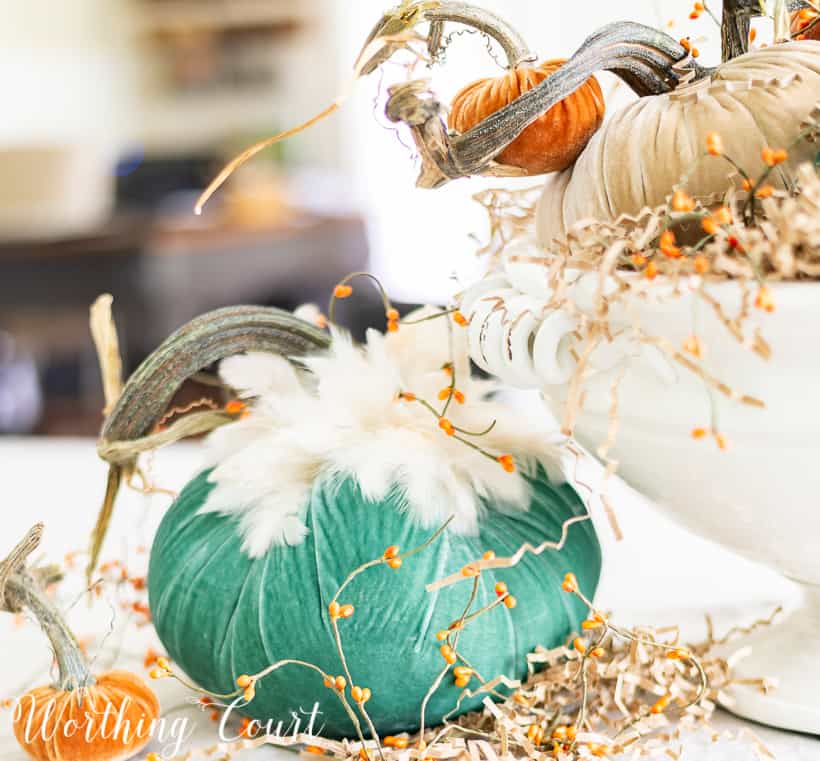
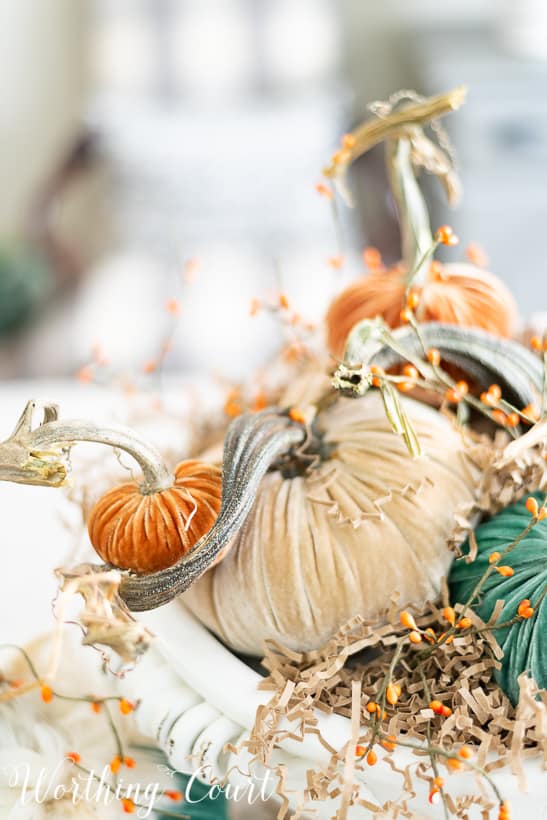
Creating a dramatic arrangement like this is so much easier than you think!
Let me show you exactly how I put my centerpiece together and then you can adapt what I did to fit your own home, the type of pumpkins and the container that you’re going to use.
SUPPLIES:
- pumpkins of various various sizes and colors
- a large container or footed bowl (the opening of mine is 14″ across and the bowl is 9″ tall)
- enough smaller bowls to fill the bottom of the container
- shredded paper crinkles
- berries.
You can ignore the candle and candlestick in the photo – I wound up not using them.
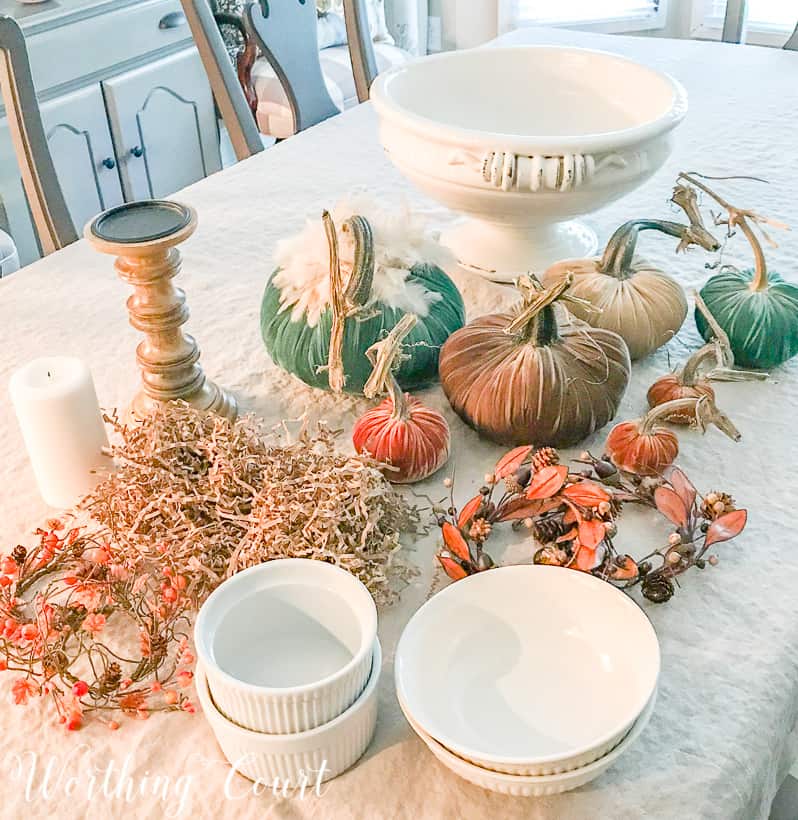
Let’s fool the eye!
DIRECTIONS:
To make it appear that the container is overflowing with pumpkins, fill the bottom with assorted bowls. I used a variety of bowls from my cabinets, turned upside down.
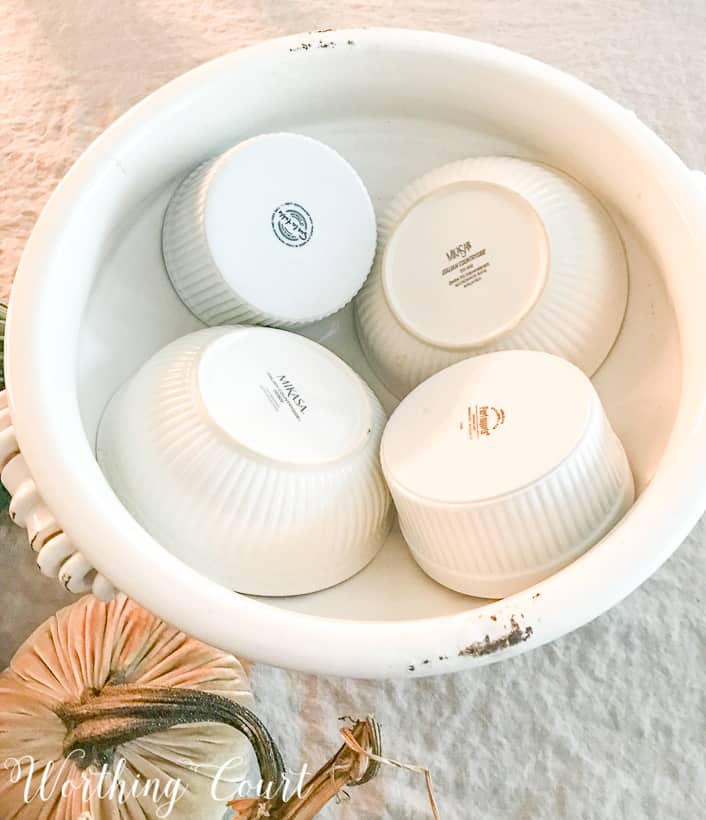
Place the pumpkins on top of the bowls that are turned over. Be sure to turn and tilt them at different angles instead of positioning them with all of the stems pointing straight up.
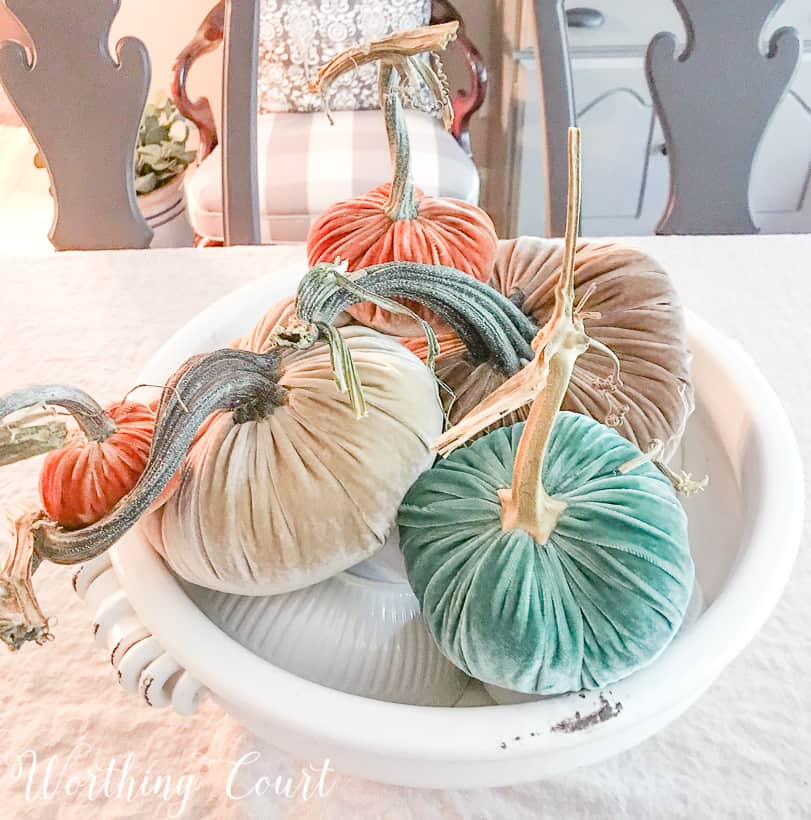
Fill in the empty spots with shredded paper, making sure to completely cover the filler bowls beneath the pumpkins.
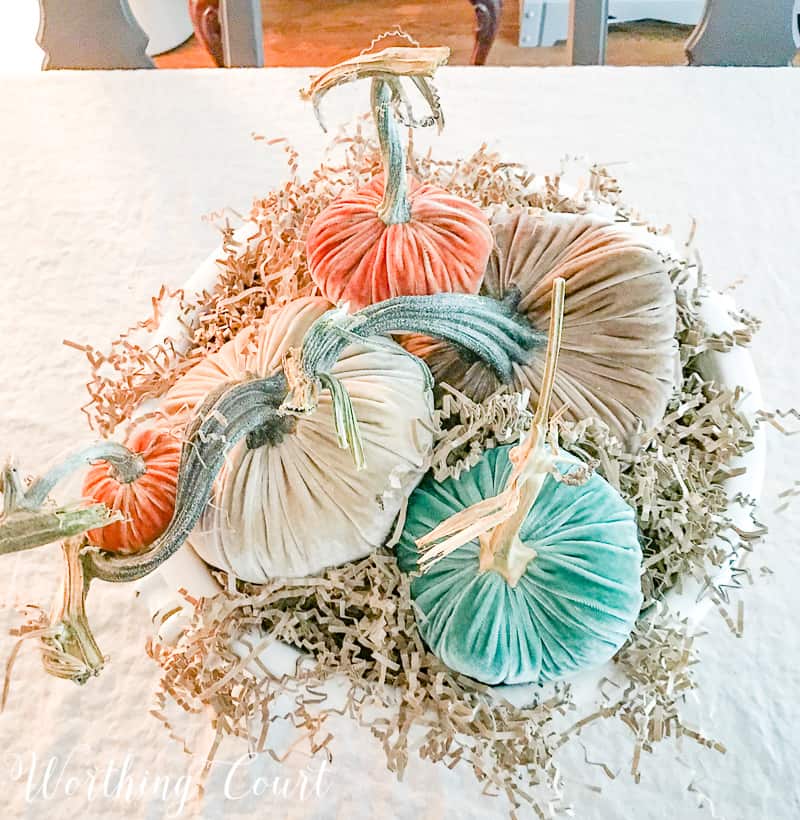
Tuck in pretty fall berries.

Give your centerpiece extra presence by adding a pumpkin or two off to the side, along with more of the paper crinkles and the same berries that you used in the container.
And voila – you have yourself a beautiful and bountiful fall pumpkin centerpiece. So easy and it looks like you’ve spent a fortune on pumpkins!
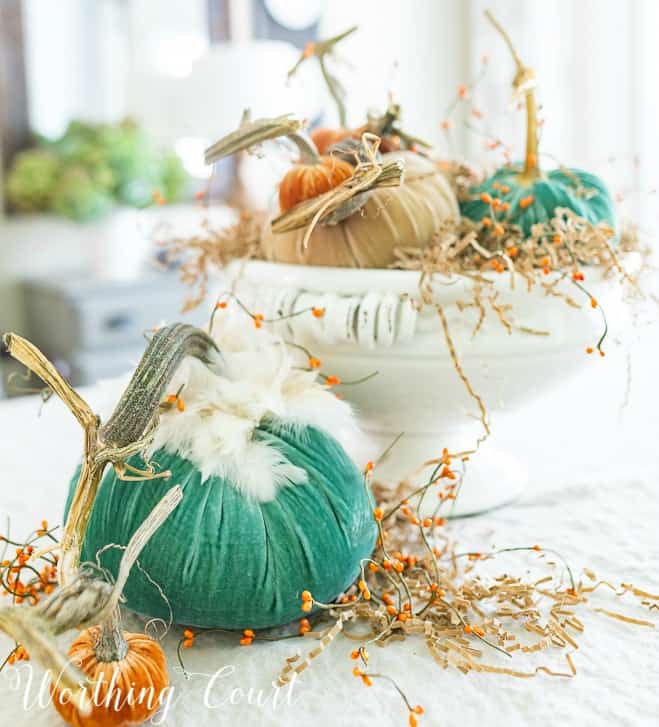

Wow, I love those colors together! What a beautiful and easy arrangement.
Thank you! I love anything that is super simple, but looks like you spent a lot of time on it. 😀