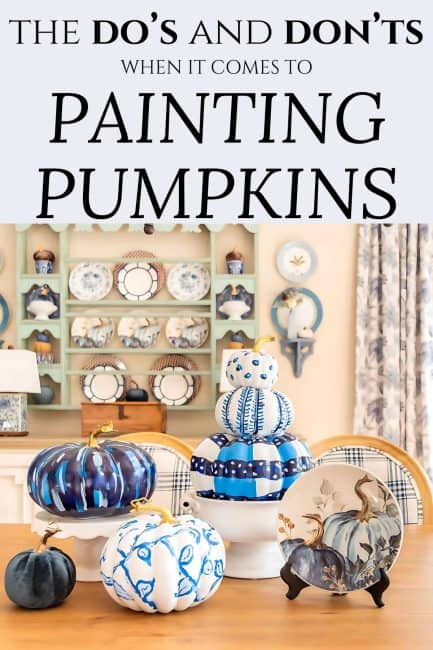
Create an Eye-Catching Centerpiece with Easy DIY Painted Pumpkins
With just a few simple supplies and a little creativity, you can diy your own painted pumpkins for a fraction of the cost of those done by artists.
This post contains affiliate links from Amazon and other retailers. See my full disclosure HERE.
It’s no surprise that painted pumpkins have become a major trend in fall decorating. They’re easy and fun to do and can be customized to fit in with any fall color scheme.
The best part is that you don’t have to be a professional artist to create your own!
Are my painted pumpkins perfect? Absolutely not! They actually have several boo-boos, some of which you can spot in these images.
But I believe that’s what adds to their charm and uniqueness.
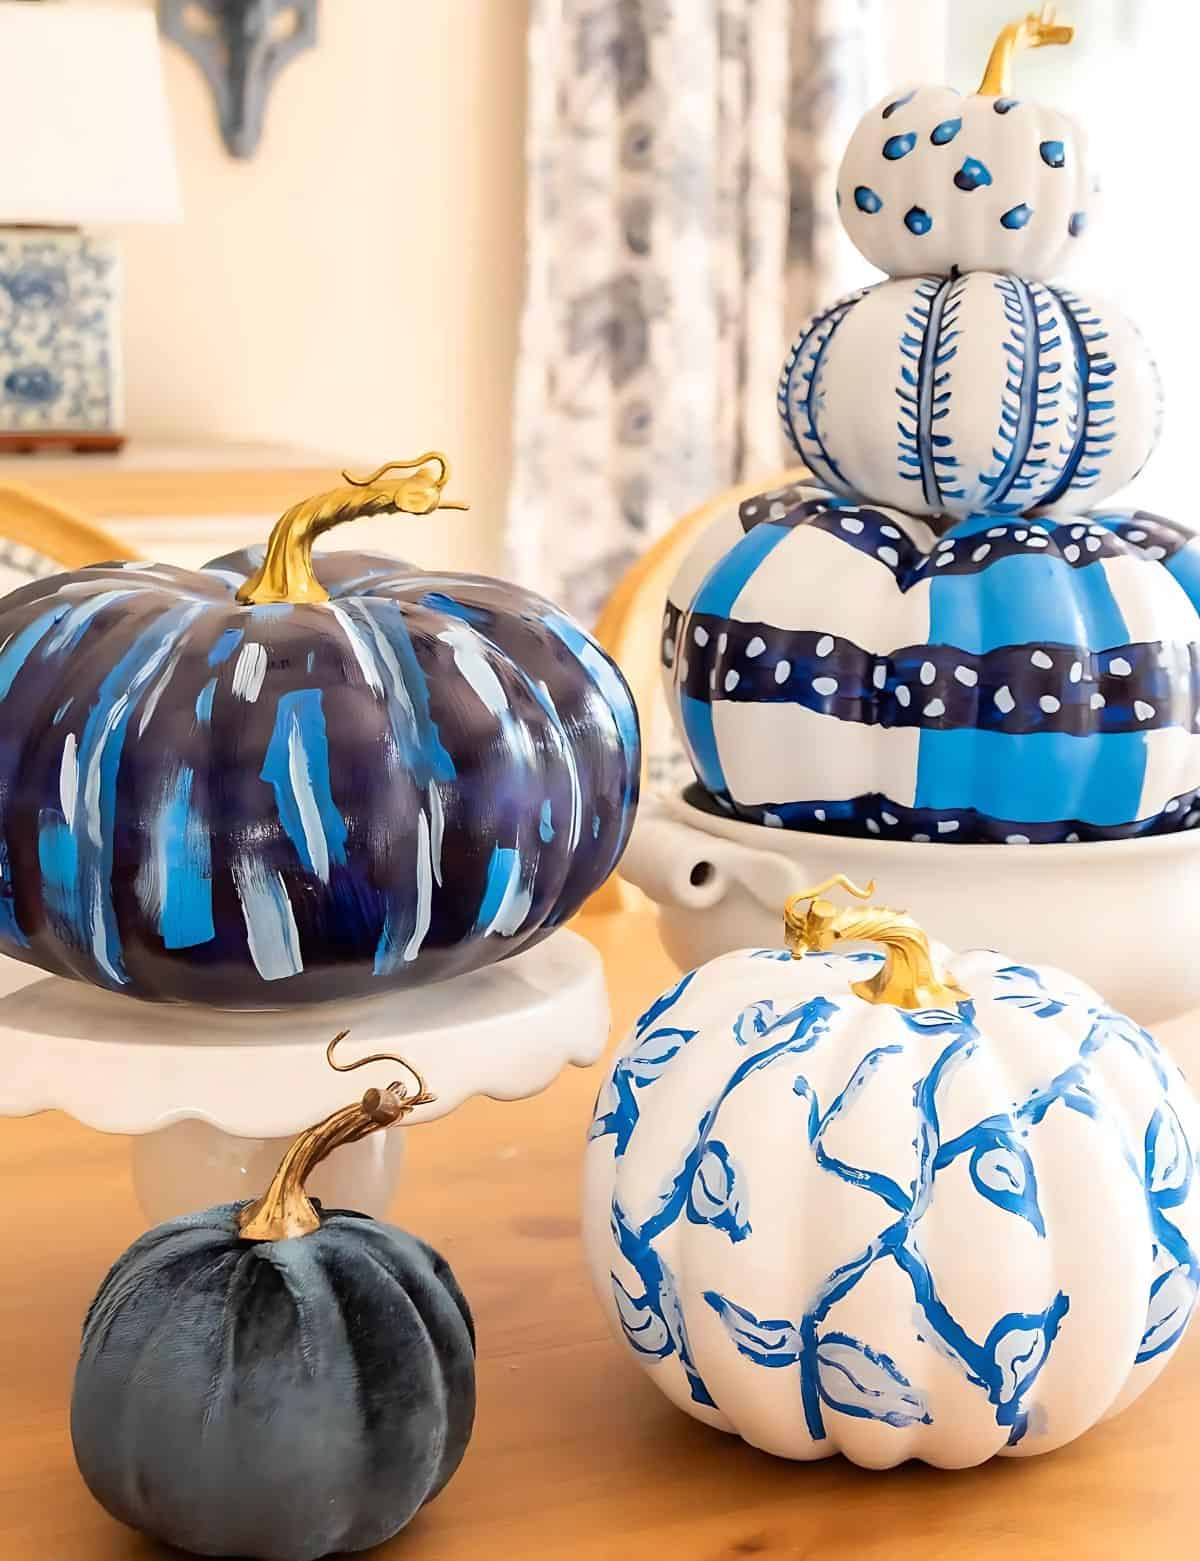
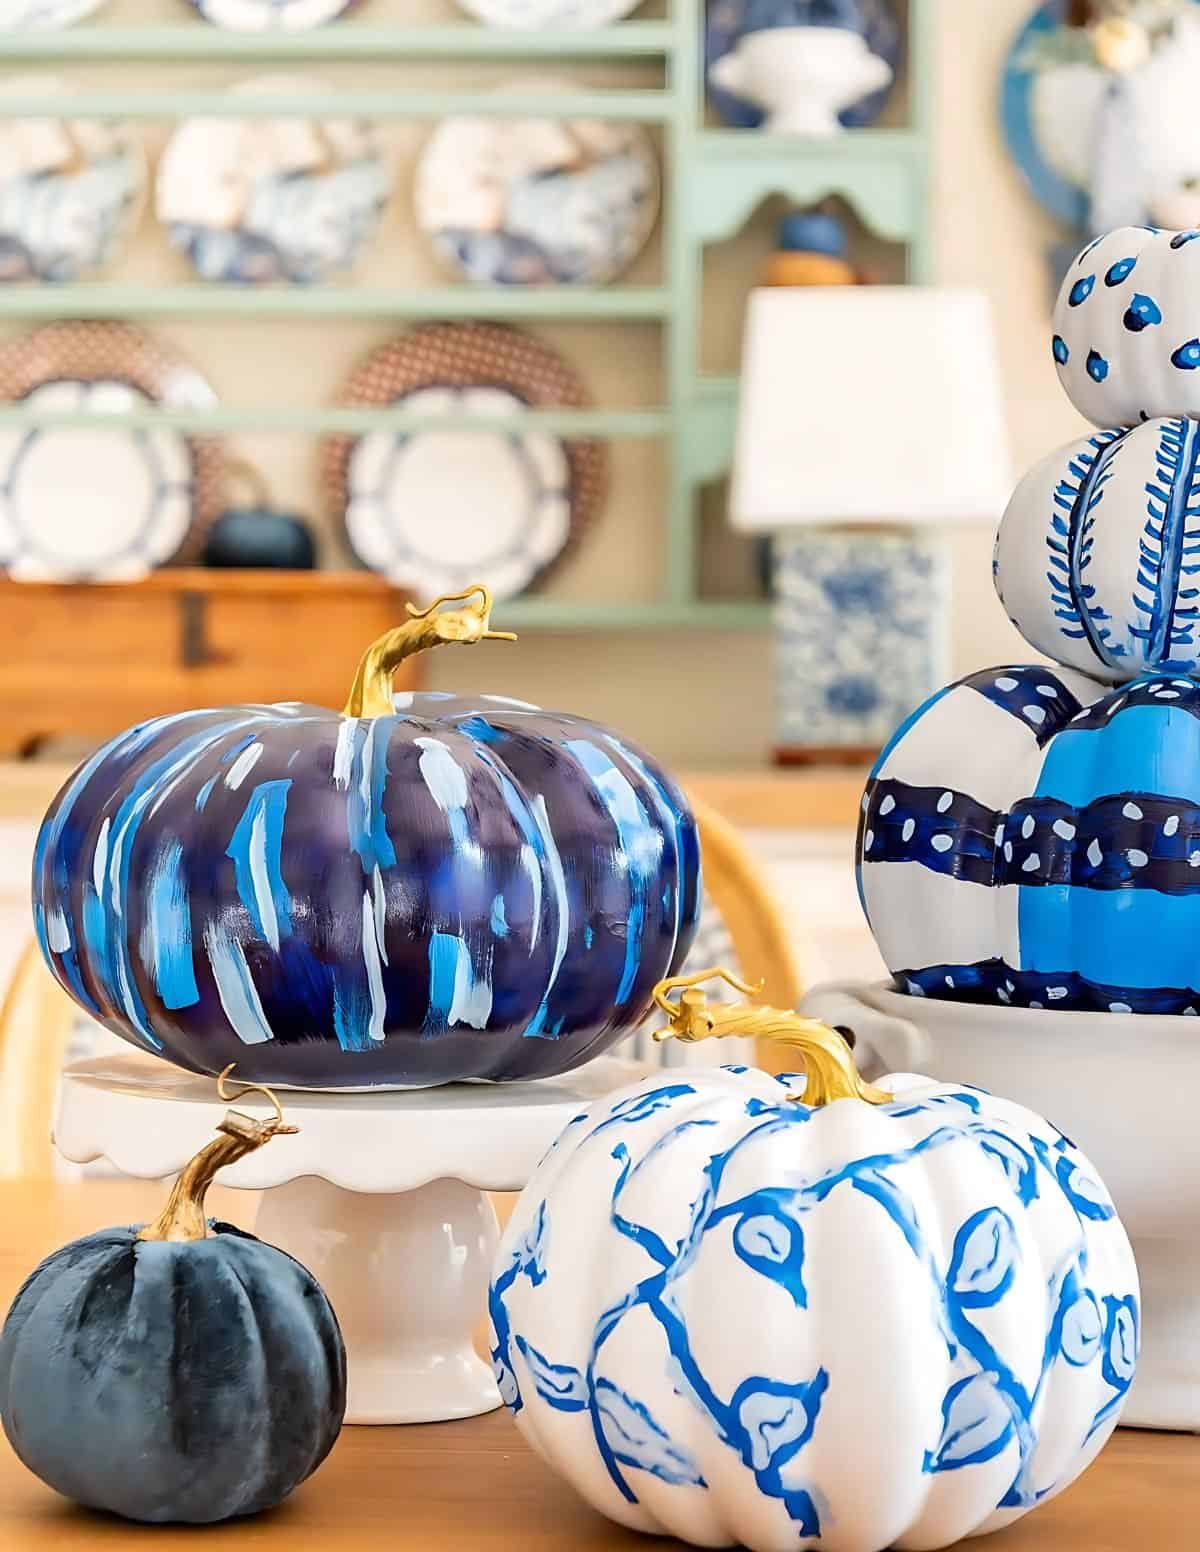
If you look closely at them, you’ll see that they mostly consist of lines, dots, and squiggly vines.
If you are more artistic, feel free to create more scenic designs. I tried my hand at a pagoda, but that didn’t go well.
Supplies used
As you can see, I painted all of pumpkins on the work table in my sewing room.
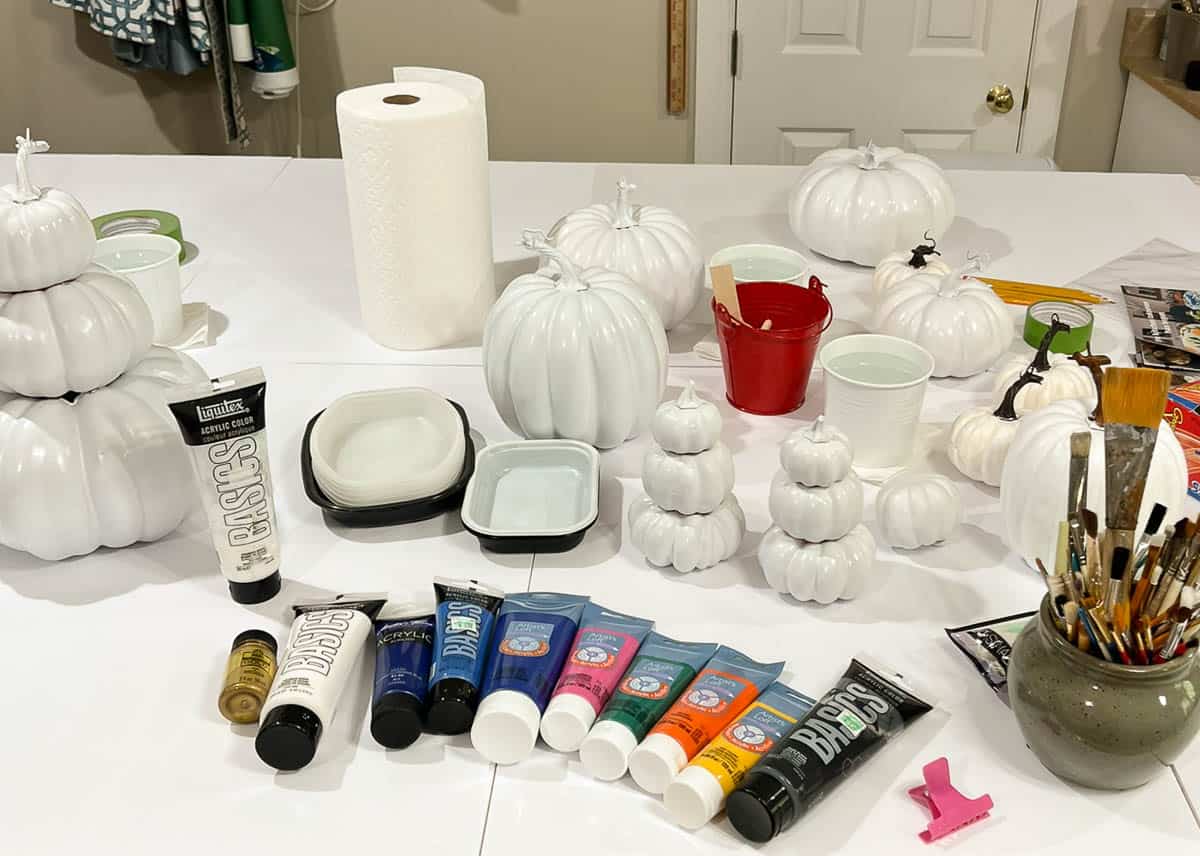
- Faux pumpkins
- Acrylic paint
- Metallic finish gold paint
- Paint brushes in assorted sizes
- Trays for mixing paint colors (mine are trays from frozen meals)
- Water for rinsing brushes
- Paper towels
- Pencils for sketching designs before painting
- Gallon size baggies for storing wet paint brushes between use
- Painters tape (if needed to tape off intricate areas)
Tips for painting pumpkins
- Protect the surface of your workspace. I used multiple pieces of foam core board from the dollar store.
- It’s easier to paint pumpkins with shallow grooves than deep ones.
- Don’t overload the paint brush with paint.
- Practice the design on a piece of paper before painting it on a pumpkin.
- When mixing paint colors, start with the lightest color, then add darker colors sparingly.
- When determining the direction to paint in, consider whether you are right or left handed, so that you don’t smear the paint.
- Allow each color to dry thoroughly before moving on to the next one.
- Paint the stems gold last.
- If you simply don’t like your design, allow the paint to dry, then repaint the entire pumpkin white so that you can start over.
- It doesn’t have to perfect!
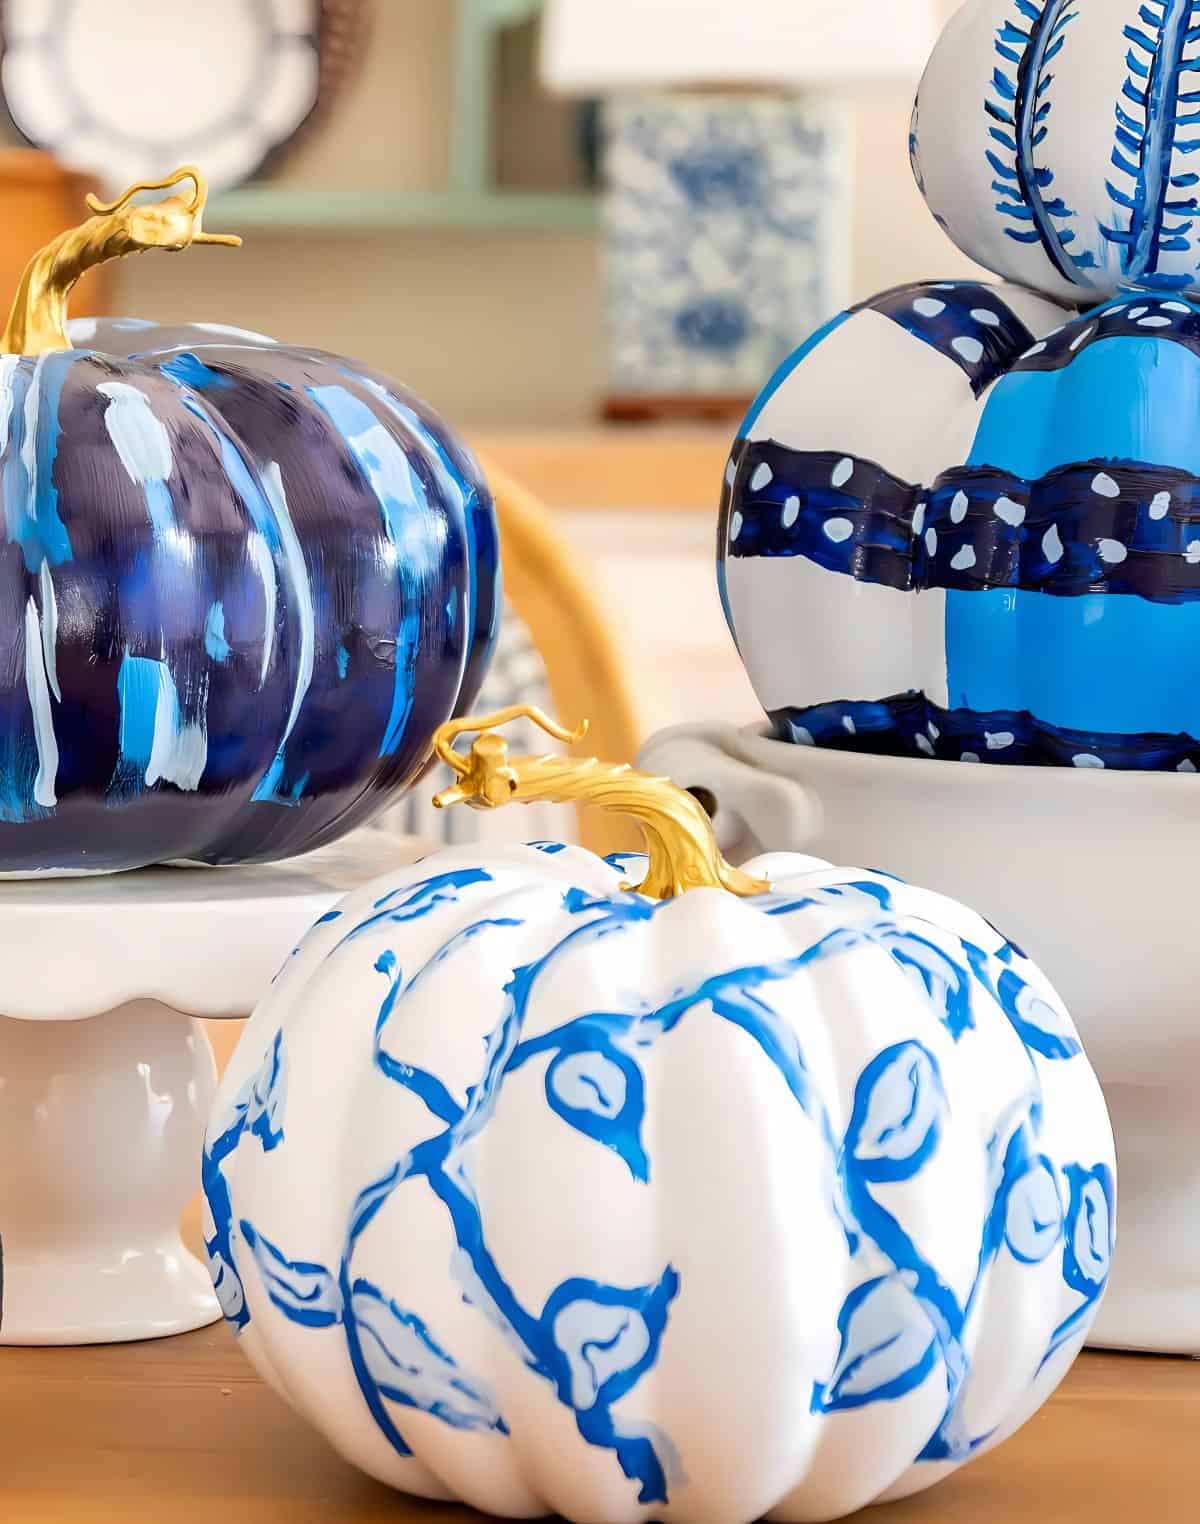
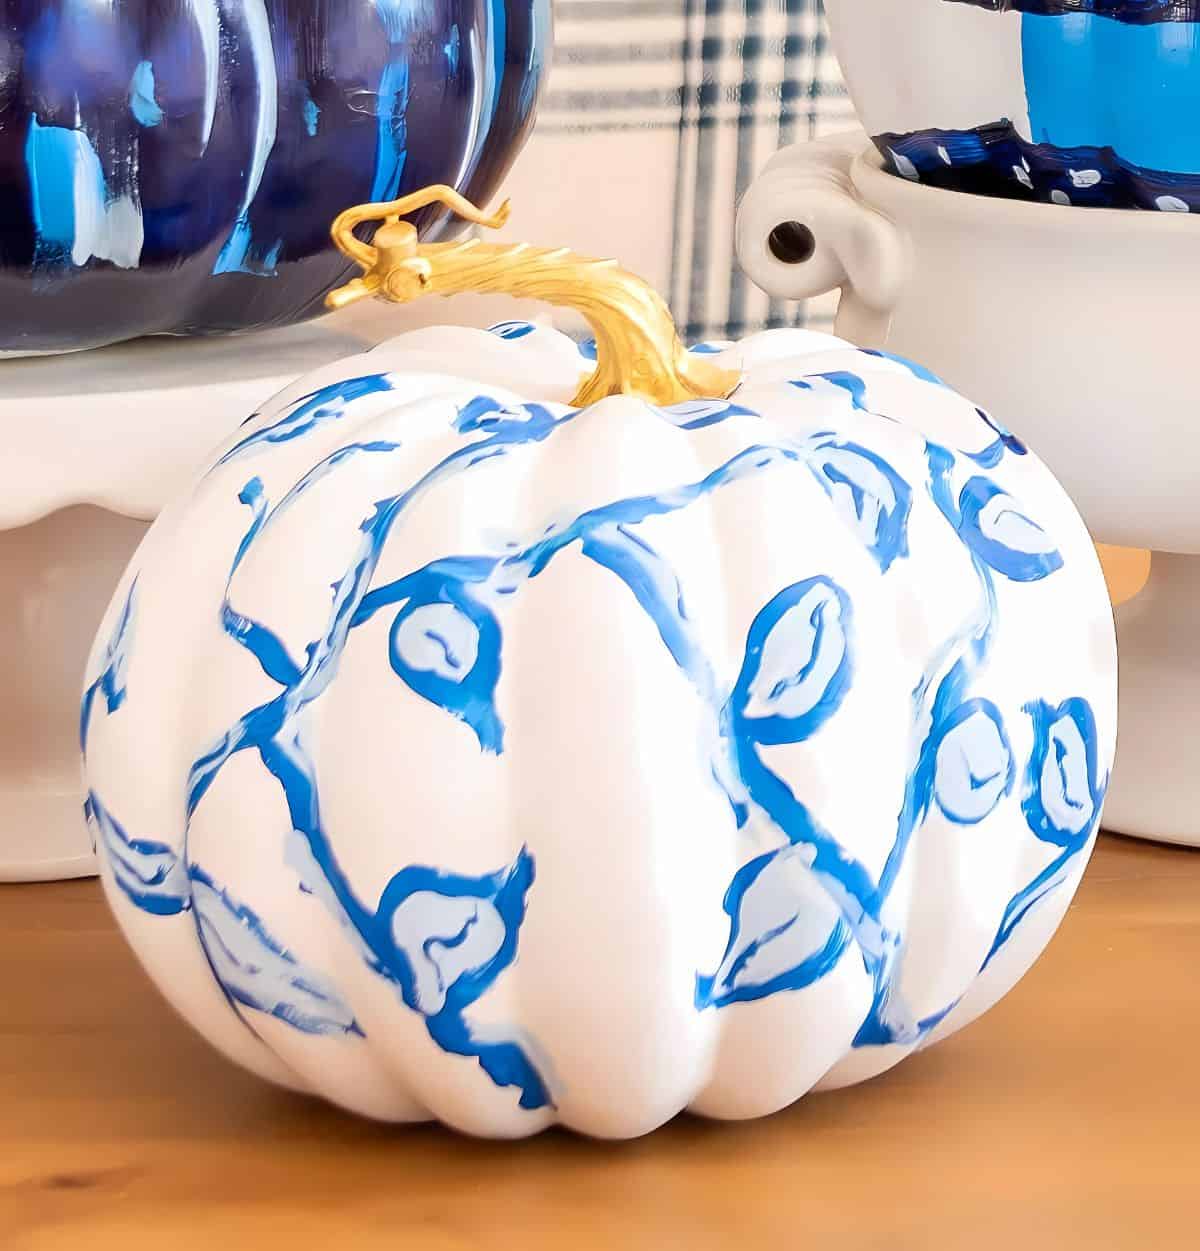
My favorite pumpkin is the one covered with squiggly vines and free-handed leaves.
I used two different colors to add dimension, painting the darker color first.
The lighter blue fills the interior of the leaves and randomly runs along the edges of the dark blue vines.
Adding a thin line of blue to the center of each leaf makes them look more realistic.
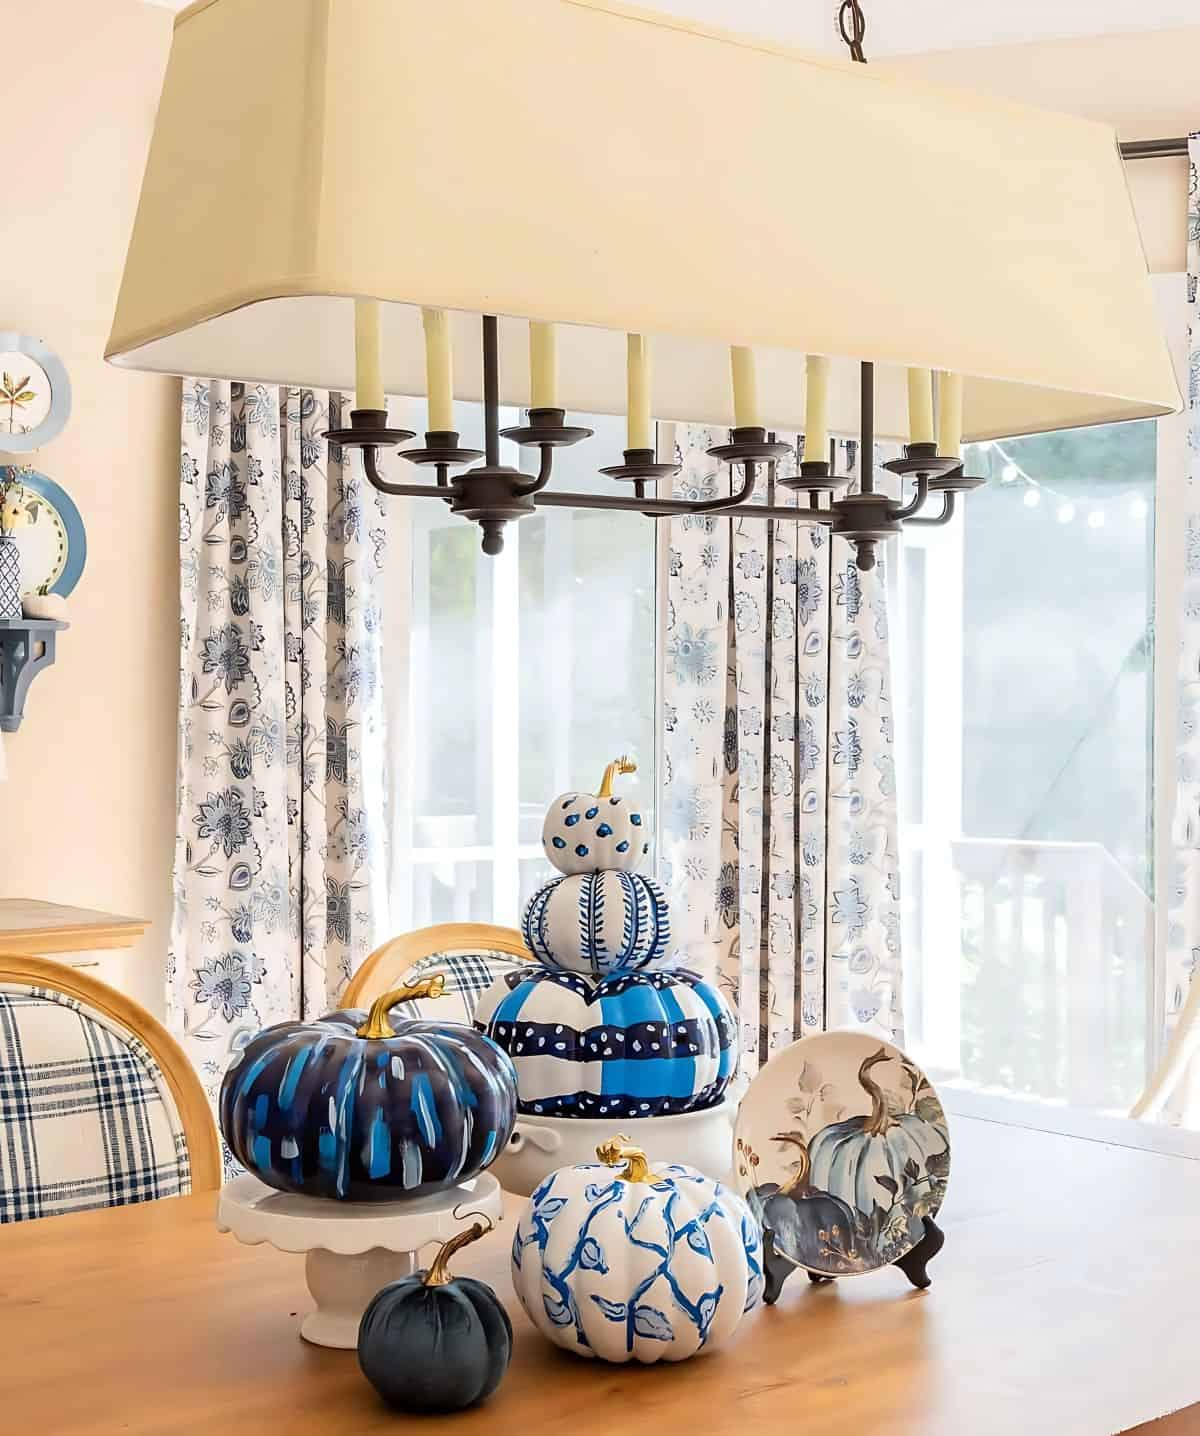
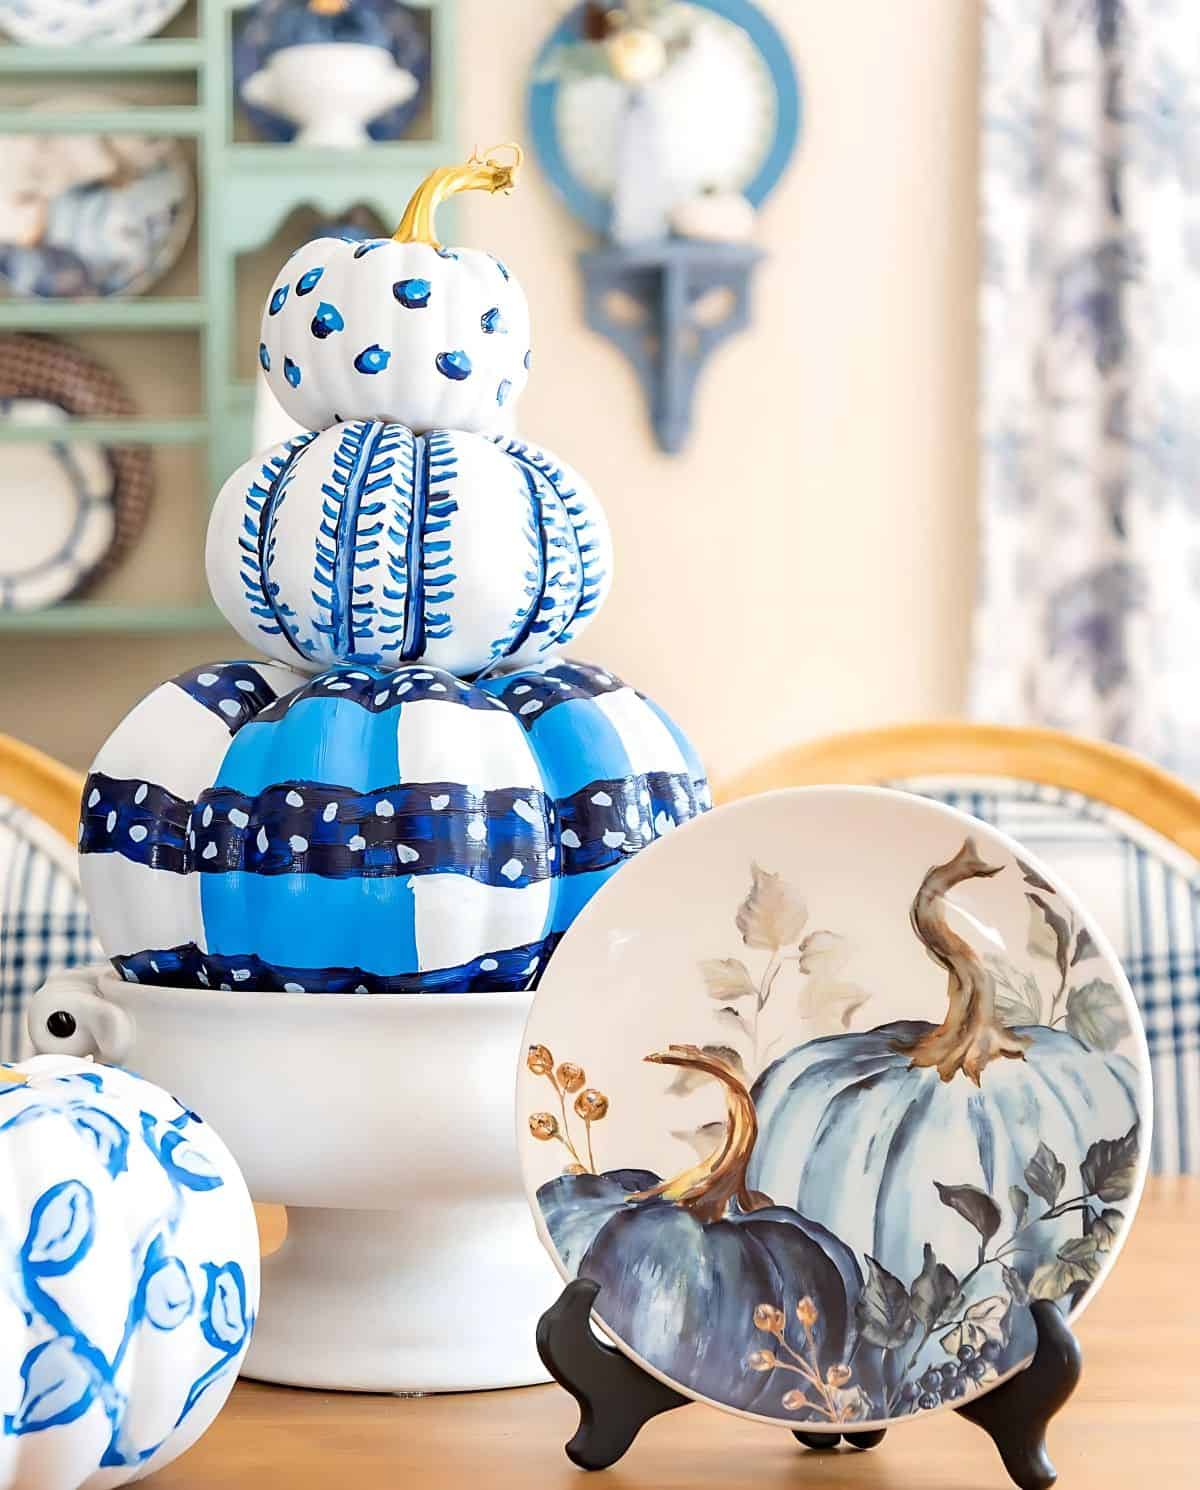
The pumpkin topiary was the most fun to work on. Here’s what it looked like when I purchased it.
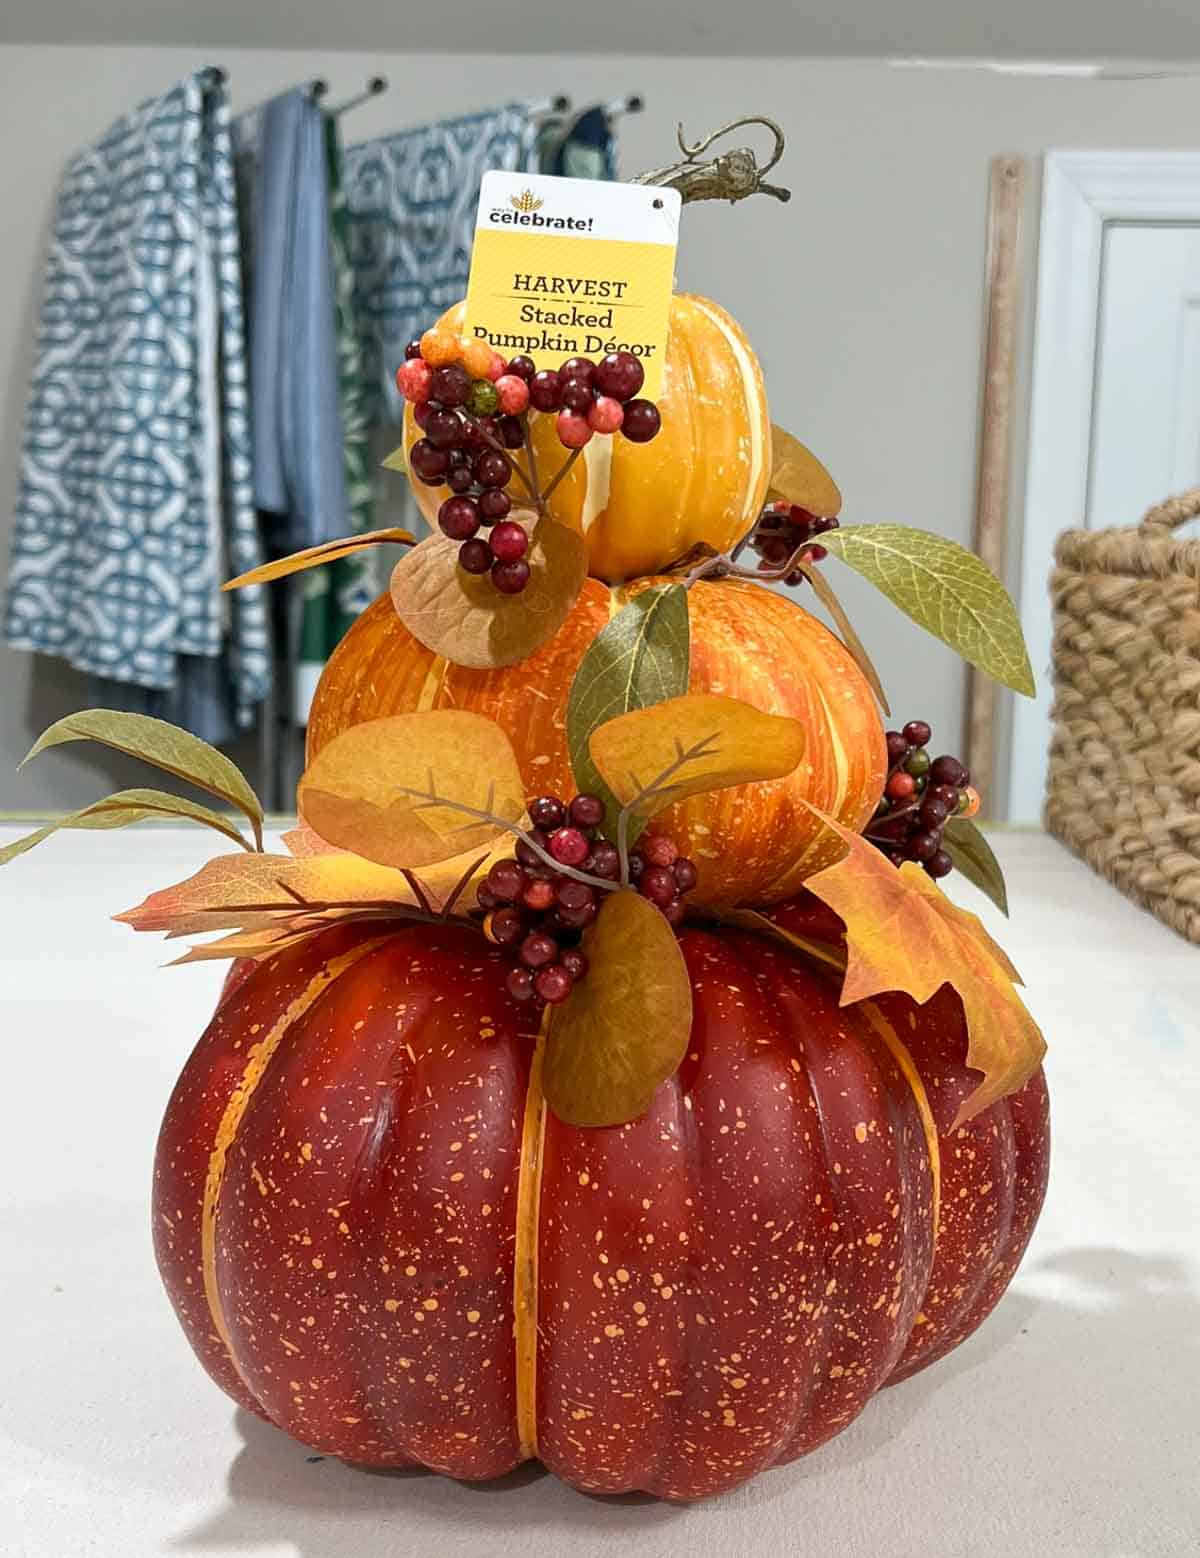
The leaves and berries were easy to pull out with a pair of pliers.
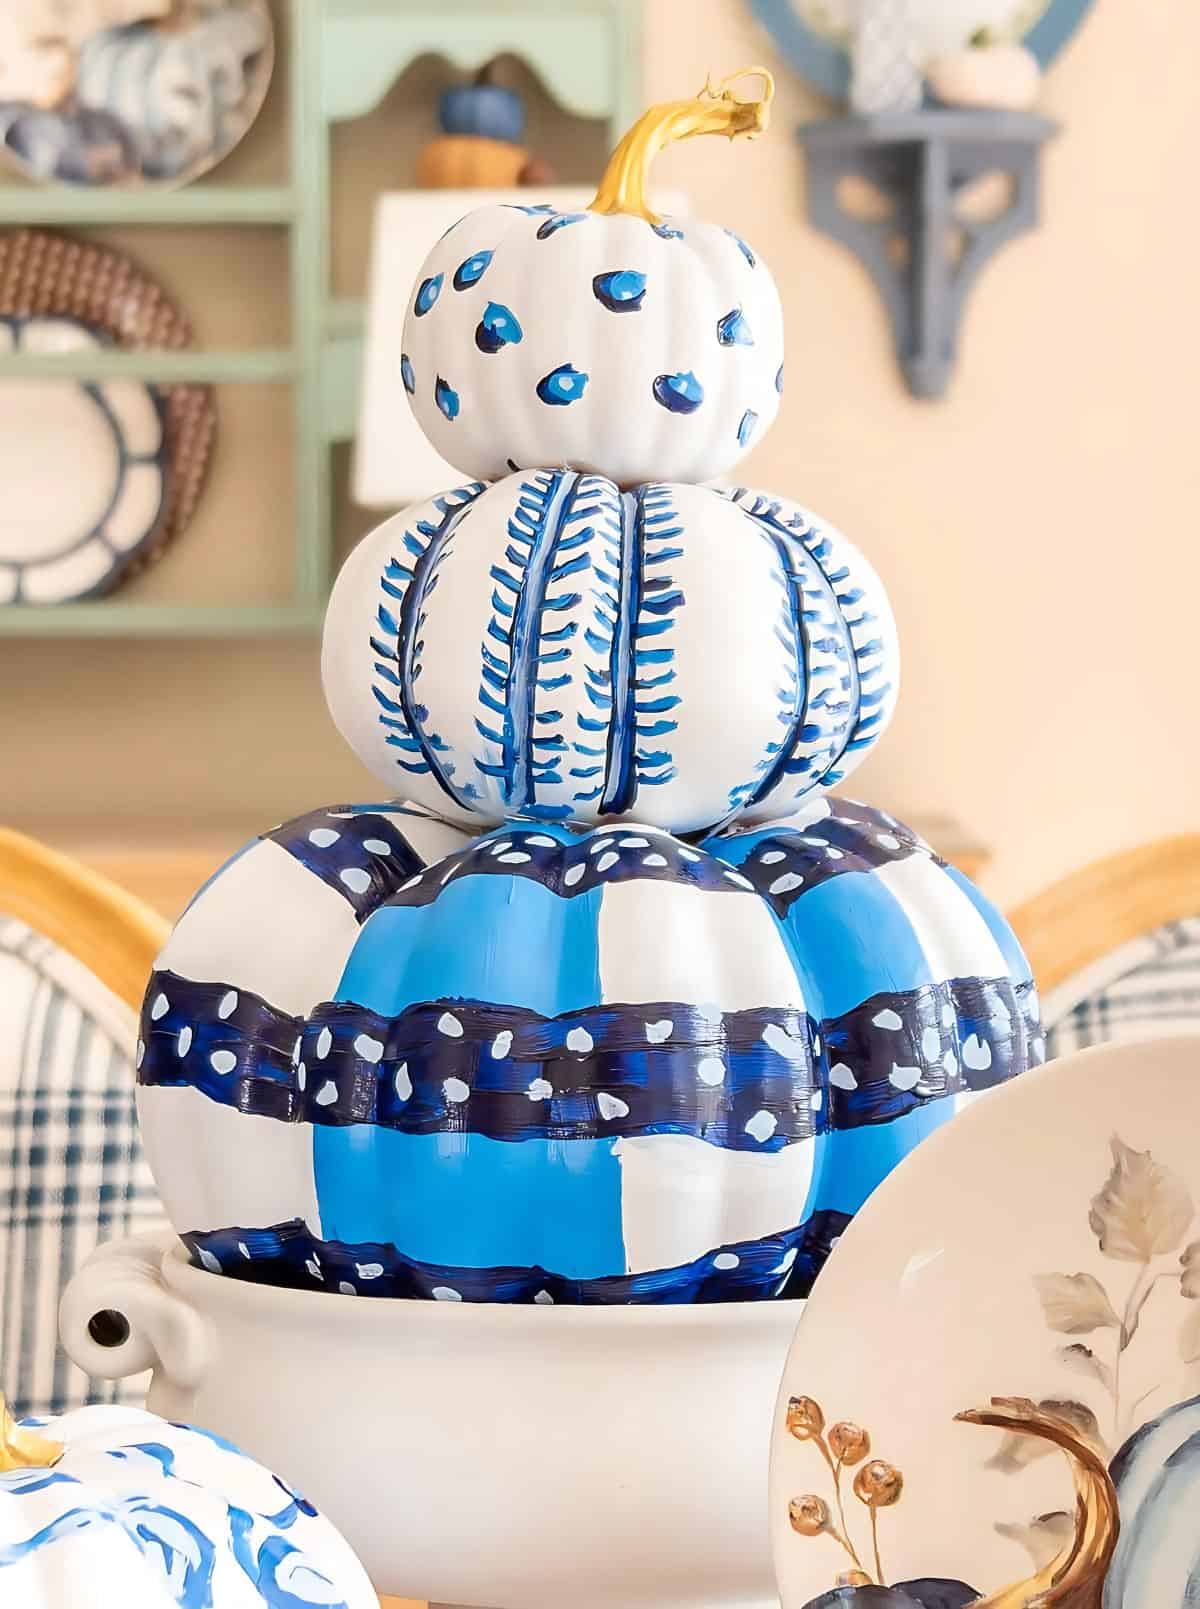
I wanted to do a different design, using the same colors, on each of the sections:
- The bottom section is a series of vertical and horizontal stripes. I added the smushed dots to the dark blue stripe last.
- For the middle section, I first painted a dark blue line in each of the crevices, then added “leaves”, which are nothing more than small, curved brush strokes. To give it dimension, I added a lighter blue on top of the lines and leaves.
- I attempted to make the top section look like leopard print by covering it with randomly placed larger smushed dots, layered with all three shades of the blue paint.
And yes, you can see where I messed up at the bottom of the middle section. Like I said – not perfect by a long shot.
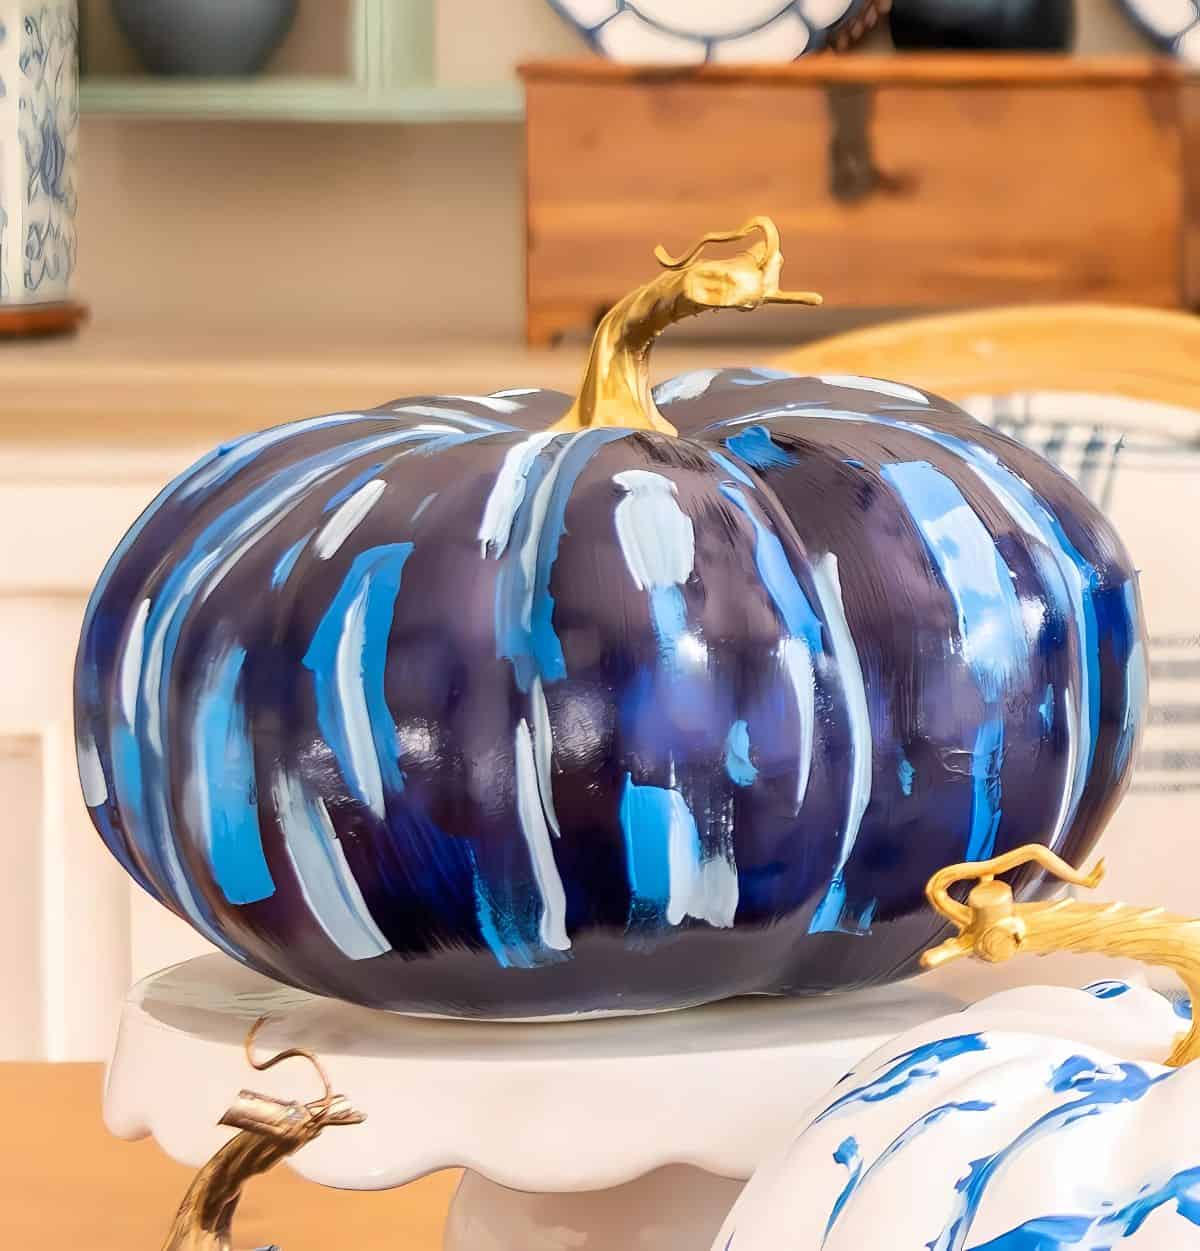
And the easiest pumpkin to paint of them all was the dark blue one.
I started by painting lighter blue lines in the indentations and then simply added brush strokes around the body of the pumpkin.
My mistake on this pumpkin is not taking the brush strokes all the way to the bottom, which you can see here.
The bottom isn’t painted a different shade of blue – it’s just the way the light is hitting it in this image.
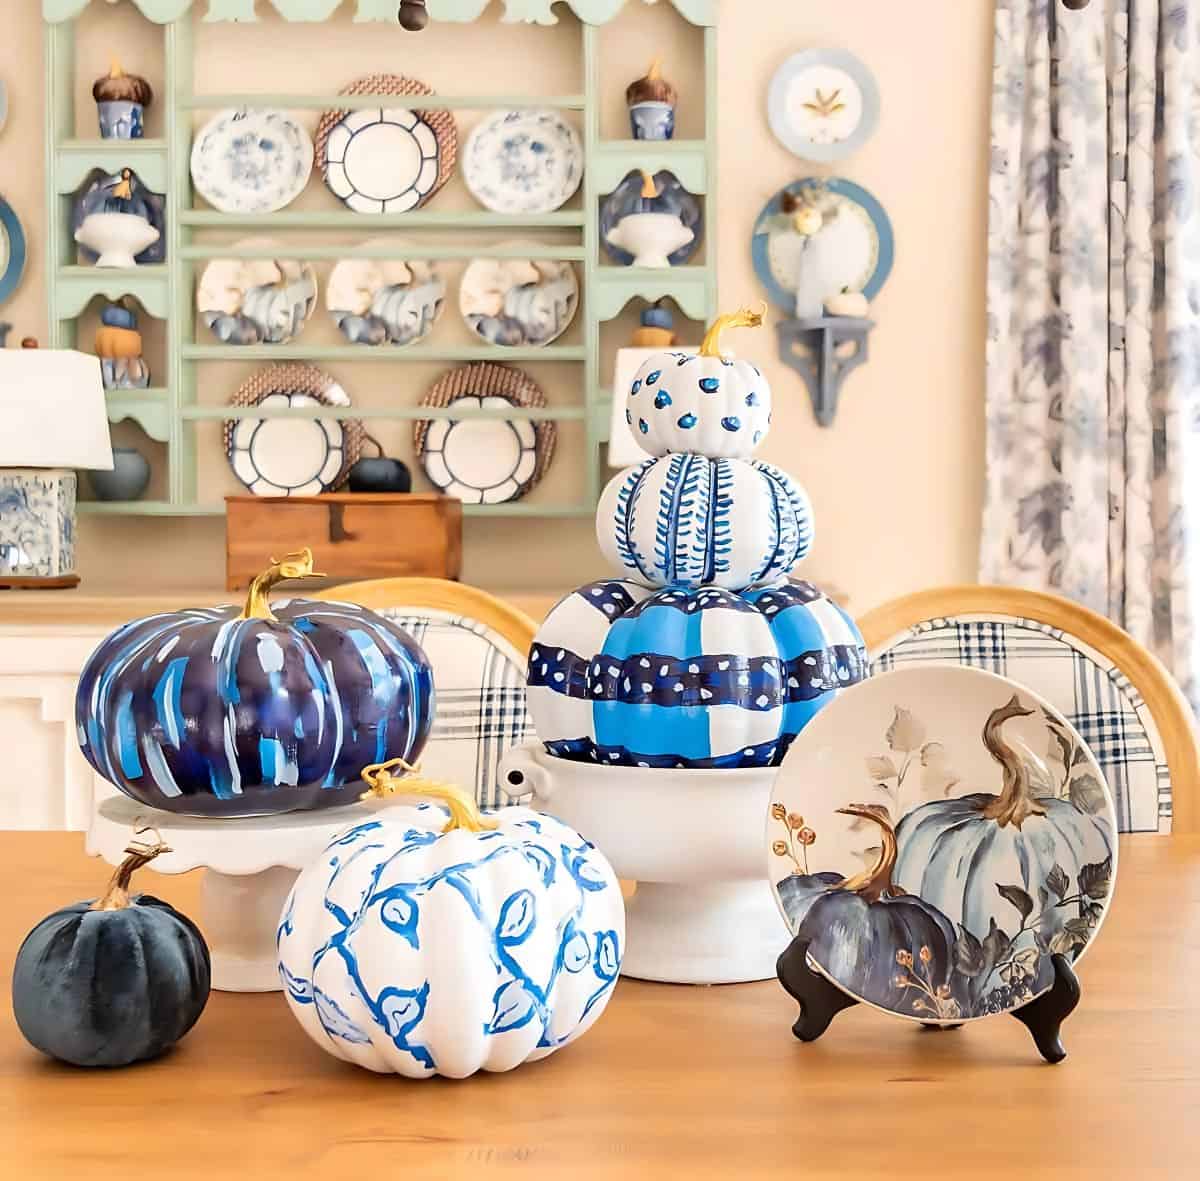
This year, they’re all grouped into a centerpiece. No telling where they’ll wind up next year!
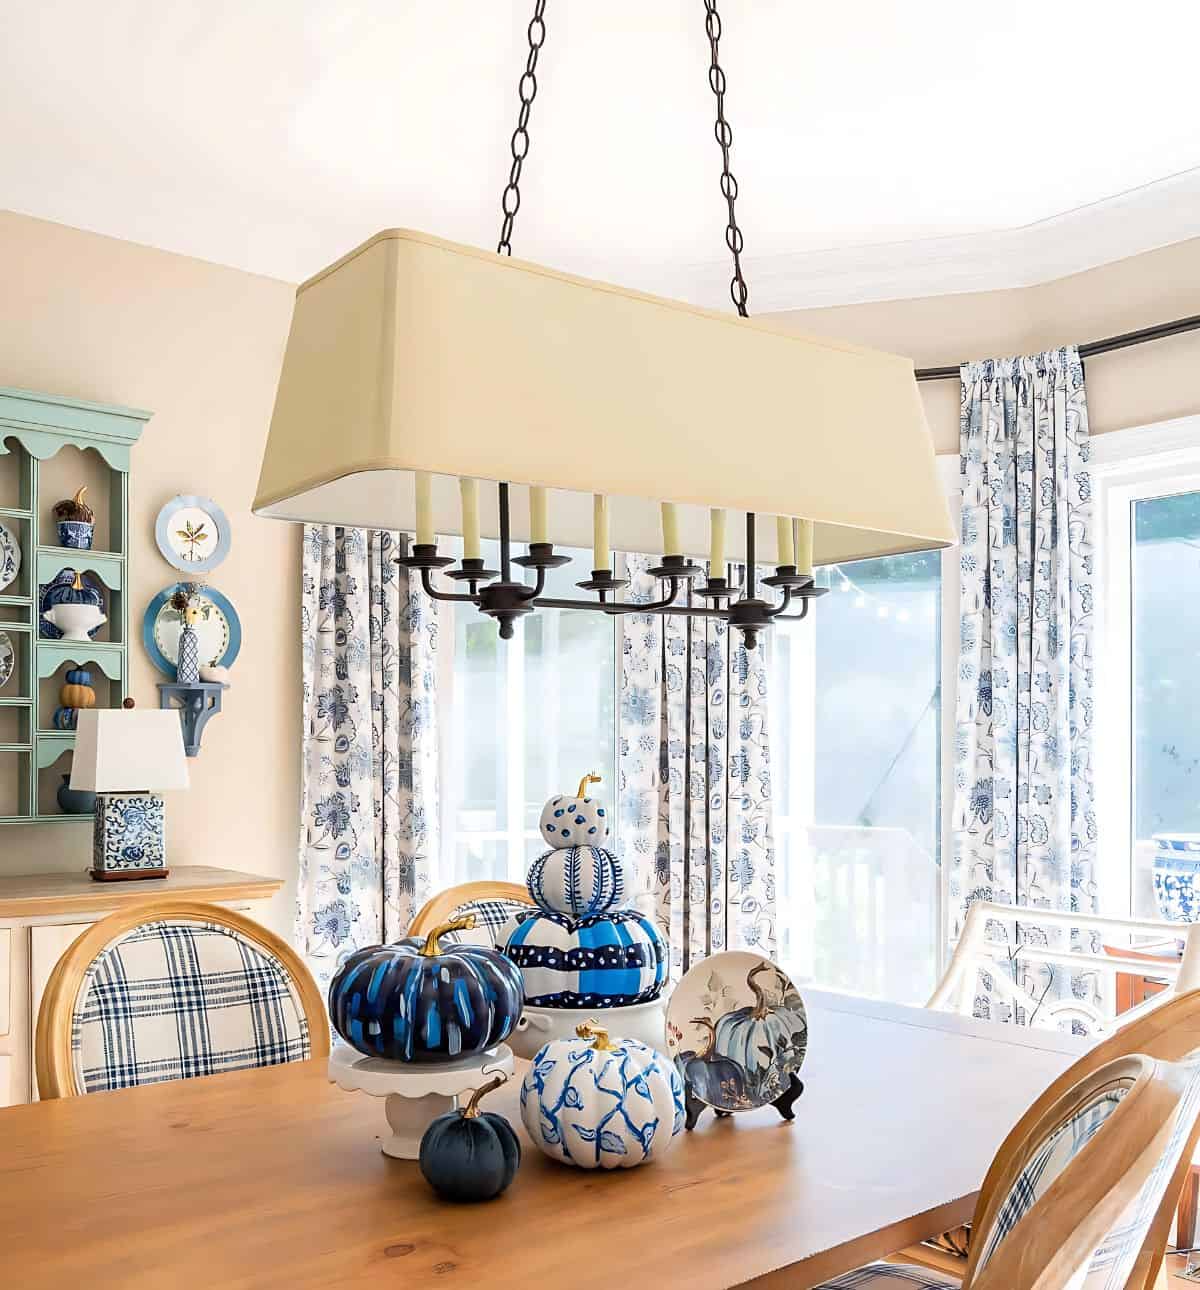
In closing, consider this. Creating a DIY painted pumpkin centerpiece is not only fun but it’s also a great way to add a personal touch to your fall decor.
The beauty lies in the creativity and uniqueness of each pumpkin, no matter whether your designs turn out perfectly or come with a few imperfections.
Plus, the possibilities are endless—mixing patterns and colors ensures that your centerpiece is one-of-a-kind.
So gather your supplies, let your imagination run wild. Happy pumpkin painting!