Blue and White Breakfast Nook Decorating Ideas
Create a cheery and charming breakfast nook using blue and white decor. These fresh decorating ideas are perfect for spring and beyond!

This post contains affiliate links from Amazon and other retailers. See my full disclosure policy HERE.
Looking for inspiration to decorate a breakfast nook with blue and white? This bright and charming space is filled with fresh ideas for bringing this classic color combination into your home—just in time for spring!
Truth be told, I could have easily called this post “Before and After Breakfast Nook Makeover Reveal,” because that’s really what it is. But since I used blue and white decor to bring the whole space to life, I decided to focus on how you can decorate your own breakfast nook with this timeless palette. And as a bonus, the timing worked out perfectly to add a few simple spring touches too.
This little makeover has been a long time coming. I took my time thinking through exactly how I wanted the space to feel. From the very first brainstorming session to final styling, this project has been in the works for over a year. I’m so glad I waited, because I truly love how it all came together—and I hope it gives you plenty of ideas for your own home too.
Before: A Breakfast Nook Full of Farmhouse Charm
Let’s take a look at where I started. When we moved in and remodeled this space nearly nine years ago, I filled it with all the farmhouse charm I loved at the time—shiplap, rustic finishes, and cozy textures that made the nook feel warm and inviting.
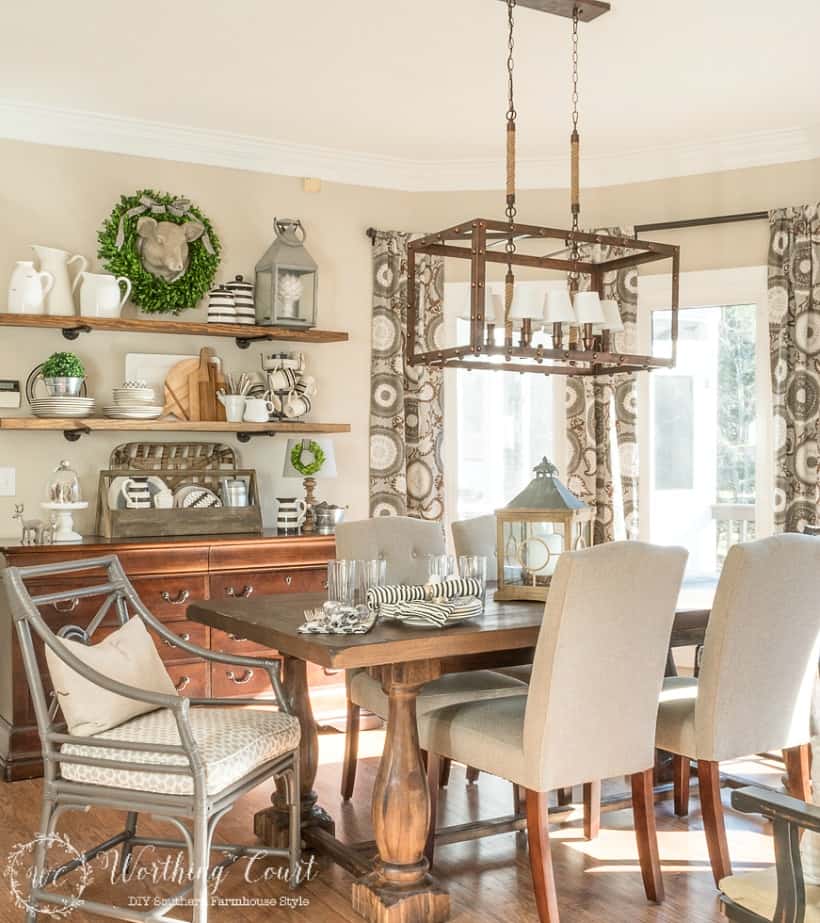
But after living with it for almost a decade, I was ready for a fresh look. My style has evolved, and while I still appreciate the character those farmhouse details added, I wanted something that felt lighter, brighter, and a little more classic. I was craving a look that was still welcoming, but with a timeless twist—one that leaned into my love of decorating with blue and white.
When it comes to breakfast nooks—or any kitchen eating area, really—I believe they should feel like happy little spots in your home. These are the places where your day begins, where coffee is sipped, and where casual meals are shared. So for me, that means the space needs to be bright, fresh, and full of cheer.
That’s exactly the direction I took this time around. After spending over a year planning and working on updates, I think this nook finally reflects the light and happy feeling I was craving. And with a few simple touches for spring, the whole space feels more pulled together than ever. We couldn’t be more pleased with how it turned out—and I hope you’ll agree once you see it too!
The Design Plan That Took a Turn
t’s funny how decorating projects can take on a life of their own. In some ways, the final look of this space is completely different from the original design board I created—but the overall feel I was going for is still there.
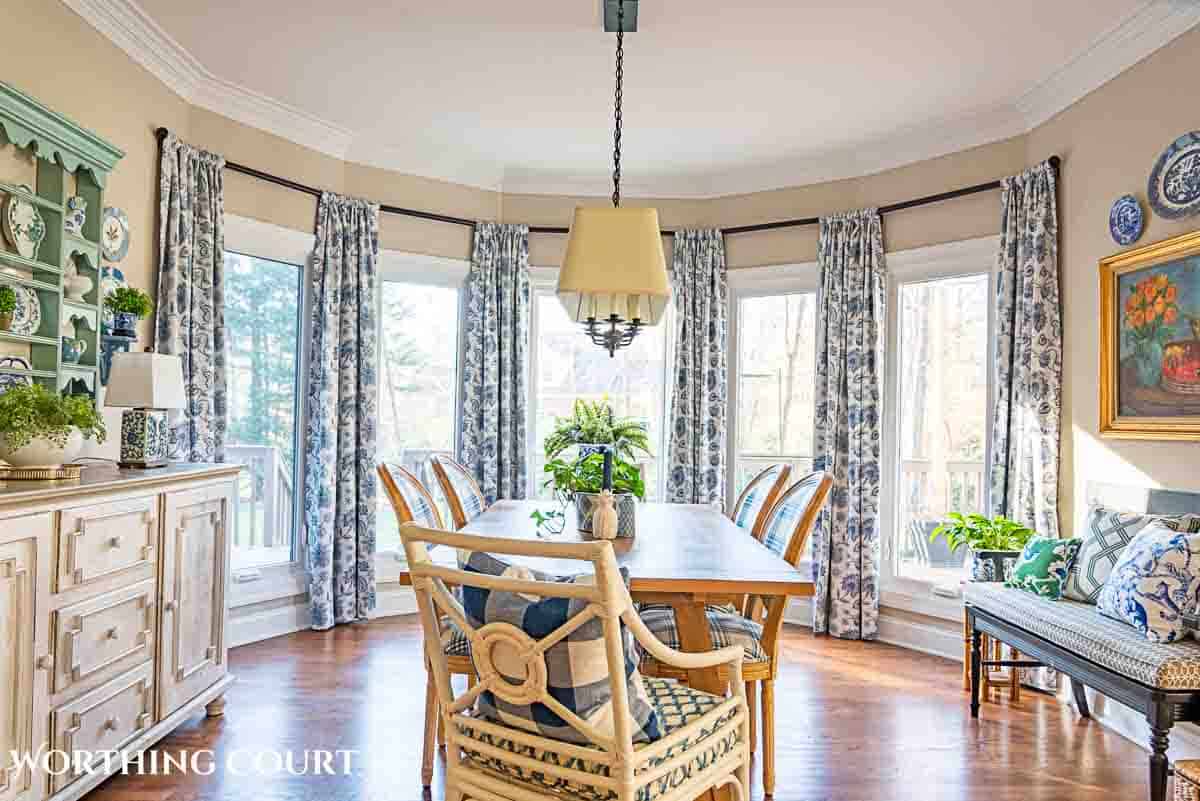
The biggest surprise? I didn’t use the fabric that originally inspired this entire makeover at all! I had planned to use it for draperies on the bay window, and while I loved the pattern, I kept putting off actually making them. And let’s be honest—when you’re dragging your feet that much, it’s usually a sign.
That one unfinished project kept the rest of the room in limbo. Once I finally gave myself permission to pivot and move on without those drapes, everything else started falling into place.
But then! I ran across very affordable readymade ones, that I love, and think work better in here than my original choice would have. I decided to hold onto the original fabric for my in-process dining room makeover.
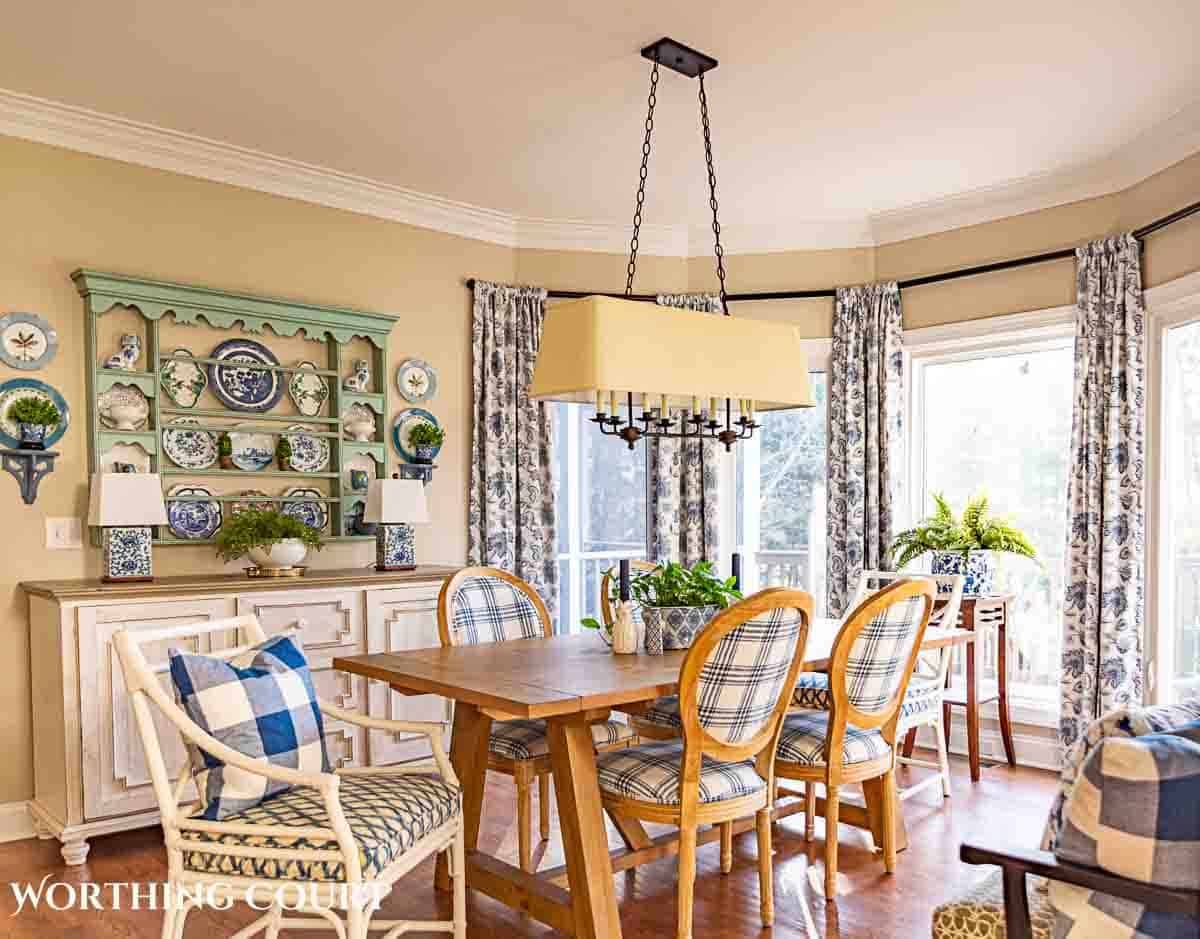
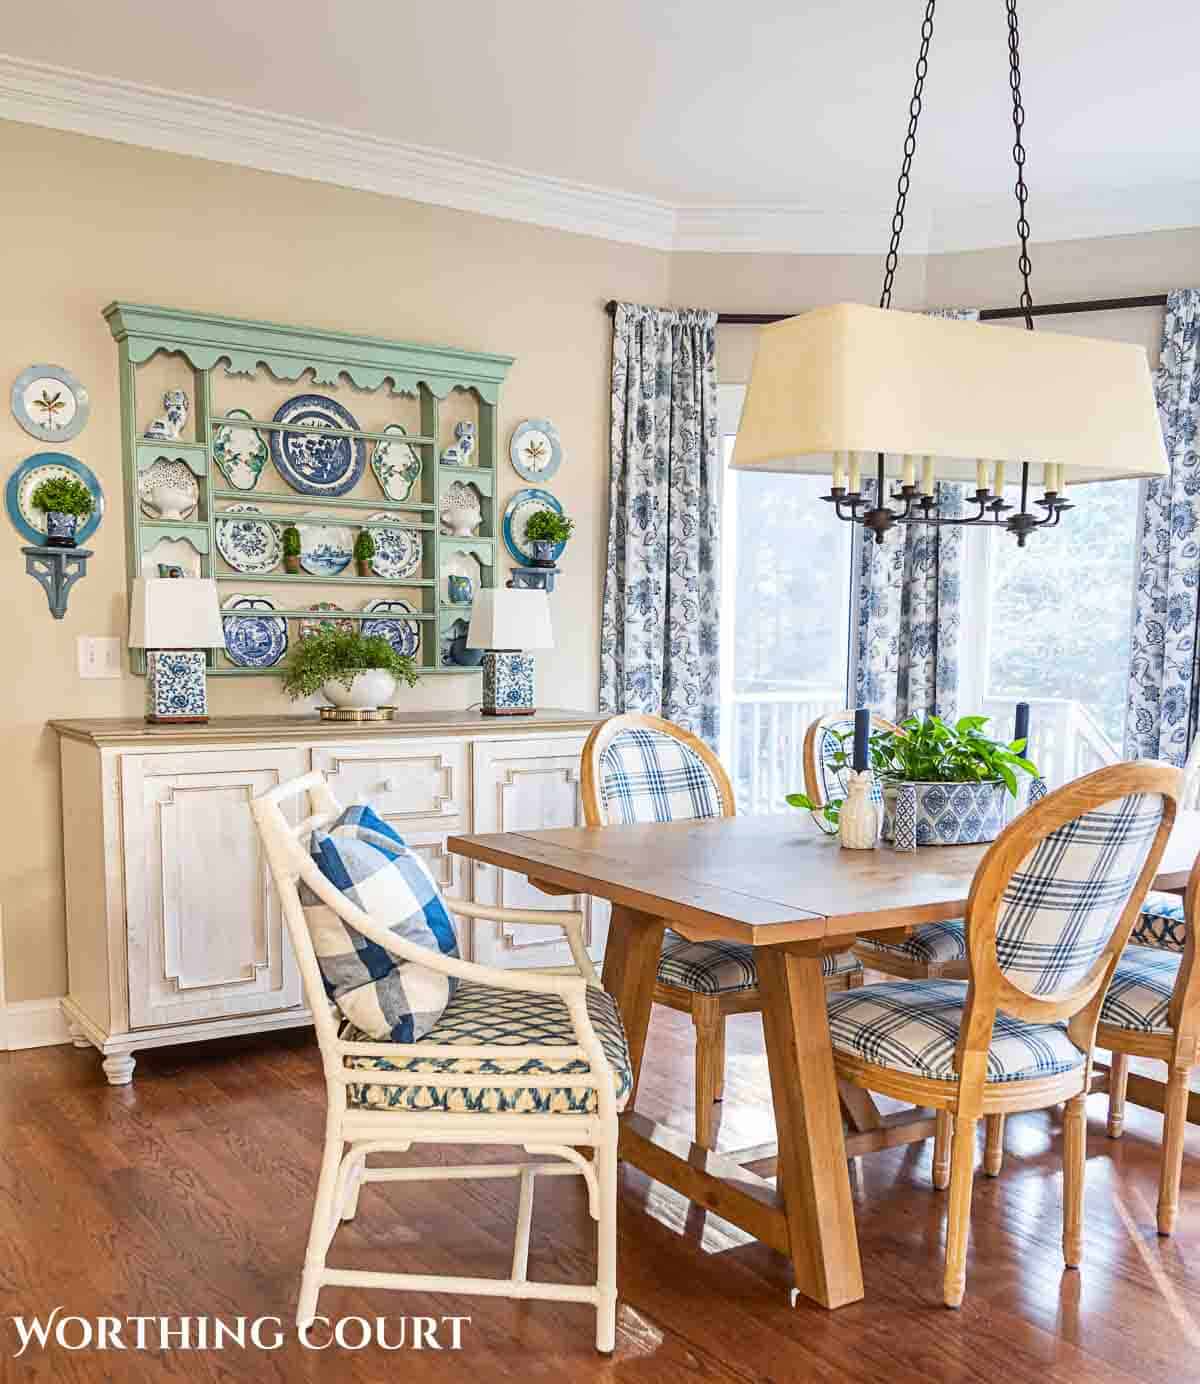
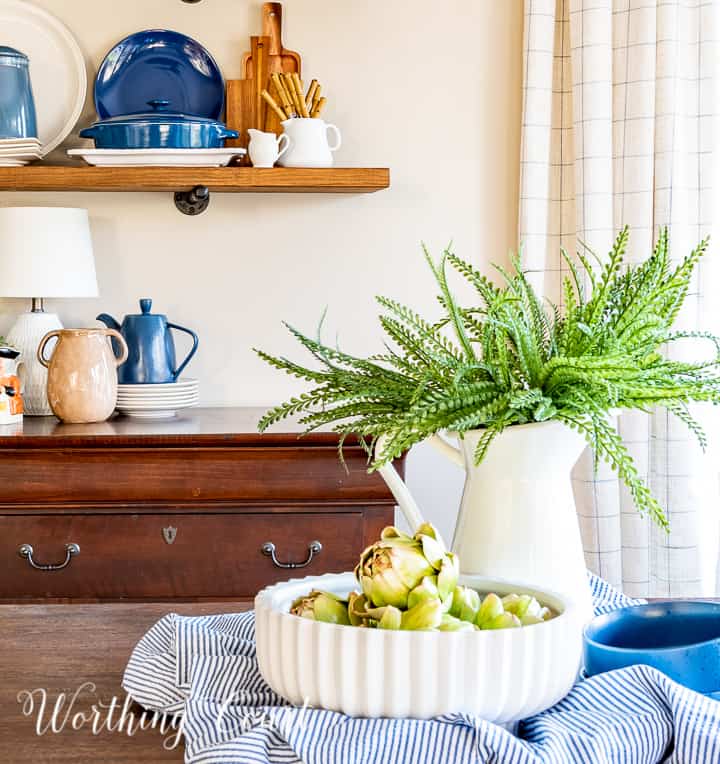
If you’ve been following me for a while, you might notice that I have a different sideboard in here now. I played the furniture shuffle game and this piece came from my dining room.
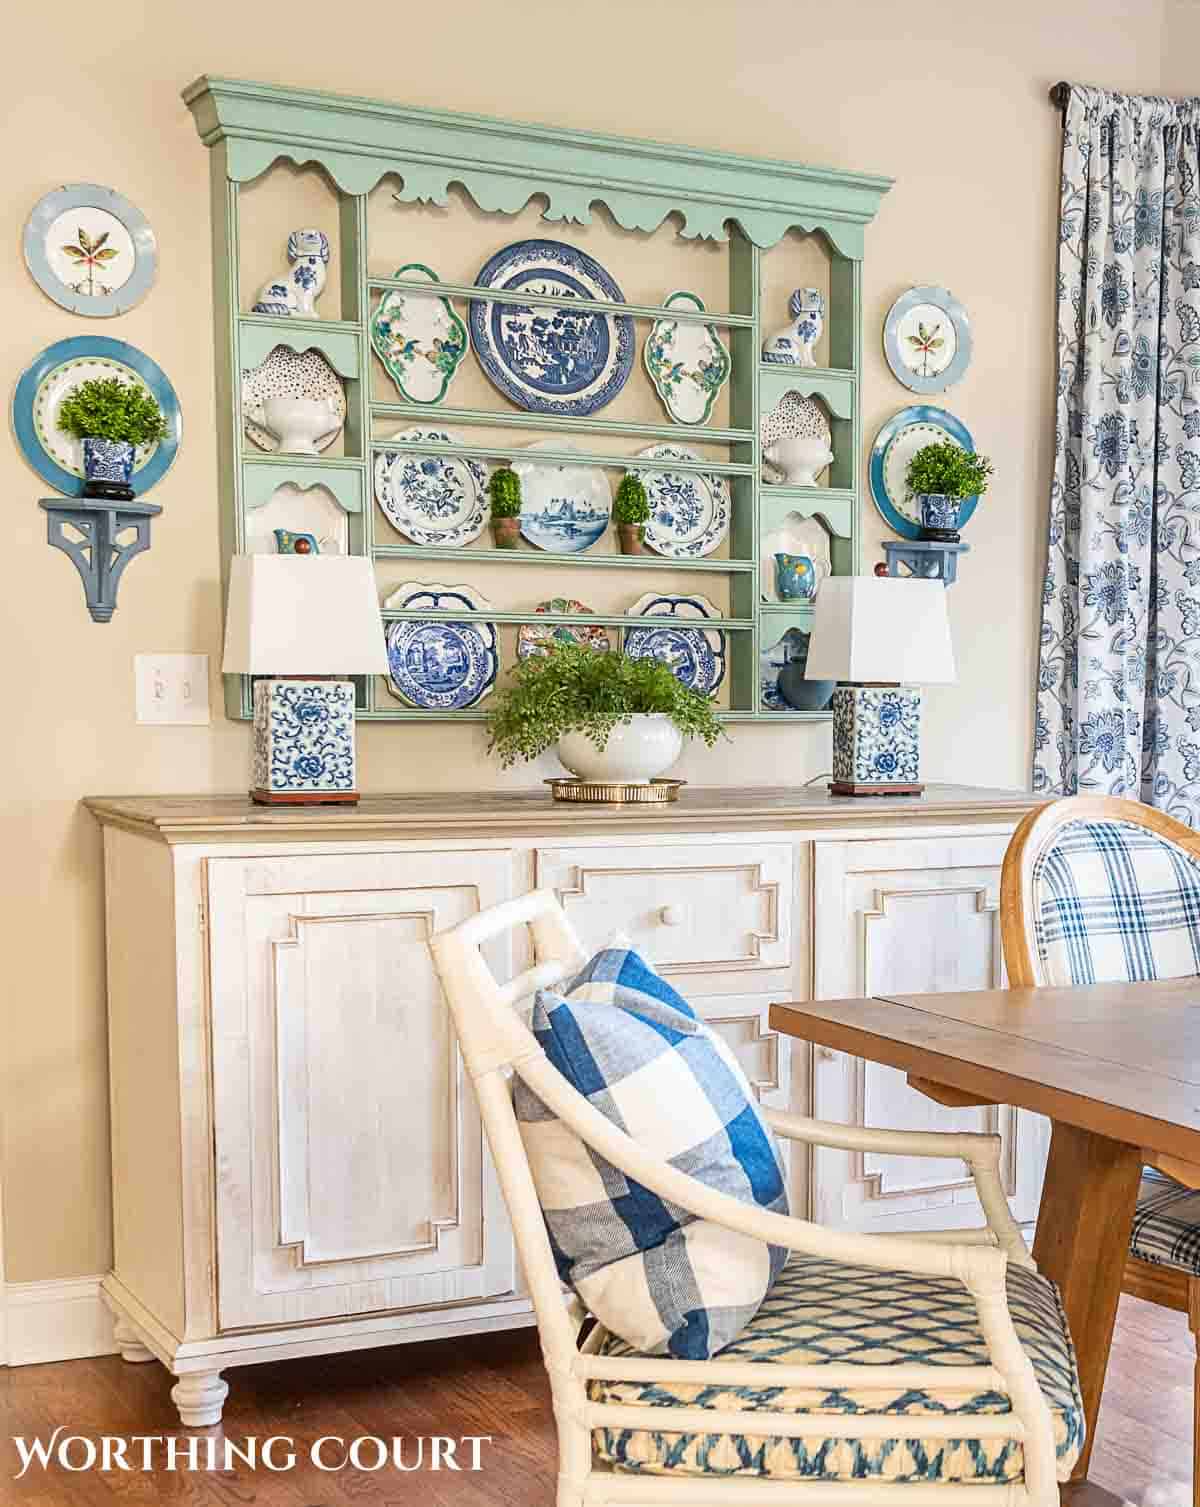
I purchased a vintage sideboard for the upcoming dining room makeover and moved the chest that had served as a sideboard in the breakfast nook to the guest bedroom.
We are in love with how this piece looks in here and I can’t believe that I didn’t try it sooner! It’s so much brighter and the lines of this piece work better with the rest of the furnishings in this area.
In keeping with my habit of making seasonal changes to the open shelves that used to be on this wall, I gave the plate rack a little refresh for spring. Swapping things out with the seasons is one of my favorite ways to keep a space feeling fresh without a complete overhaul.
It’s such a simple change, but updating the accessories and dishes with soft colors and subtle spring touches adds just the right amount of seasonal cheer. It’s the kind of detail that makes this blue and white breakfast nook feel even more welcoming this time of year.
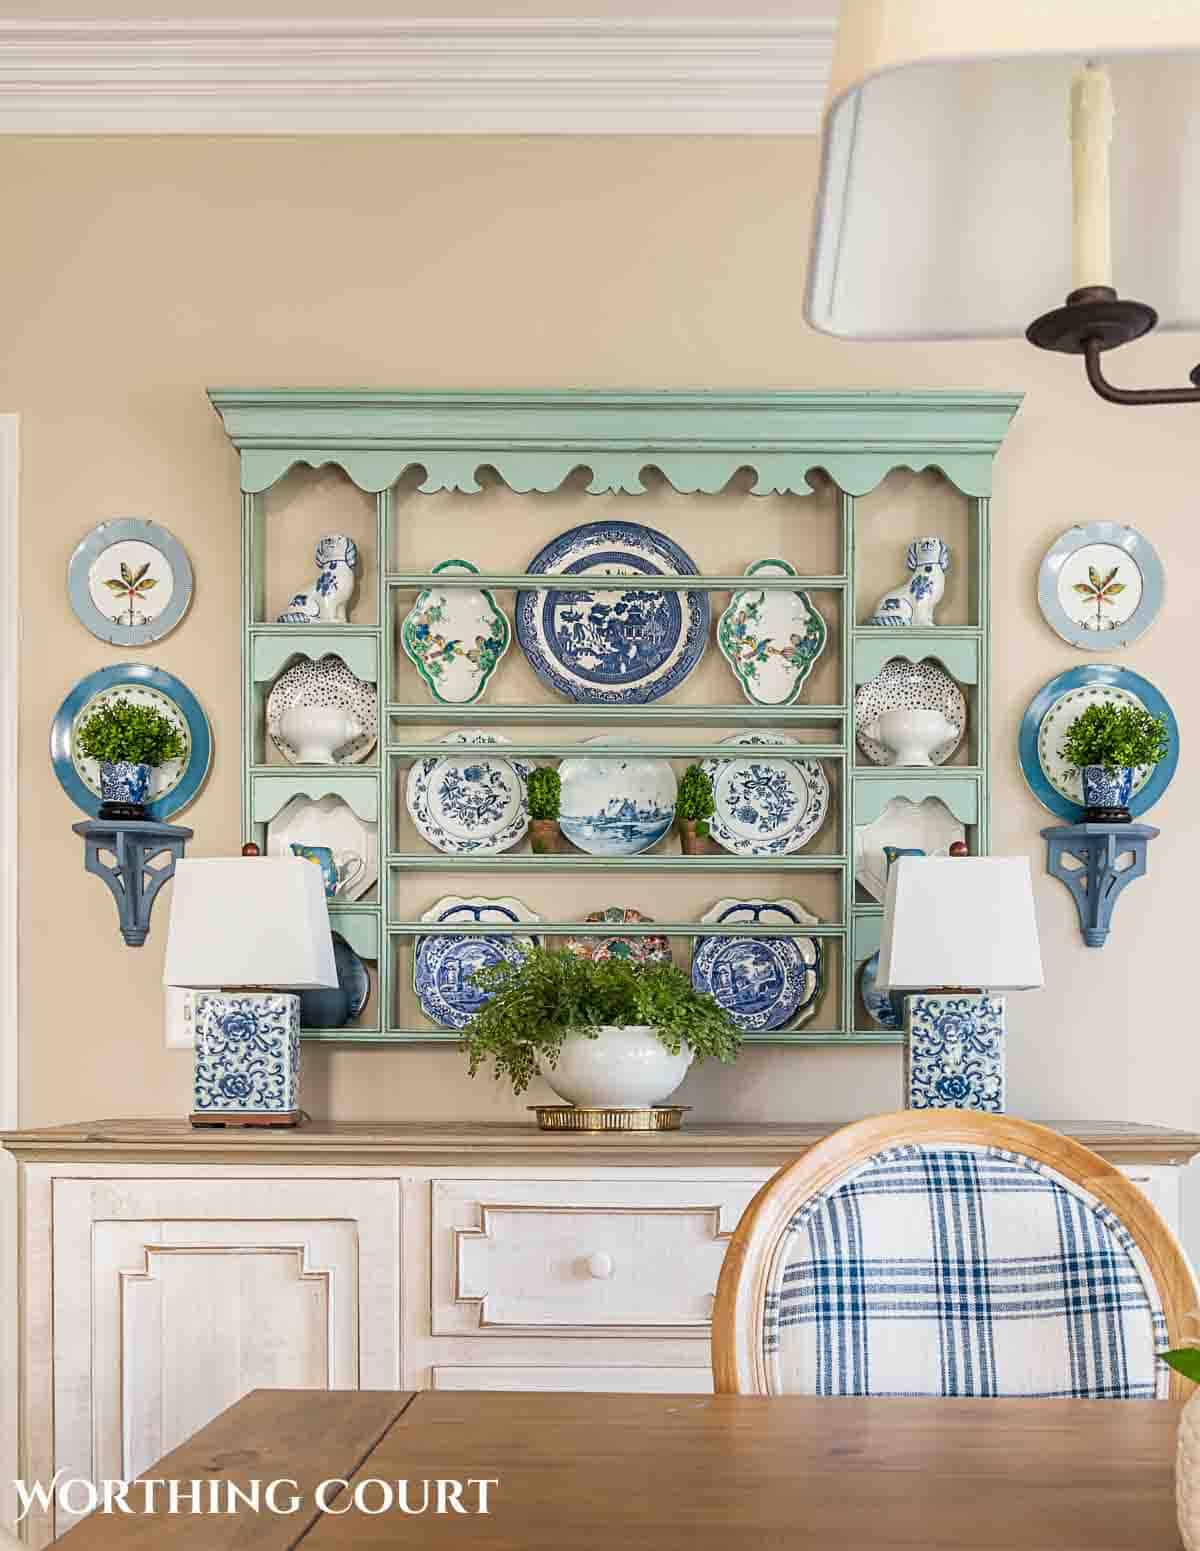
I purchased the vintage oval bird plates for my dining room, but I think the birds and flowering branches make them a perfect addition to the plate rack for spring!
The rest of the items are a combination of new and old that I’ve been collecting and holding onto. However, after I wrote the blog post about how to decorate a plate rack, I still felt like something was still missing from this wall.
I think the addition of the wall bracket shelves on each side now fill the wall out quite nicely!
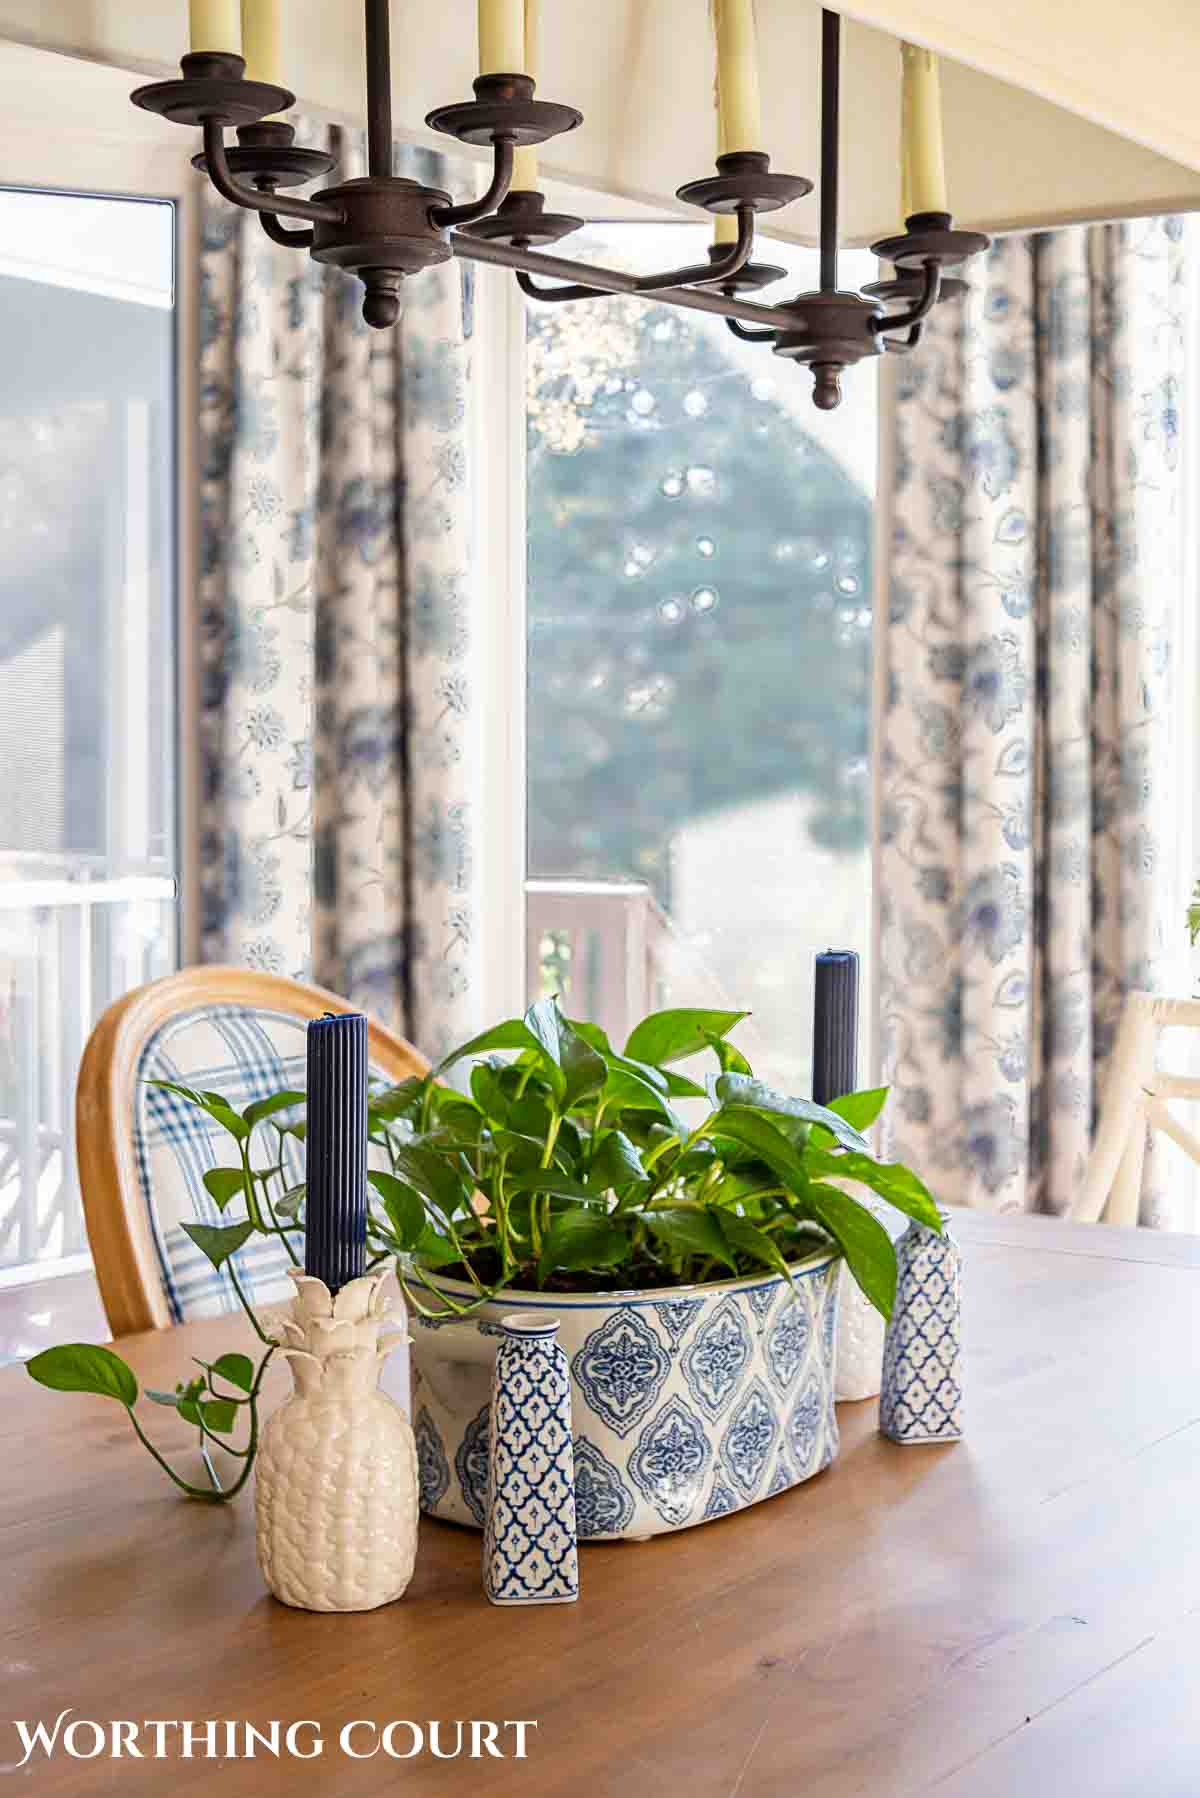
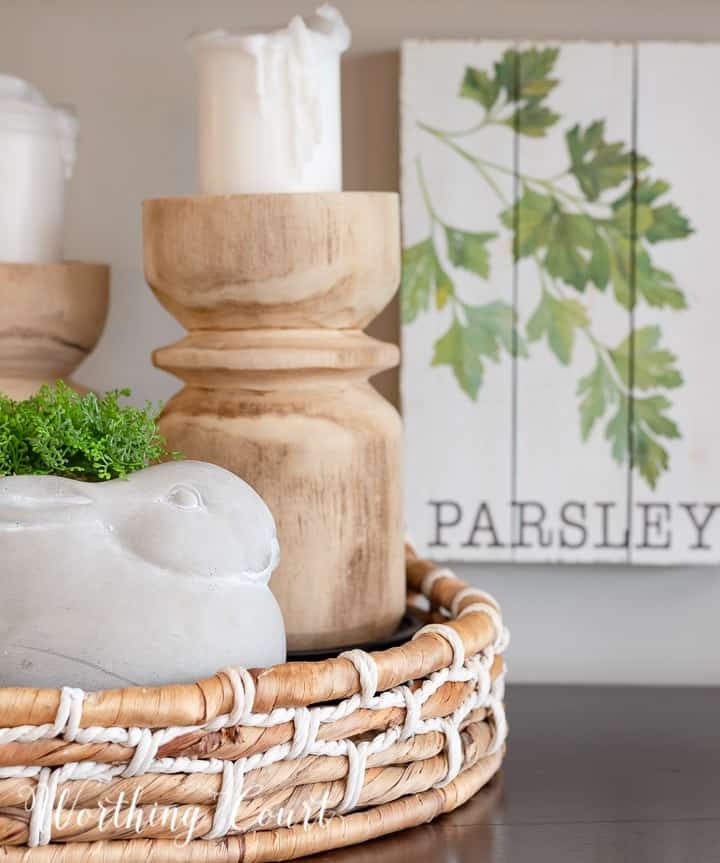
Now is the time of year when I really enjoy adding greenery, both real and faux to my rooms. It sure does bring them to life.
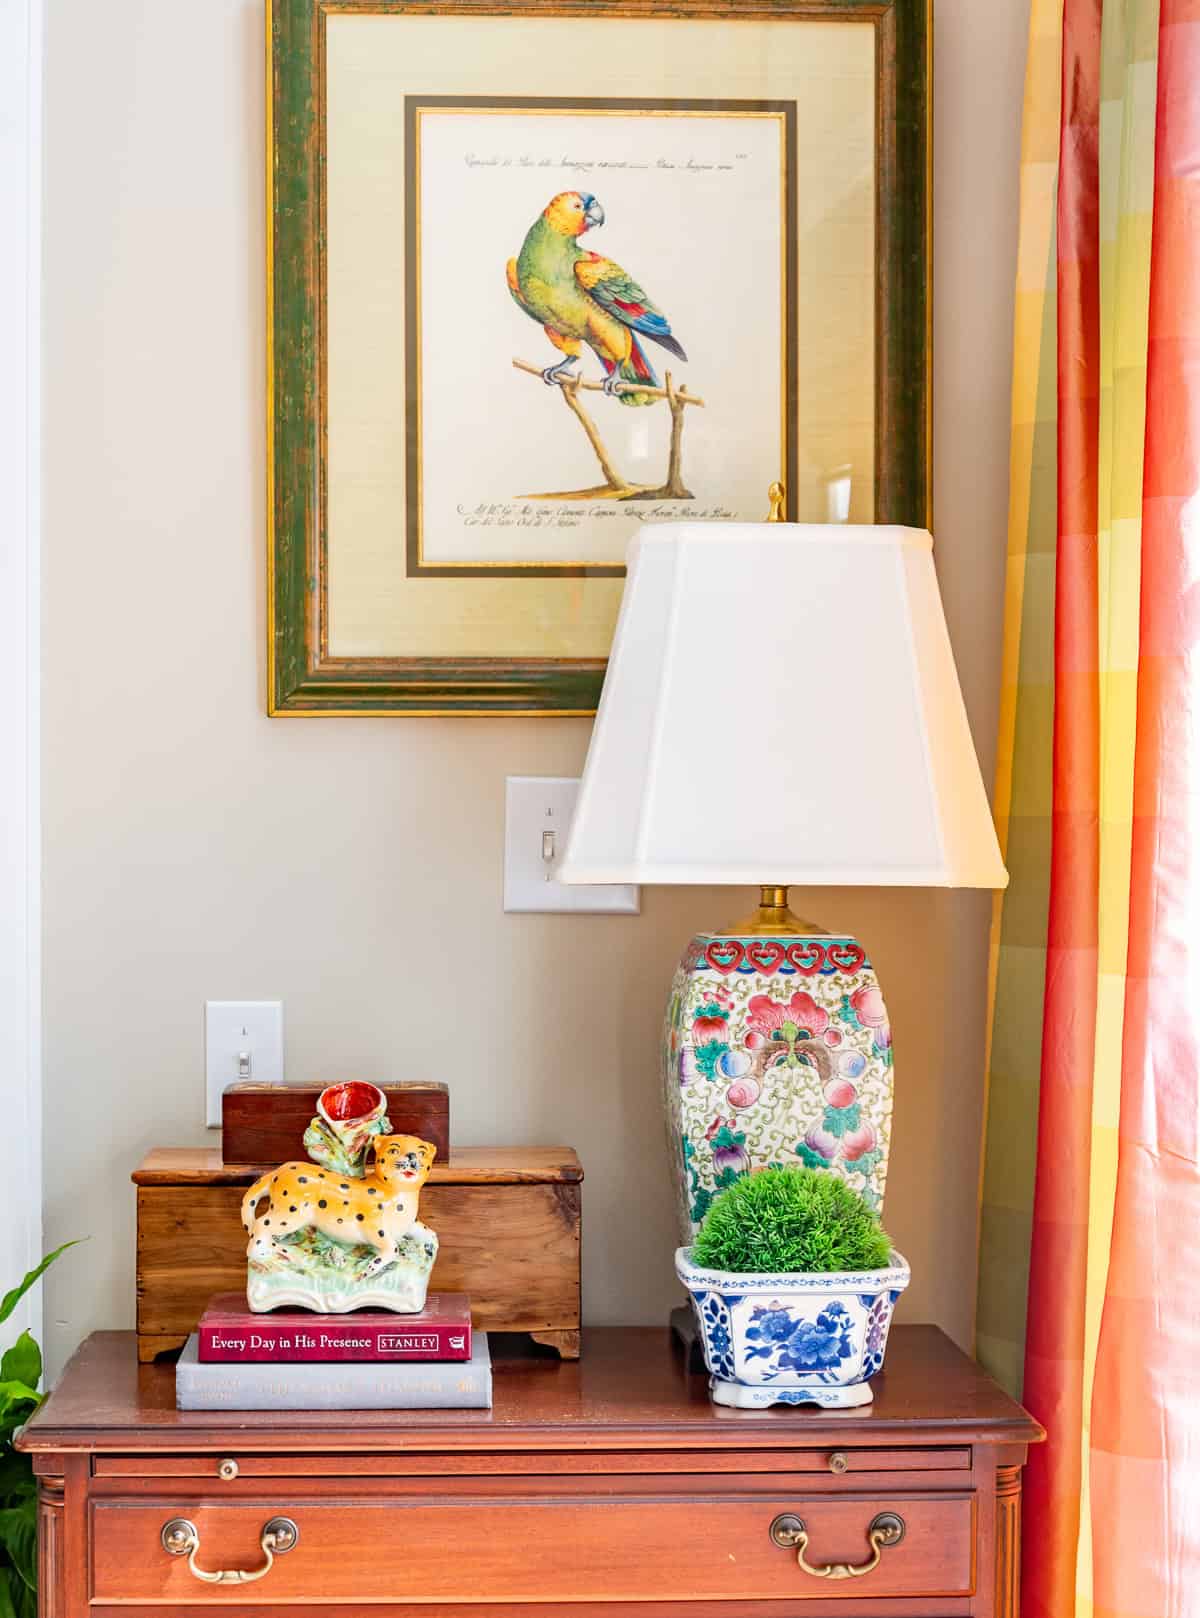
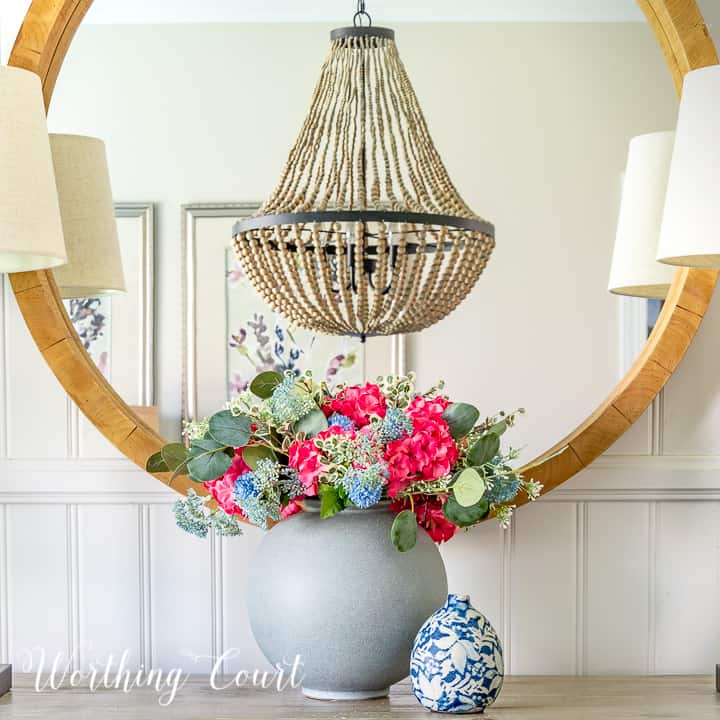
As part of the room makeover, I hung an original piece of my aunt’s artwork and a few Churchill Willow plates above the artwork. The combination of the two adds height to this side of the room and helps to balance the height of the plate rack on the opposite side.
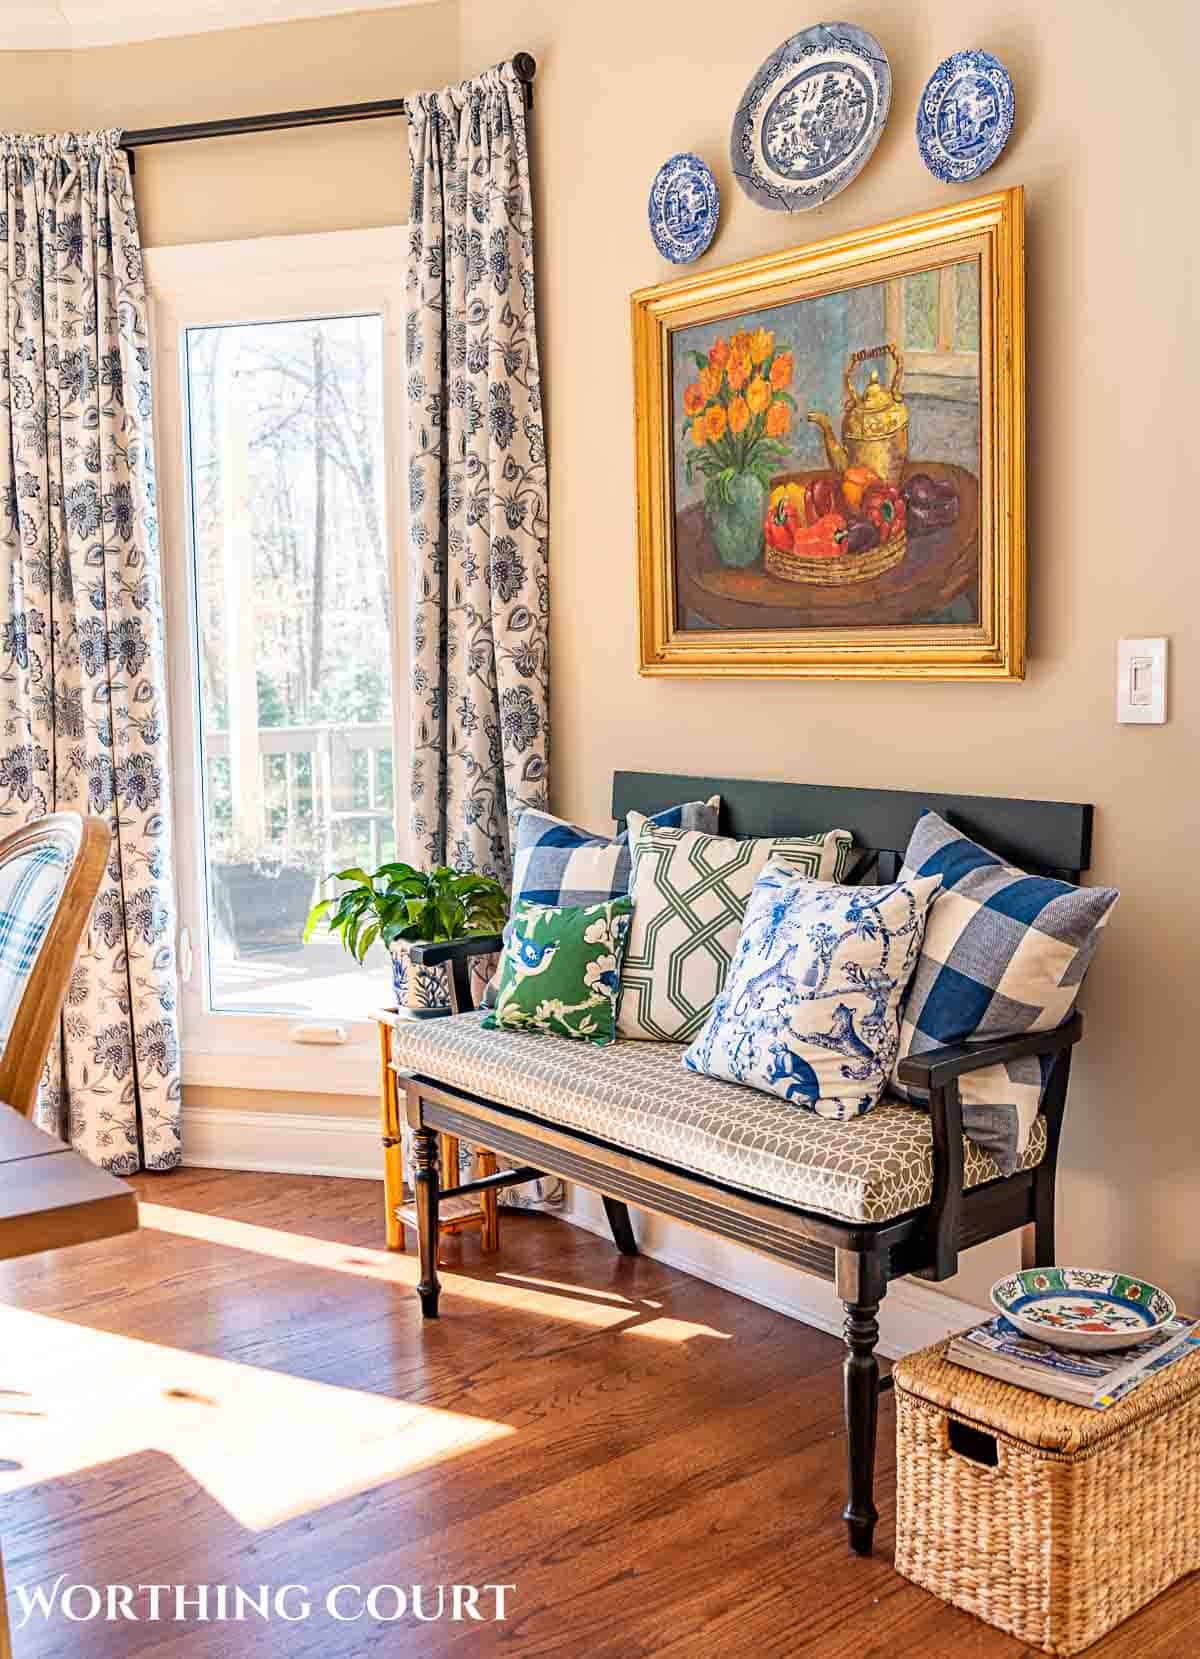
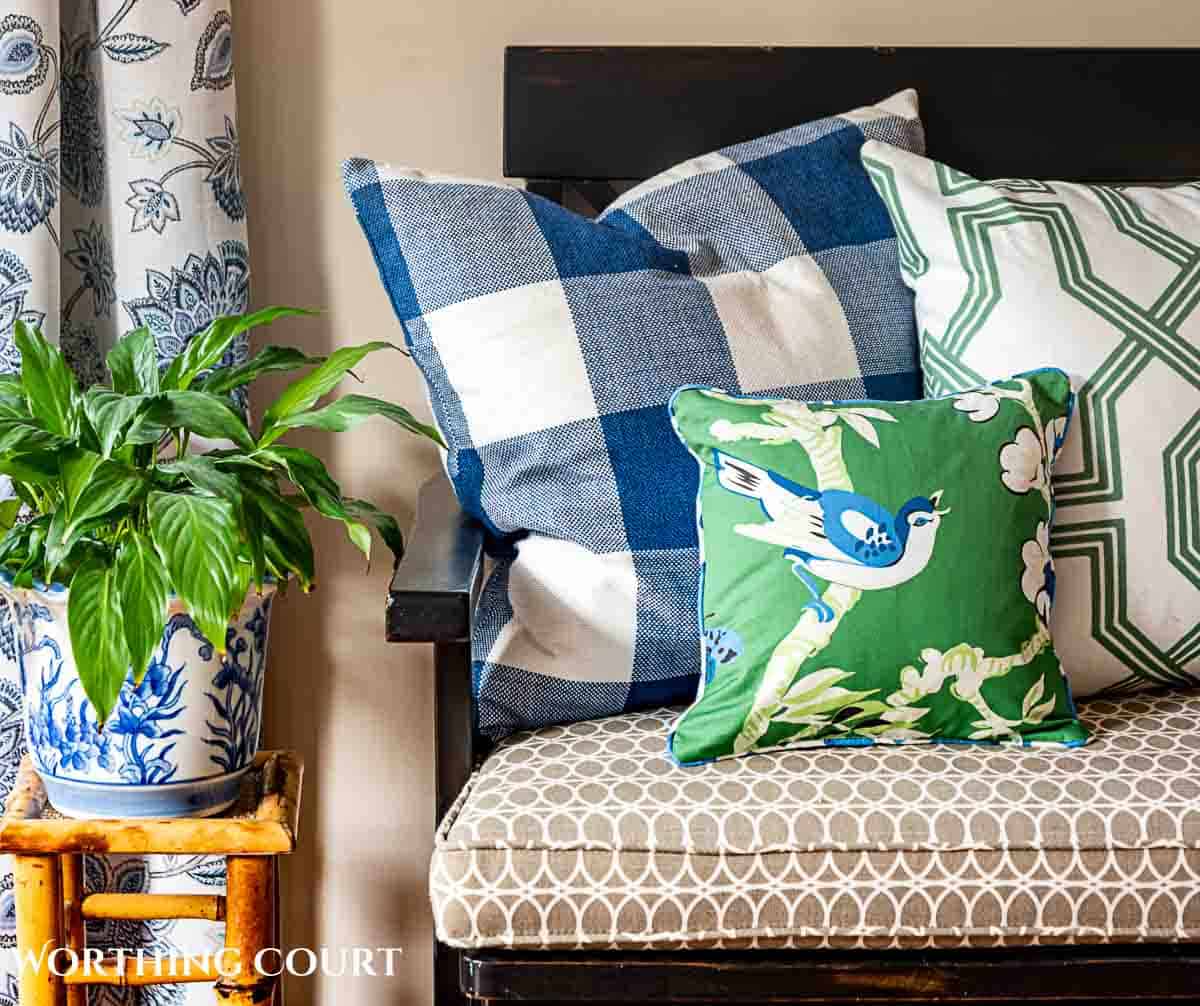
I filled the bench with a mix of inexpensive pillow covers and one special one that I made myself. How cute is that precious bird??? If that doesn’t say “spring”, I don’t know what does!
Thank you for stopping by today. I hope you enjoyed this little tour of my spring breakfast nook.

More Spring Decor
SEE ALL SPRING
It’s so fun watching you change your decor, and even your style, Suzy! Your new affordable curtains are lovely, and I think it’s so smart how you balanced the room with your blue and white plates on both sides. 🙂 Hugs, sweet friend!
All I can say is wow, this room was worth the wait Suzy! Beautiful mix of patterns, the curtains and swapping out furniture…it all works so well!
Hi Suzy! Love what you did with your dining area. It looks so bright and fresh. You styled the plate rack beautifully.
Where did you get the pillows on the bench. I love them.
I made the little green pillow with a bird on it, but here are the links to the rest of them:
Blue and white check: https://rstyle.me/+U_Ydczj-Zqp8OAhSt2l6Aw
Green and white geometric: https://rstyle.me/+VqmLmME_p3qGiyaG6F74OA
Blue and white chinoiserie print: https://rstyle.me/+boXdsLBxb3evCeTPLpyAkg
Favorite pillow inserts: https://rstyle.me/+fKpZg4HaijJdUeK7bsnBKA
I love the pillows on the bench. Do you know the of the fabric. Would love to have pillows with the Birds. Thanks
Here’s the link to the fabric: https://fabricworld.com/products/yukio-fabric-green-thibaut-f920841
I love your changes. The changes are so fresh. I enjoy color and relate to your style so much .
Thank you so much, Gloria! I’m glad to meet another color-loving friend.
I love your curtains. How did you hang them? They seem to be “rod pocket” style – if so how did you position them in the corners where the rod brackets usually are? What you have is exactly what I want for my space – not using clips or grommets but prefer the rod pockets…
Hi Carol. Yes, they are rod pocket style. I used a cheater method to hang them. The rods are actually pvc pipe that we cut to size and spray painted with bronze spray paint. The ends of the pipe are cut at an angle (that matches the angle of my window) and then butted up against one another. The pieces of pipe are attached to angle irons (L shaped metal brackets), that are attached to the wall. The pipe sits on top of the angle iron and you screw up into the pipe from underneath. It’s a little difficult to explain, but to hide the ends of the pipe, we attached one end at a time. In other words, I slid the pocket of one curtain over the end of one of the pipes, attached the angle iron and then slid the other side of the curtain over the angle iron on the pipe it was butted up against. The rod pockets of the curtains won’t fit over the angle irons, so they are located a few inches from the end of the pipe. This blog post has closeup pictures of it that will help you visualize what I’m talking about: https://www.worthingcourtblog.com/projects-from-my-breakfast-area/. Let me know if you have any other questions!
Thank you so much for the link to the previous post with the curtain and rod DIY details. Upon looking at the additional photos, I believe I see that the panels are actually between the brackets on either side of where the rods are joined, but are hardly noticeable. Thank you again for your response!
I don’t know how you do it! You have a variety of visions and we benefit from it. You must have a massive storage location as well. God bless!