5 Year’s Of Before And After Room Transformations At Worthing Court
It’s hard to believe that we’re actually celebrating five years of owning Worthing Court this week! That’s five years of a whole house remodel and five years of room makeovers – some more than once. 😀

I’ve always wanted to own an older home that I could completely remodel, from top to bottom. From the very first moment that we found out about this house and took a drive by it, we knew that unless there was something majorly wrong, this would be the house for us. It was kind of like love at first sight!
Our house was built in 1995 and was still occupied by the original owner when we purchased it. It had been neglected, had fallen into a bit of disrepair and was soooo dated. That may not sound like the ideal home to you, but it was exactly what I was hoping for!
When I say we did a whole house remodel, what I’m saying is that before moving in there were changes that we made to the entire house.
- replaced all of the vinyl and some of the carpeting with hardwoods
- refinished the existing hardwoods and steps
- enlarged the opening between the kitchen and family room
- replaced all of the ceramic tile flooring in the bathrooms with new tile
- replaced all of the toilets
- ripped out the huge jacuzzi tub in the master bath and enlarged the existing shower
- added a separate potty room to the master bath
- replaced carpeting in all of the bedrooms and all of the upstairs
- replaced all of the rotting decking
- stripped the massive amounts of wallpaper throughout the house
- repainted the entire interior
- replaced most of the windows (after we moved in)
- replaced the front door (after we moved in)
- painted the stair railing and banister
- reconfigured the laundry room
- completely remodeled the kitchen
- painted the fireplace brick and surround
We moved into the house using the furniture, rugs, etc that we already owned, but I’ve slowly been making my way though all of the room to give them a full makeover.
I’m currently working on a makeover of our master bedroom, but I’ll share a before and after photo of each of the spaces that have already been completed. To see the before and after reveal of each of the completed rooms, click on the link above the before photo!
KITCHEN
The kitchen is the room where the most major remodeling occurred. When we first looked at the house, I was super excited to see that it already had white cabinets. I thought that I’d be able to keep them and just beef them up a bit, but upon closer inspection we discovered they were in bad shape and needed to be replaced.
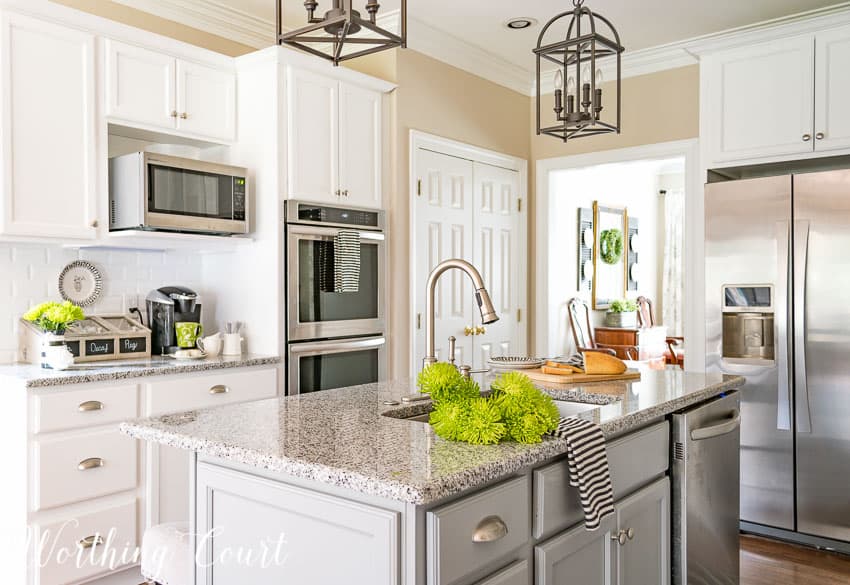
KITCHEN REMODEL BEFORE AND AFTER
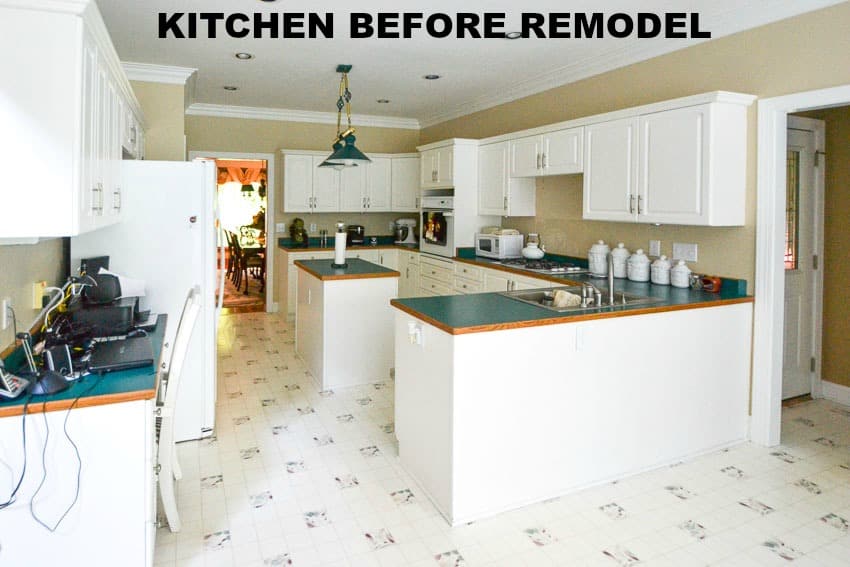
The majority of the kitchen remodel was completed before we actually moved into the house, but we still lived with a makeshift kitchen in one of the bathrooms for several weeks since there were no countertops yet. And it was even longer before we added a backsplash because someone I know just couldn’t make up her mind. 🙂
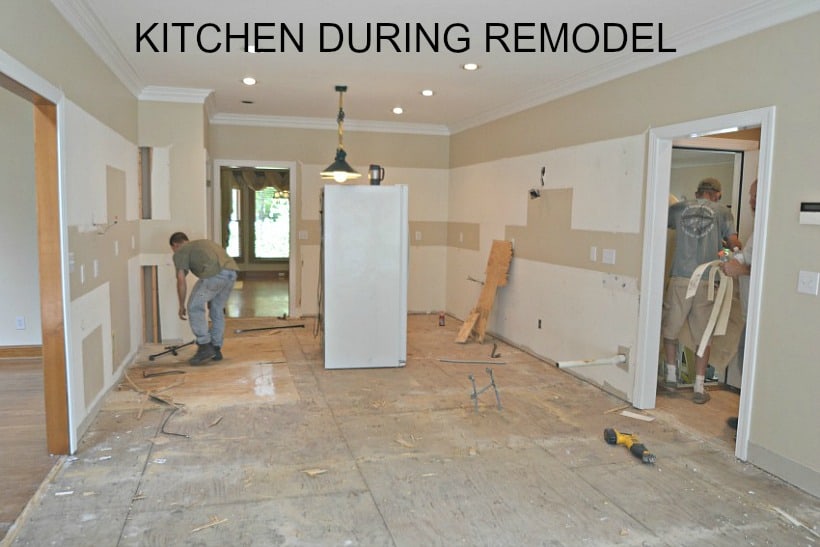
Even though we’ve never remodeled a kitchen before, we decided to take the layout upon ourselves and I’m pretty proud of how it turned out!

If you’ll be remodeling your kitchen, here’s a tip for you: once the cabinets have been removed, use painter’s tape on the floor to show the layout you’d like to have. Be sure to use precise measurements! It was a good thing that we took that step because we wound up making several tweaks.
BREAKFAST ROOM
Our kitchen and breakfast room are actually one long room, but the breakfast area is large enough that I call it a room of it’s own. haha
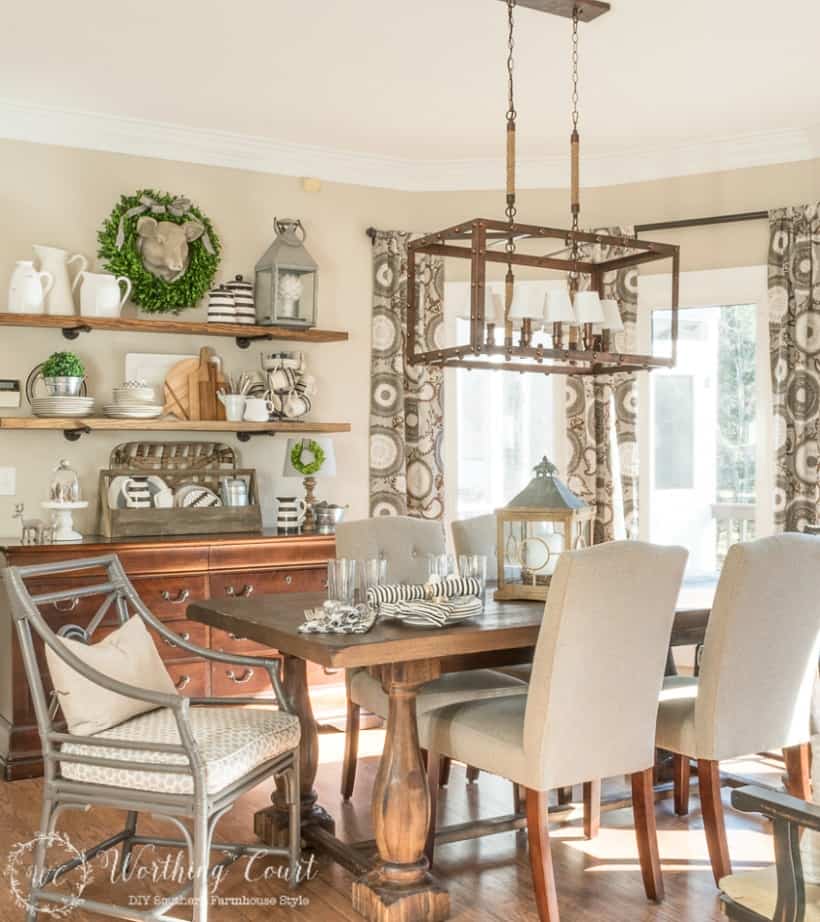
BREAKFAST ROOM REMODEL BEFORE AND AFTER
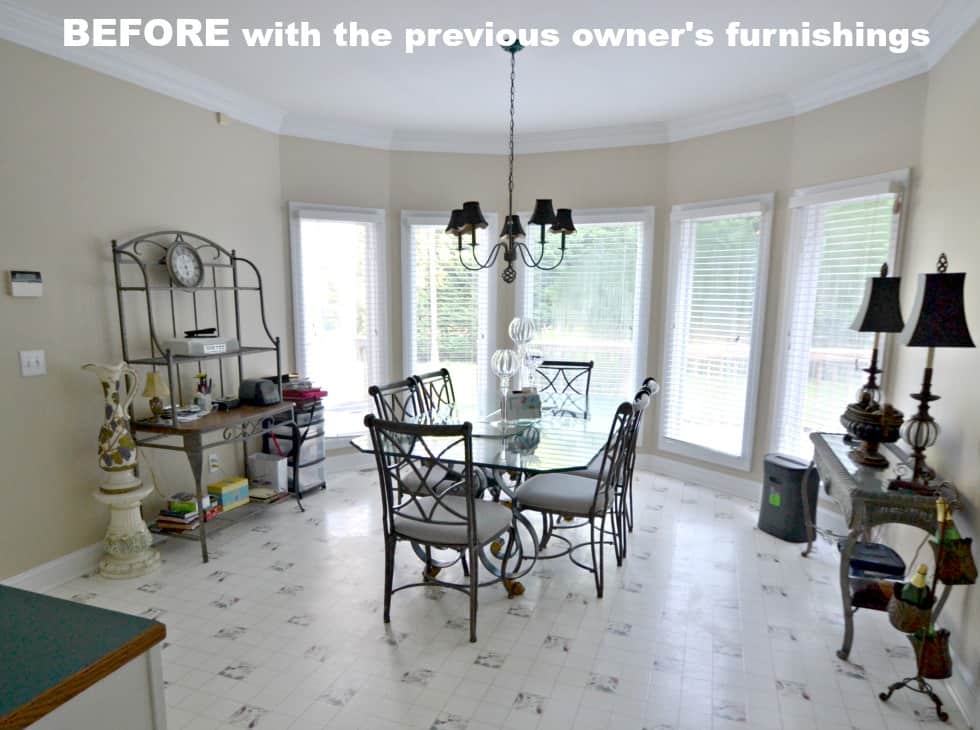
I didn’t have a table for the room when we first moved in, so this was a staging area for all of our boxes. It took me a while to unpack everything, so it stayed filled with a pile of boxes for the weeks that it took me to unpack everything. I got to the point that I never ever wanted to see another cardboard box again!
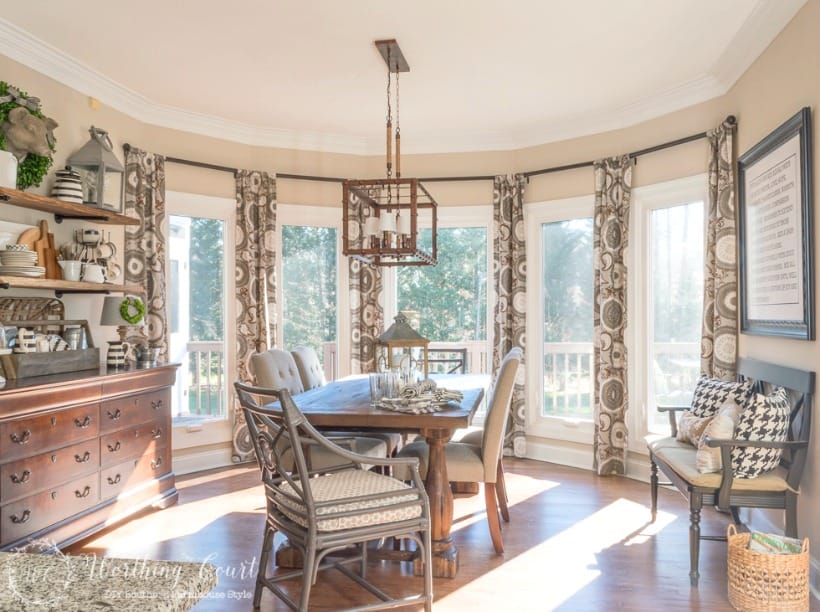
This room is filled with several easy diy projects, which you can read all about by clicking HERE.
LAUNDRY ROOM
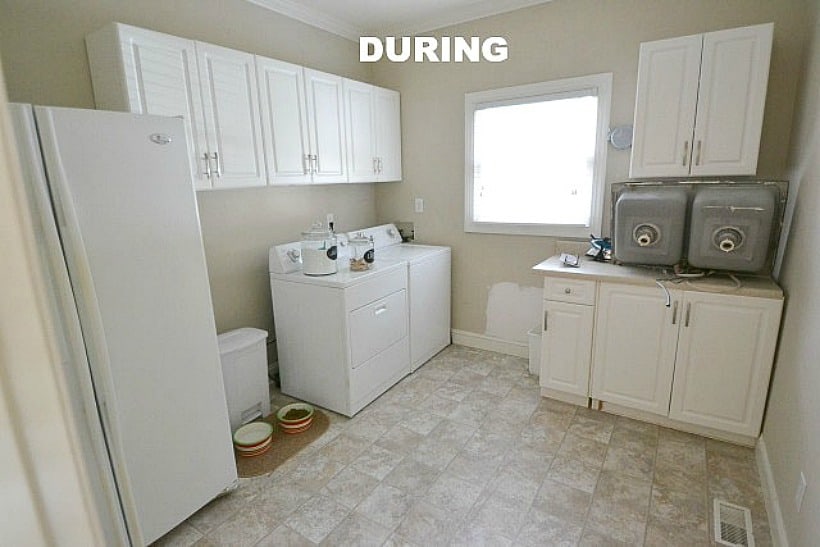
Oh dear….the laundry room. What a mess it was when we looked at the house.
LAUNDRY ROOM REMODEL BEFORE AND AFTER
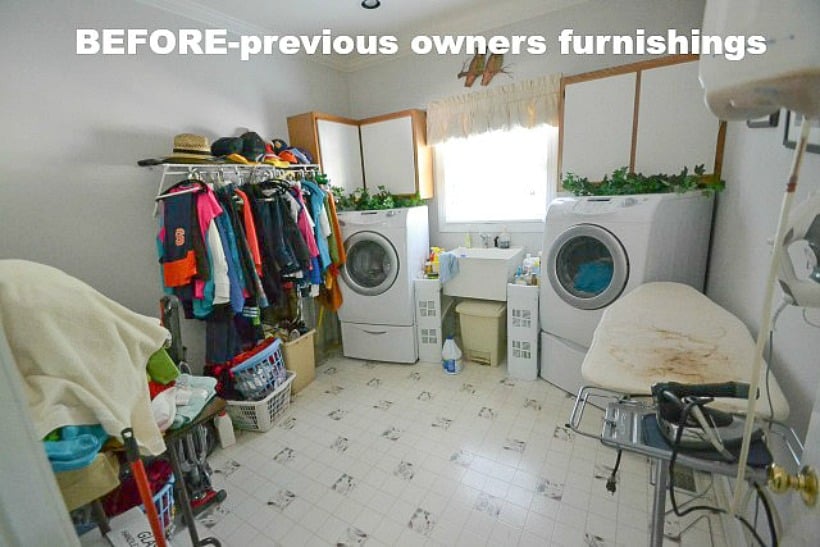
The laundry room is another room where the remodel wasn’t fully completed before we moved into the house. But – the washer and dryer were functional and that was the most important thing!
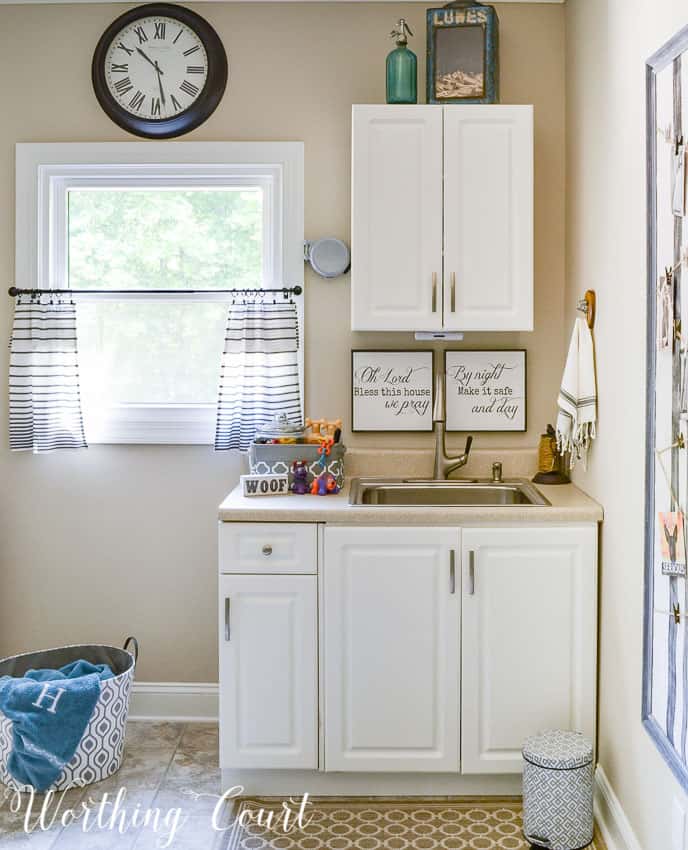
We were able to utilize some of the old kitchen cabinets, which gives me quite a bit of storage in here. I’m soooo happy with this room! It’s light and bright and easy to move around in.
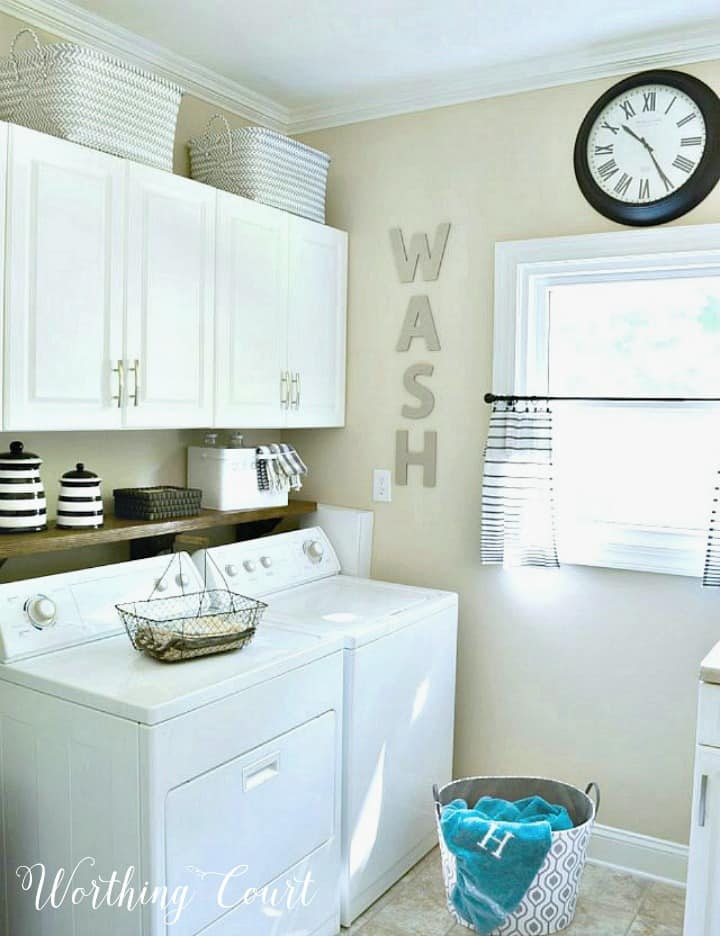
But – it’s also a room where I have one big regret. Since this room is located on the side of our house beside the driveway, I so wish that I had spent the extra money to have an exterior door and small stoop placed where the window currently is. Without it, the only entry to the house (without coming to the front door or through the screen porch) is through the garage. 🙁
DINING ROOM
Once the major renovations in the kitchen and laundry room were completed, I was ready to tackle the actual decorating of the rooms. I was surprised to find that it took me a while to find my decorating stride, but I finally realized that my problem was that I was doing little bits of decorating all over the house instead of just focusing on one room at a time.
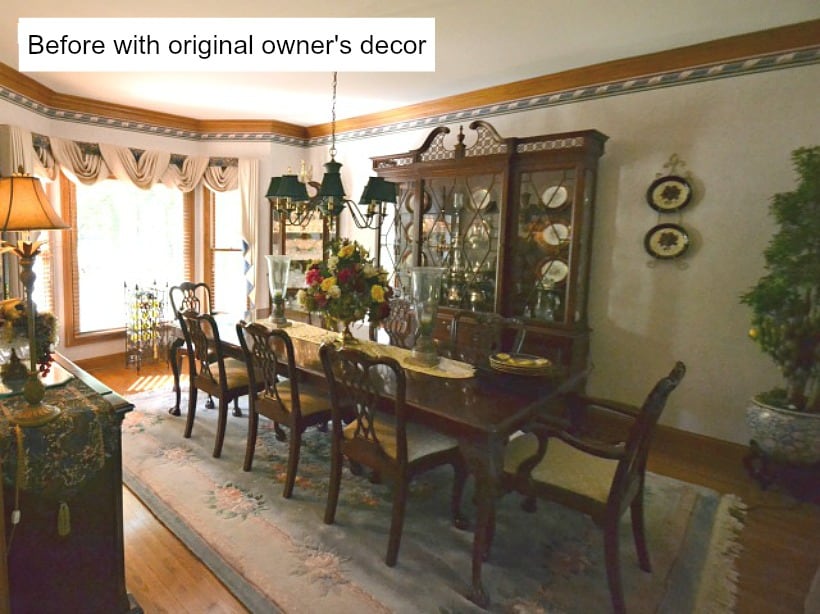
DINING ROOM REMODEL BEFORE AND AFTER
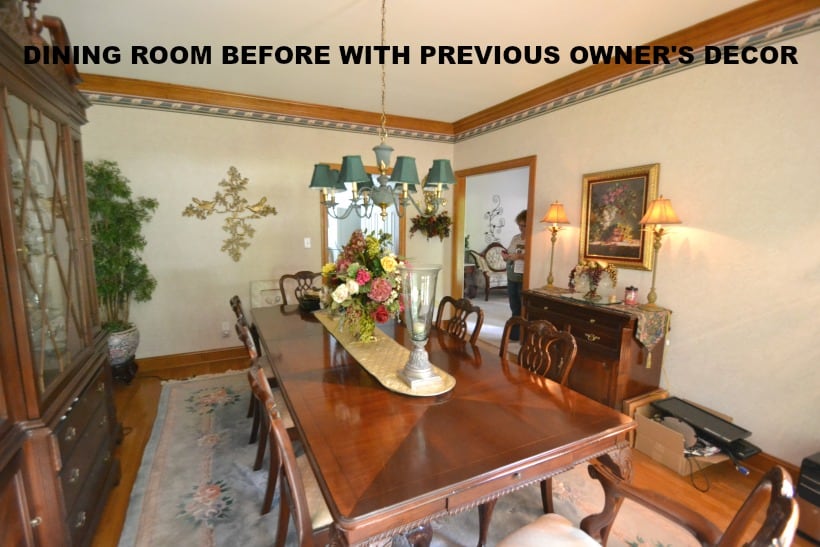
Not focusing on one space at a time left me feeling very frustrated and unsettled because I felt like I was just spinning my wheels and not truly accomplishing anything. Once I figured that out and only focused on the dining room (for starters), I actually felt like I was making real progress in the house!
The dining room was one of the rooms in the house that only needed cosmetic changes once the floors had been refinished. There’s a photo of the the entire room after the makeover up above, but here are a couple of extra shots.
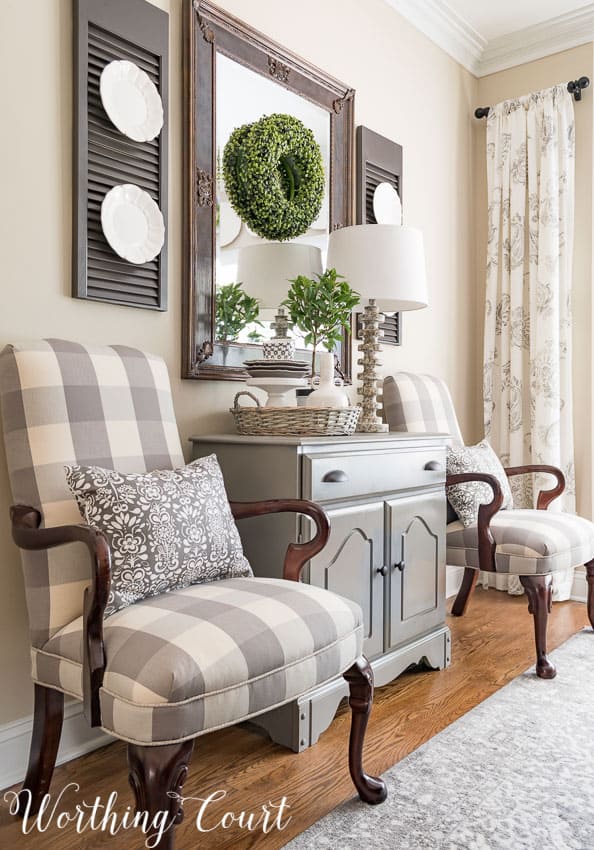
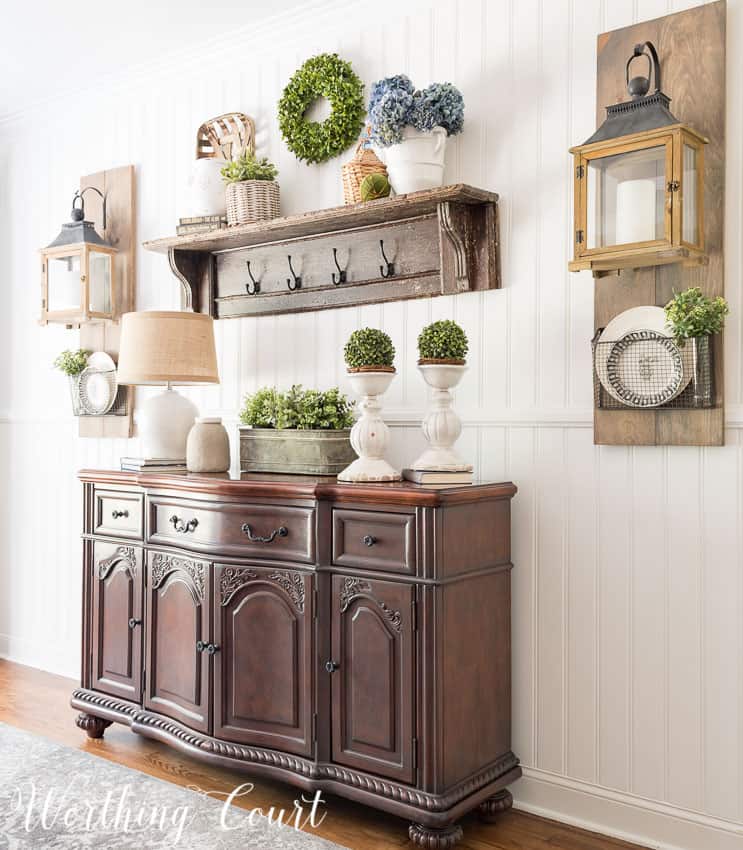
HOME OFFICE
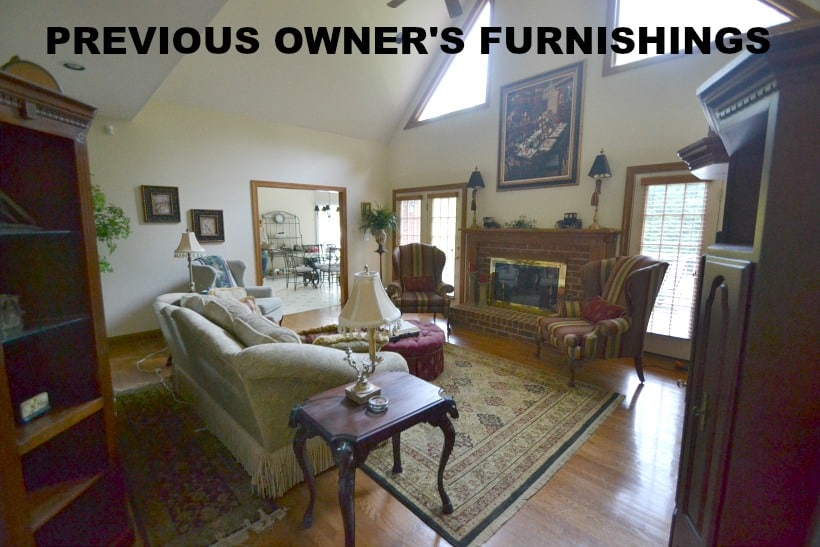
When we originally looked at the house, the living room had lavender walls and was filled with pink carpet, pink light bulbs and Victorian style furniture. Not me AT ALL.
HOME OFFICE REMODEL BEFORE AND AFTER
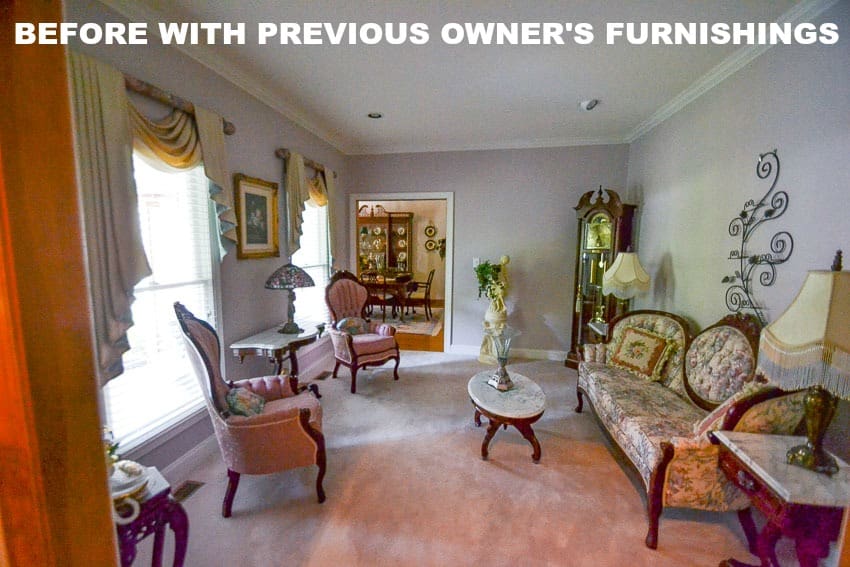
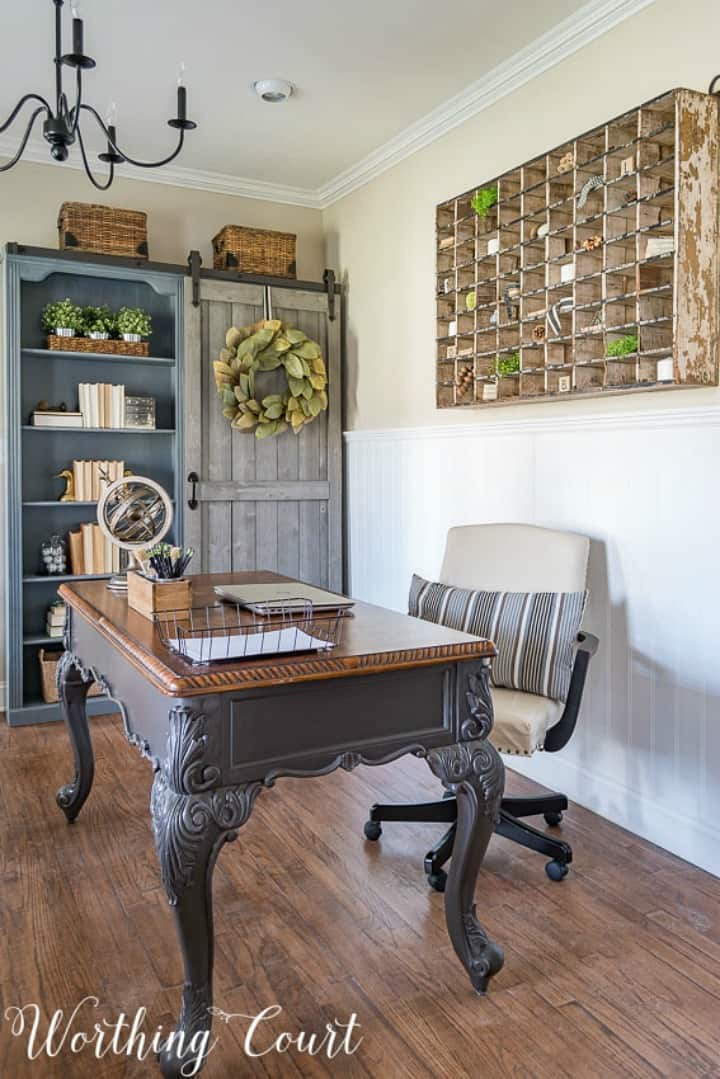
This room is located right off of the foyer and is the original living room for the house. We don’t need a living room, but we do need a home office! So, I decided that even though it’s visible as soon as you come in through the front door, it would be fine to turn that room into an office, provided I made it pretty enough.
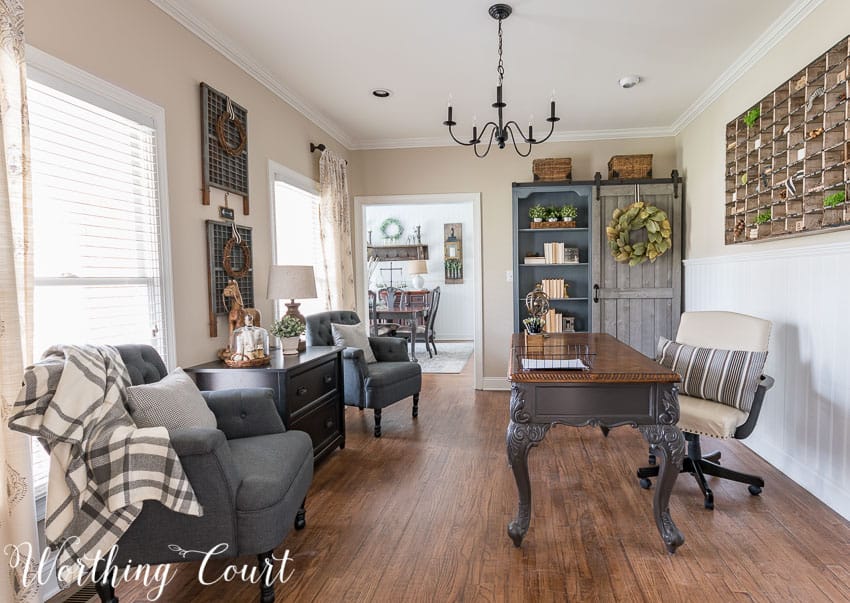
My favorite project in this room is the bookcase that I painted and added a sliding door to. You can get the details for how you can use this idea in your home by clicking HERE.
FAMILY ROOM
I love the generous size of the family room and the vaulted ceiling, but those features make the room a bit of challenge to decorate and to make feel inviting and cozy. I don’t love the triangular shaped windows above the fireplace, but that wasn’t something we were going to spend the time and money to change.
FAMILY ROOM REMODEL BEFORE AND AFTER
This is another room that has had more than one makeover. This is how it looks today, but you can see the previous makeover HERE.
After putting a lot of thought into how I wanted the room to actually look and feel, I gave it a refresh this past spring, which simplified and modernized the decor.

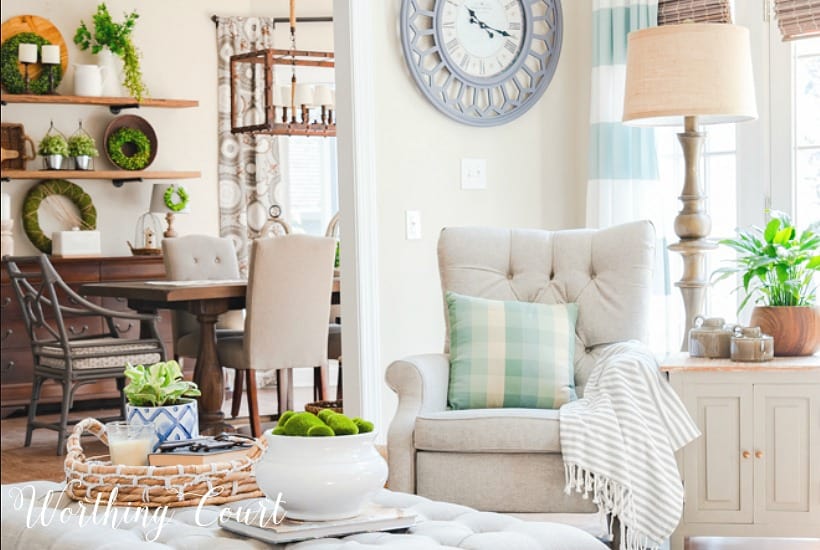
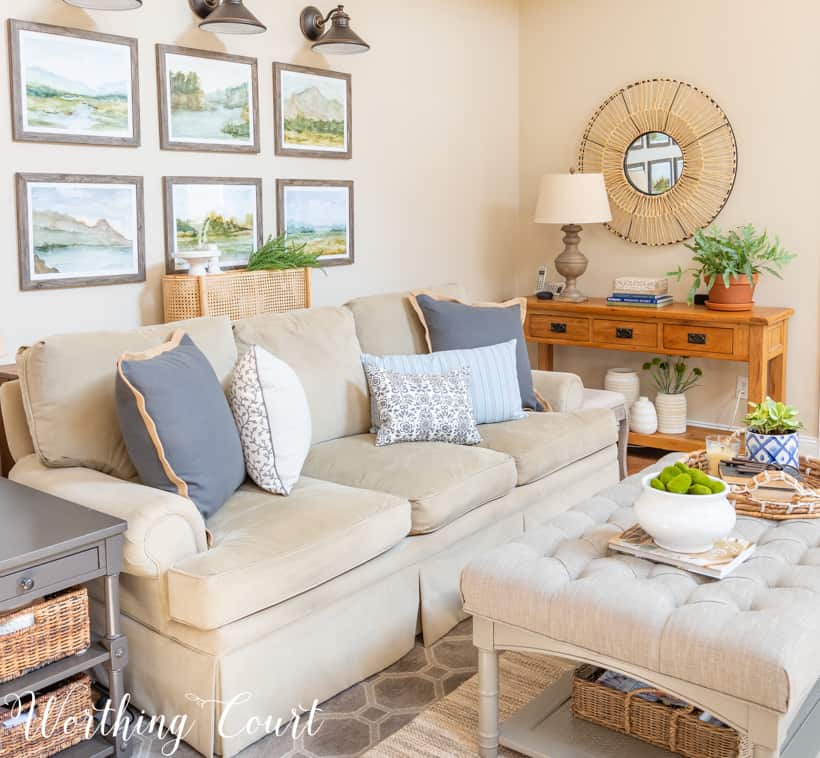
I thought that I had finished with the room, but then, after much agonizing indecision, I finally got brave enough to address the elephant in the room and painted the entertainment center white. Best thing I did in the entire room! I can’t tell you how much painting that one piece of furniture has brightened the entire space.

FOYER
Talk about a dark space. Our foyer has one window and the original front door was dark mahogany with an oval leaded glass window and leaded glass sidelights. The door didn’t allow much light in at all. Nor did the window because of the overhang of the roof on the front porch.
FOYER REMODEL BEFORE AND AFTER
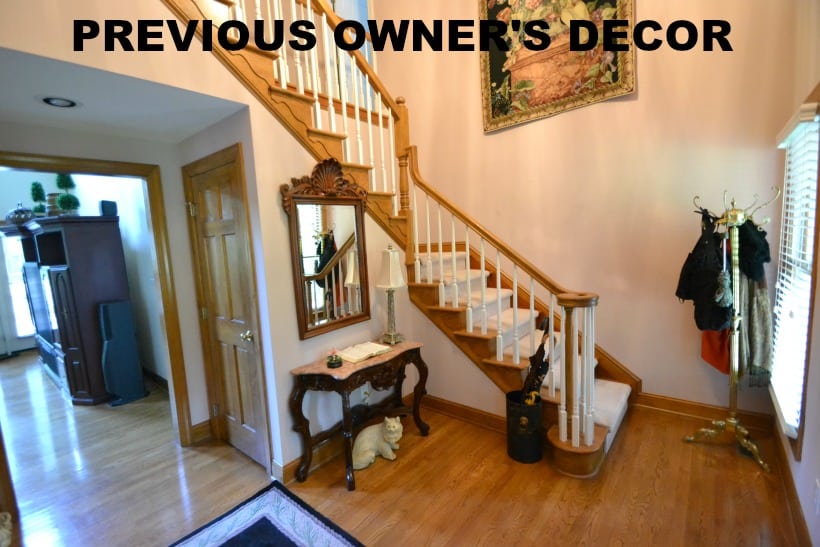
I had hoped that replacing the front door and sidelights with one that was mostly glass would take care of the problem and it did help, but not a ton. The front porch roof and the tall trees surrounding our front yard keep any direct sunlight from ever hitting the front of the house.
The foyer was really echo’y too because of the it being a two story area with hardwood floors and no soft furnishings to help absorb the sound.
My solutions for the space were to add a white board and batten wall on one side of the area to add brightness and to add a couple of diy upholstered benches to help absorb some of the sound.
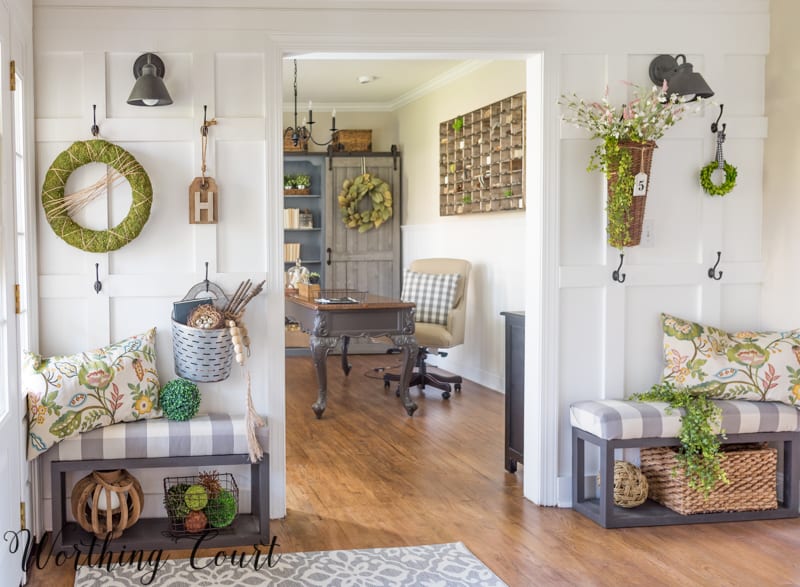
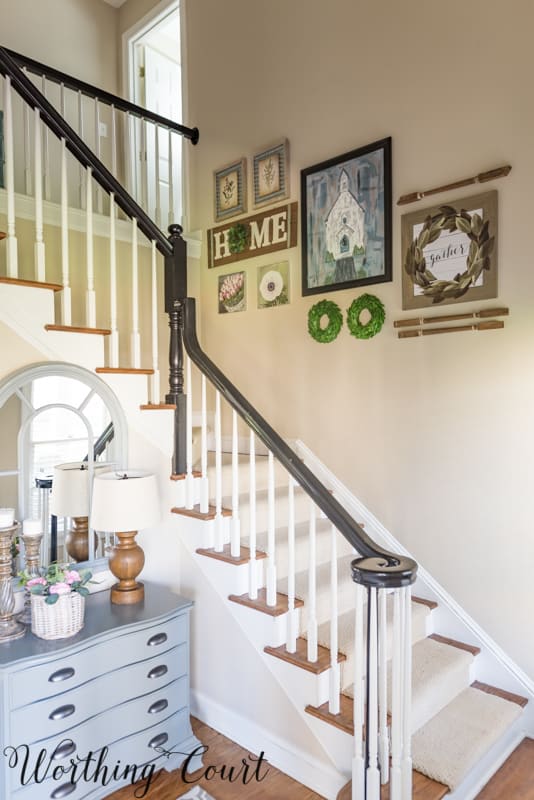
I’m not thrilled with the current gallery wall going up the stairway, but that’s a project for another day. 😀
HALLWAY
Our hallway was another dark space in the house and it was boring, boring, boring. Before the makeover, it was just a long dark corridor filled with doors, pink carpet and recessed lights filled with pink light bulbs placed there by the previous owner. What this space needed was some brightening up and some interest!
HALLWAY REMODEL BEFORE AND AFTER
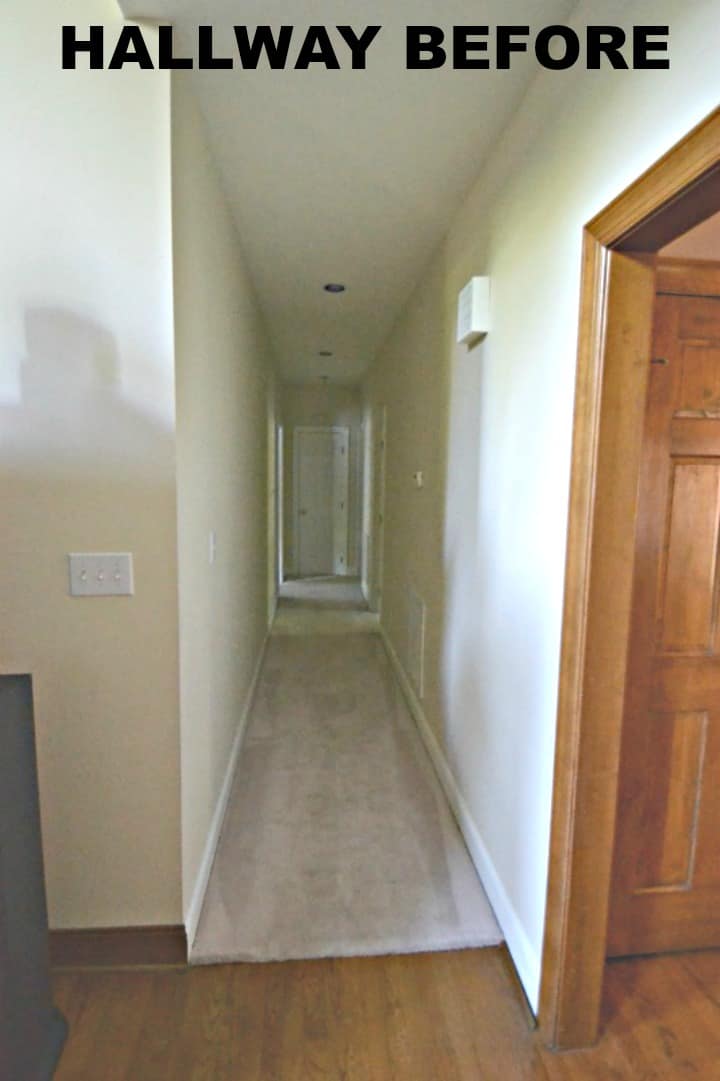
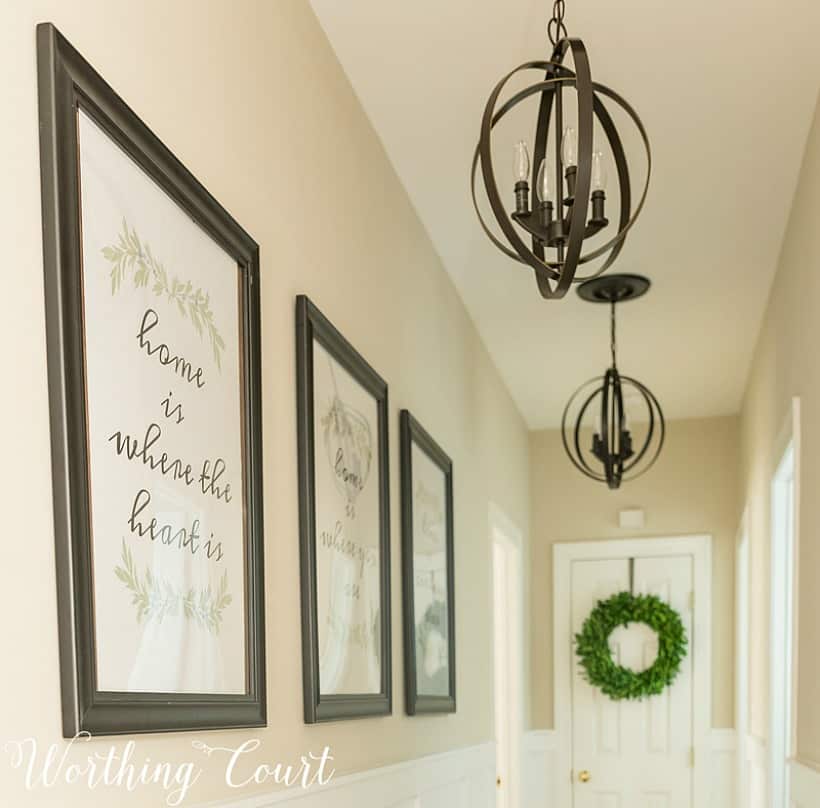
Even though I was a bit nervous about making it feel too confining, I added white board and batten to both of the walls going down the hallway. I’m so glad that I did! Having the board and batten on both walls is so much better than having it on just one of the walls. Because of doorways, hvac vents and other things, the spacing doesn’t match on each of the walls, but you don’t notice it at all.
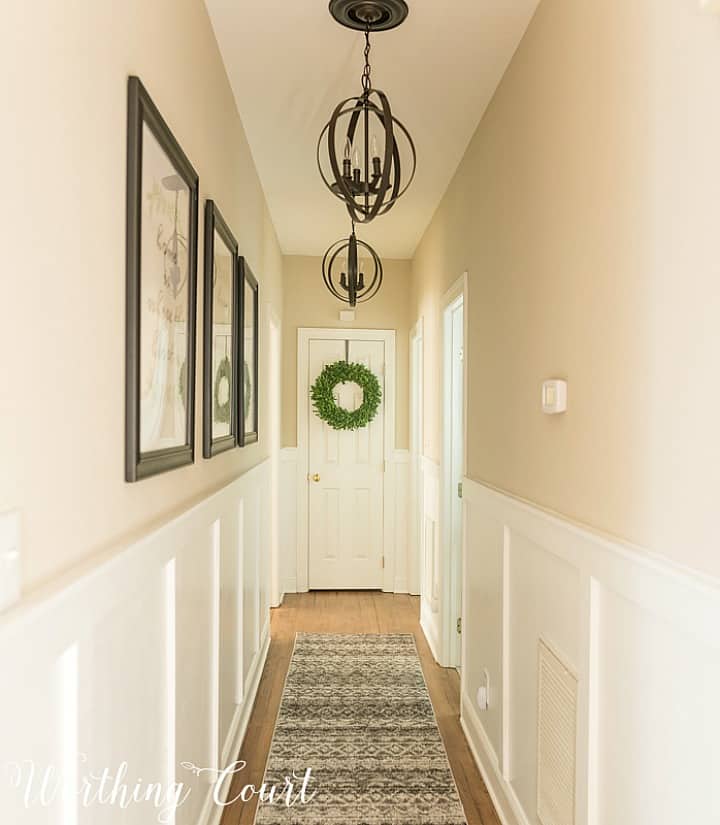
Adding diy artwork on one wall added much needed interest and new light fixtures along with a wreath on the linen closet door at the end, help to draw your eye into the space.
BEDROOM
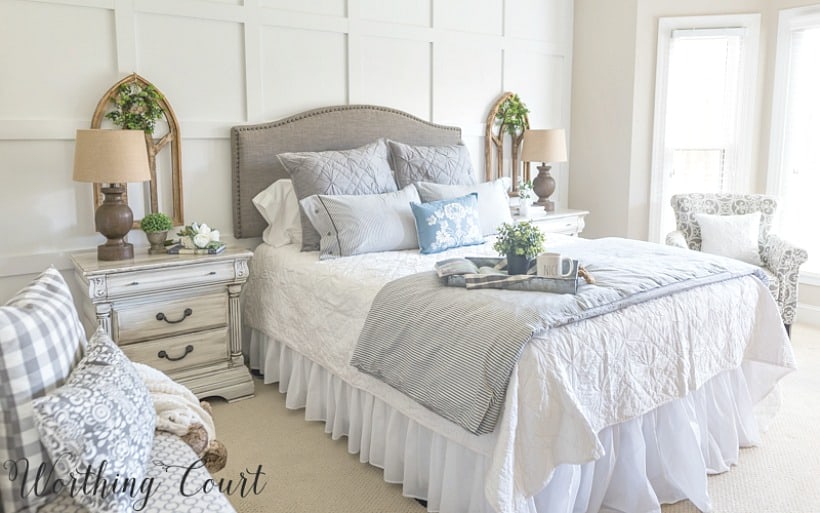
We have frequent out of town visitors to Worthing Court, so I made the decision to give our guest room a makeover before tackling the master bedroom.
BEDROOM REMODEL BEFORE AND AFTER
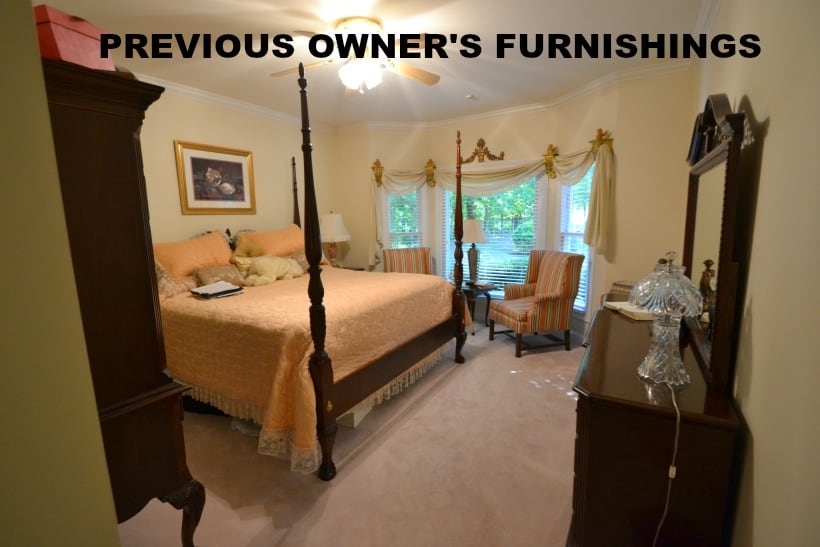
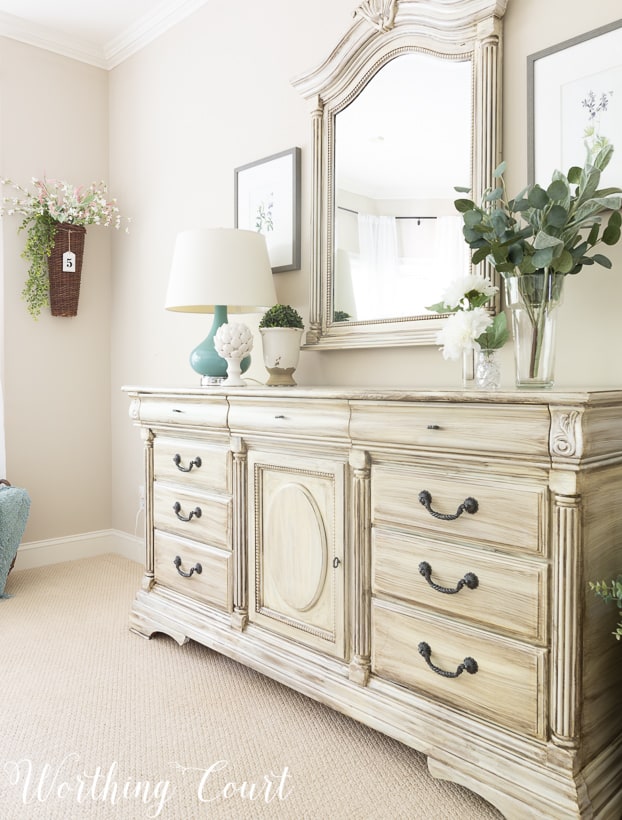
After much planning, I decided to use the furniture that I already owned (with the exception of the bed) and just give it a makeover with paint. You can see the technique that I used to paint the furniture by clicking HERE.
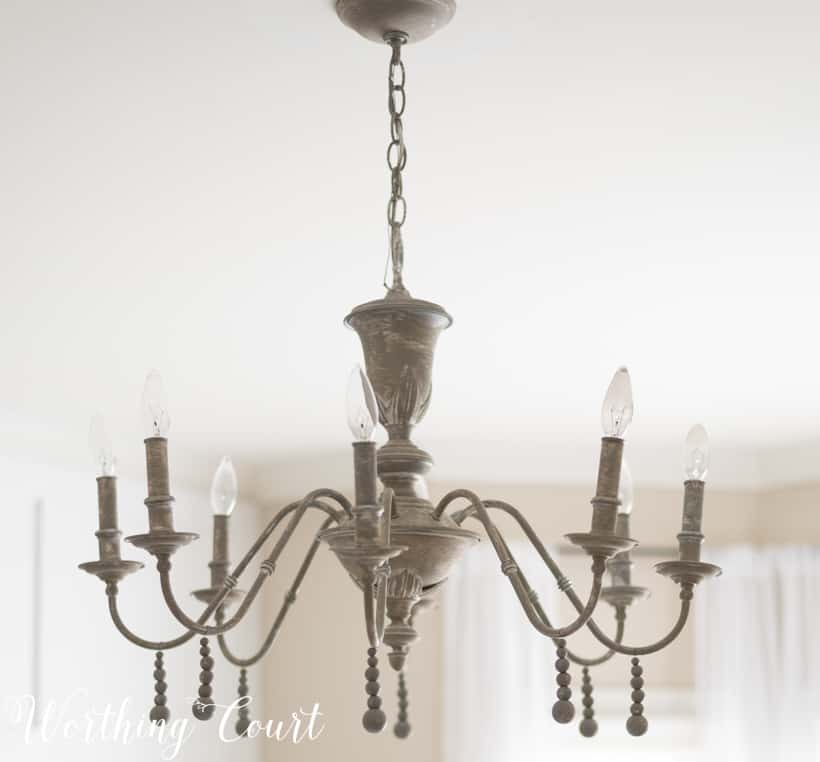
I reused the original dining room chandelier and gave it a makeover with paint and by adding diy beaded droplets. I simply adore how it turned out! Click HERE to see how I did that makeover.
SCREEN PORCH
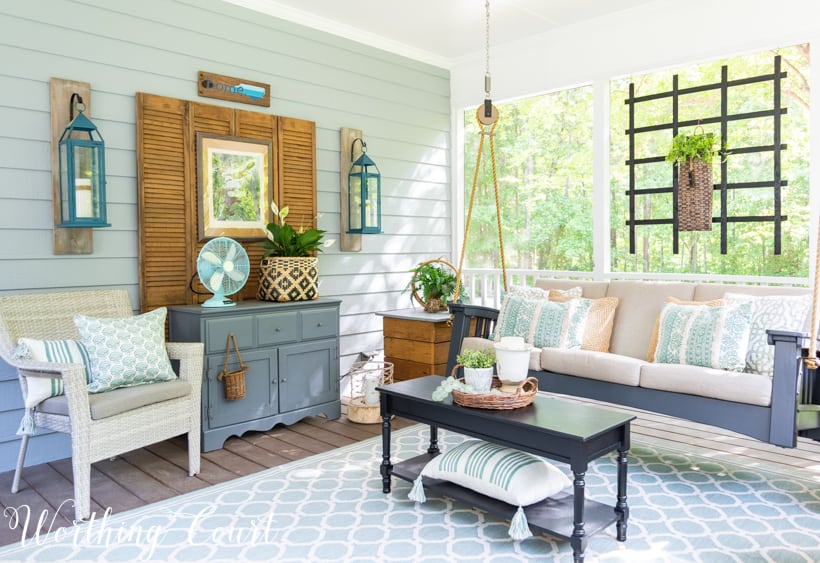
The screen porch has actually undergone three makeovers!
SCREEN PORCH MAKEOVER BEFORE AND AFTER
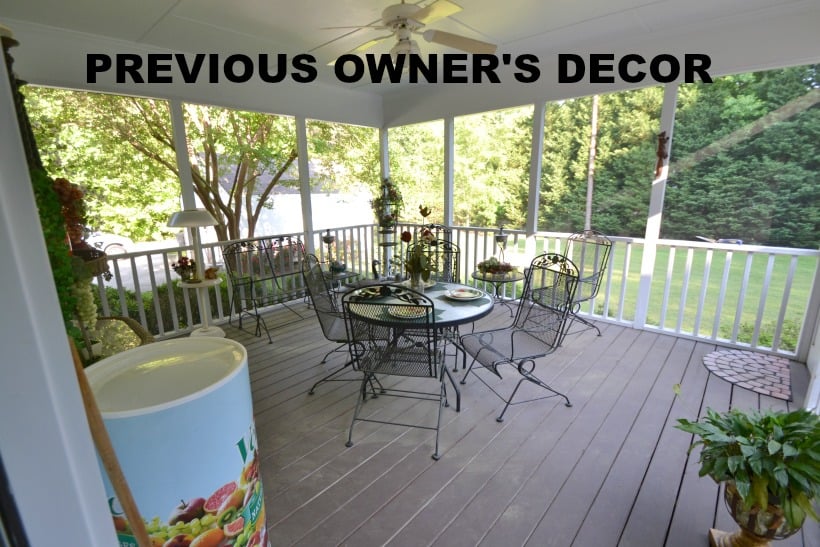
The first of the makeovers was simply sprucing the area up with furniture that I already owned. The second makeover happened when we purchased a sofa swing. Best thing ever!
And the third makeover happened when I finally buckled down and got the colors that I was decorating with right. 🙂
EXTERIOR
Oh my, how the exterior of our house has changed! When we first drove by the house, you couldn’t even see it from the street because of all of the huge oak trees that had never been limbed-up.
EXTERIOR MAKEOVER BEFORE AND AFTER
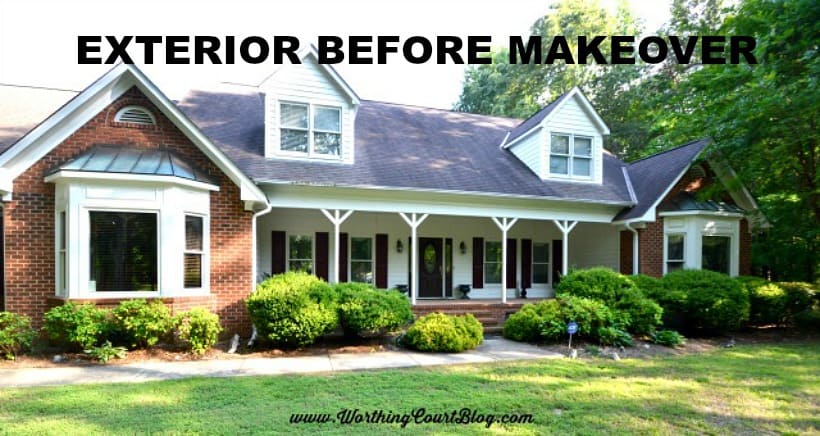
After taking care of that and removing all of the overgrown shrubbery, we were left with a very traditional red brick home with a super ugly, worn out roof. It actually had a pink’ish hue to it.
The next step was to get a new roof, which our insurance took care of due to hail damage. Here’s a another tip for you: if you’re in need of a new roof, get a roofer to inspect your roof for hail damage before you replace it. I had no idea that our roof had damage until we had it inspected by a roofer. It literally saved us $18,000!
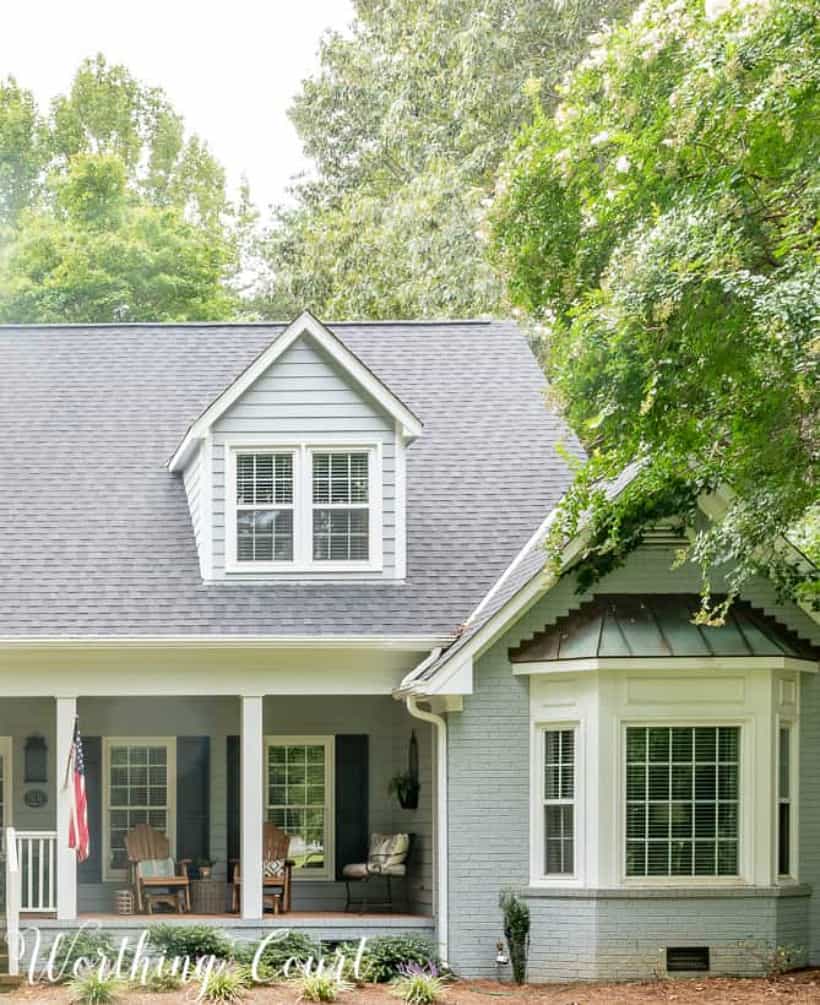
Even though the new roof made such an improvement to the overall look of the house, the most noticeable change to the exterior came when we painted the brick and the shutters and added diy grids to the windows. Oh my goodness – I can’t begin to tell you how much I love it now!
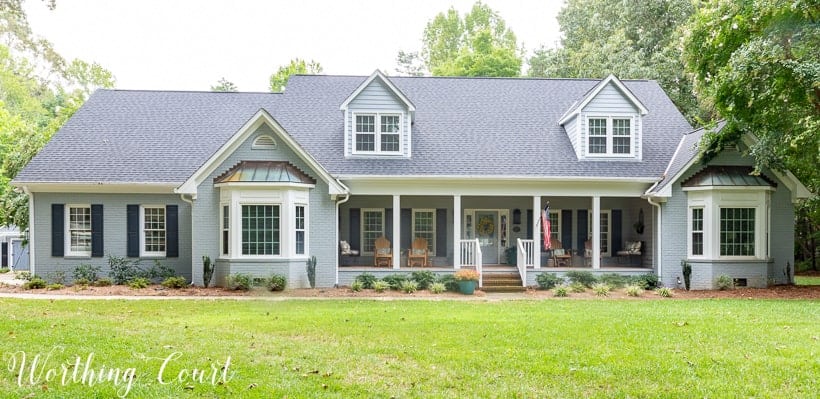
I’ve replaced several of the shrubs since the above after photo was taken with more substantial ones. Now I just need for them to grow in. Oh – and I should probably wash the red mud off of the brick too!
For those of you who’ve been following along on our journey – thank you for being here! And for any of you who haven’t been around for the entire venture, I hope enjoyed this little trip down memory lane.
What an inspiration–and validation! I too make changes all the time looking for that just perfect Ahaa! moment..Then to find, after about 6 months, I start feeling again that the room needs something! lol..Your results are nothing short of spectacular! Thank you for sharing. Best,Joy
First off I need to tell you, you are a miracle worker….
If I had seen the house for the first time, yes I would have falling in love with the house from the outside….however, I think I would of been turned off with their decorations and not seen behind the beauty that you created.
I have always been in awe of your home, now I see you really have the touch.
Your creative eye did good. I am truly impressed.
Thank you for sharing.
What a beautiful transformation! Thank you for sharing your before and after pictures. You and your family should be so proud of how you took a very lovely traditional home and turned it into your own special place. I have learned a lot from your blogs. Currently I am renovating my screened in porch and have been inspired by the changes you made on your porch. I will stay in touch.
You really have a good eye for a home’s potential. I have a home that was built in 1988 and we have been doing updates and upgrades as well. I appreciate seeing what can be done with a somewhat outdated home as opposed to a brand new home. You have worked wonders. Thanks for all your inspiration!
Susie, you have accomplished so much in such a short time! The house looks wonderful. I love the 6 pictures that hang over your sofa in the family room. Did you purchase them or make them? I think this would really look nice in my own family room. Thanks for sharing your beautiful home with us.
Thank you so much, Jane! I purchased the pictures from Art.com and framed them myself. You’ll find a link for them in this blog post: https://www.worthingcourtblog.com/modern-farmhouse-spring-decor/
Thank you Suzy!
Suzy you’ve created such a lovely home! The updates are amazing and it looks like a brand new build. Just beautiful!
Beautiful transformation!! I see that your home previously had stained wood trim. Did you paint it or replace it with white? If you painted it, did you sand it, use semi-gloss or satin, etc? If replacing the trim, would you use MDF or go with real wood? Our 28 year old house has stained wood trim and doors. Our kitchen has been totally replaced with white cabinets and now the rest now needs updating. Any ideas would be helpful.
Hi Jean. So glad you like all the changes! We painted our trim with latex semi-gloss. If I were replacing trim though, I would definitely go with mdf. In my experience, the mdf if more stable than wood and has a better paintable surface.
Good to know about the paint sheen and mdf. I will need to make some decisions soon, so I am thankful for the input!
Absolutely gorgeous job!
Your home is beautiful. I started following you on Pinterest several years ago and have pinned so many of your rooms. Love being able to keep up with you on Instagram now. Thanks for sharing your home with us and offering so much useful advice.
Wow….LOVE the changes you have made. Your home is beautiful!
You do a great job. I love your style.
Wow Suzy, what an amazing transformation. I can’t believe my own eyes when I tried to compare before and after pictures. Great work you are a genius.
Can you tell me the name of the paint color you used on the walls?
It’s Sherwin Williams Accessible Beige.